
Painting day! What do you do? Paint the wall, right? Not so much. The painting process requires some other small details for the result to come out as expected and also to facilitate this whole process.
We’ll tell you what these painting tricks are next, come and see.
18 painting tricks you need to learn
Before you even start painting, you should pay attention to some important points: the first is to prepare the area that will receive paint, in addition to protecting furniture, floors and other surfaces that will not be painted. Here are the main pre-painting tricks:
1. Vaseline
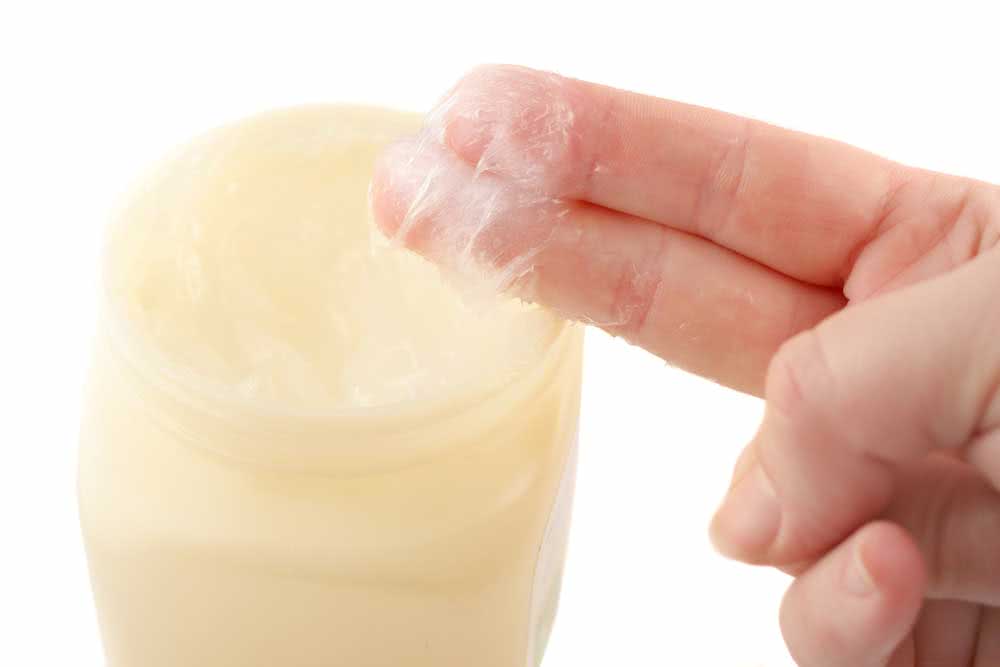
Did you know that petroleum jelly can be used to protect places where you don’t want to paint? This tip is very useful for small regions, such as door handles, latches and door and window locks, for example.
Just apply petroleum jelly in these places and the paint simply does not penetrate the surface, making subsequent cleaning work much easier, as you just need to wipe the cloth and that’s it.
2. Aluminum foil
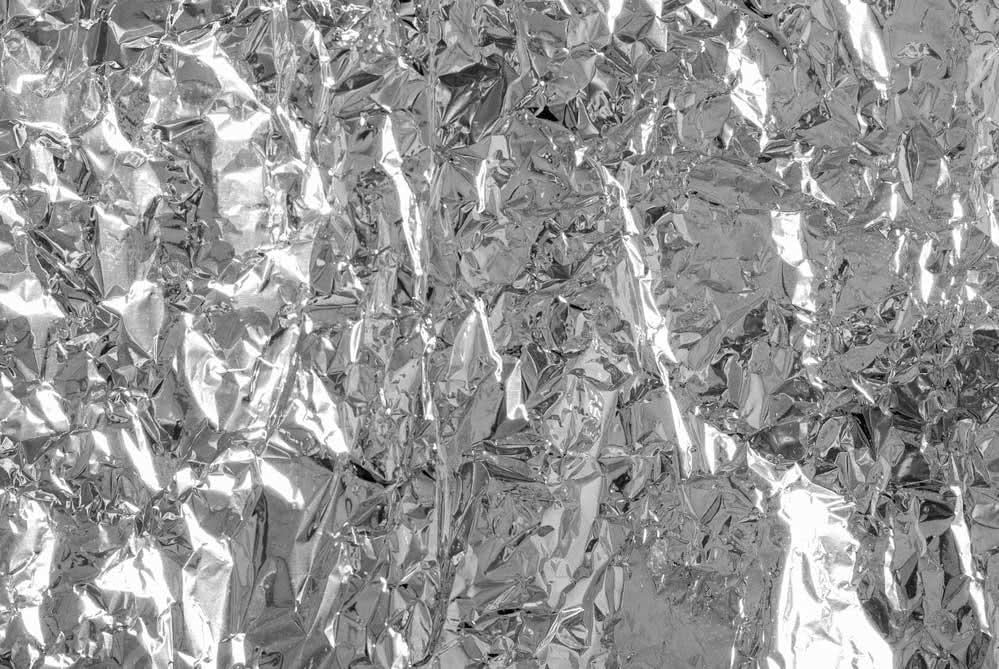
Another great ally of painting is aluminum foil. It serves to cover and cover surfaces making cleaning work faster, after all, you will only need to remove the paper and everything will be clean.
Aluminum foil can be placed on door handles, locks and even on the surface of small furniture.
3. Masking tape
Everyone already knows the usefulness of masking tape when making a painting. The tape isolates the paint from the area you do not want to paint. It turns out that if it is not properly placed the paint can penetrate and end up creating stains on the paint.
To avoid this problem, apply a spatula over the entire length of the tape, pressing gently. Thus, the masking tape adheres better to the wall and the paint has no way to pass.
4. Cardboard
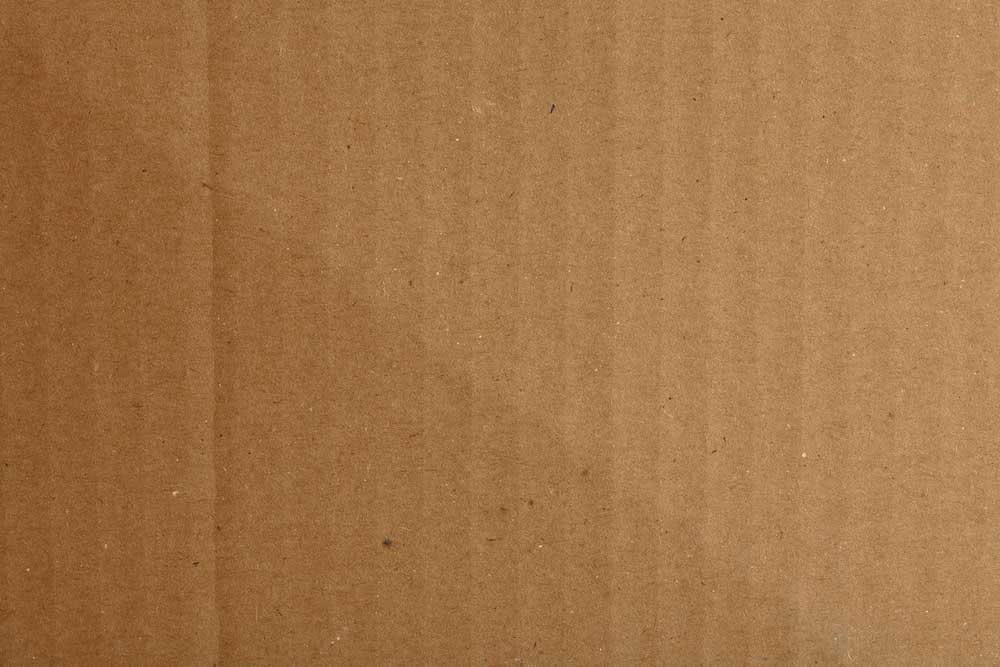
And to protect the paint floor? The best option is cardboard. In addition to being an easily found material, it guarantees more stability, since it does not slip like plastic. Another advantage of cardboard is that it is recyclable, so when you finish painting, just send it for recycling.
5. Scheduled day and time
Schedule a specific day to do the painting work. It is more practical, faster and you do not run the risk of having a stained paint. Ideally, you should be able to do everything on the same day, respecting the pause between coats, of course.
6. Sunny day
Another important thing is to check the weather forecast on the day of the painting. Prefer to perform this type of work on sunny and hot days to facilitate drying. So you can keep doors and windows open for greater ventilation, which, in addition to contributing to faster drying, also prevents the smell of paint from impregnating the environment.
7. No smell
And speaking of the smell of paint, this seventh tip is also important. When preparing the paint for painting, drop a few drops of vanilla essence into the can. This will soften the smell without changing the chemical composition of the paint.
8. Sand and clean
The surfaces that will receive the paint must be clean, dry and sanded (if necessary), before starting painting. This simple trick can make all the difference in the final finish.
9. Previous ink
What if the wall or furniture is previously painted with another paint? Have to take, peel, what to do? The advisable in this case is to find out what type of paint was used.
That’s because you can’t pass a water-based paint over an oil-based or solvent-based paint, as is the case with varnish and enamel paint, for example. Adhesion will not be as good and the result of the painting will be compromised.
The best way to find out which ink has been used previously is by rubbing alcohol-soaked cotton over the surface. If the paint is removed, then it is of latex type. But if it remains firm and strong, then it is oil based paint.
If the paint used previously is different from the one you are going to apply, then it is recommended to sand the surface to remove the paint.
10. Protected tray
Do you want your tray to always be clean and beautiful? In this case, the tip is to line it with aluminum foil.
In addition to preserving the tray for a longer time, you will still not have the trouble of cleaning it after painting.
It is also common to use plastic bags to provide this protection. However, the plastic is slippery and can end up moving out of place.
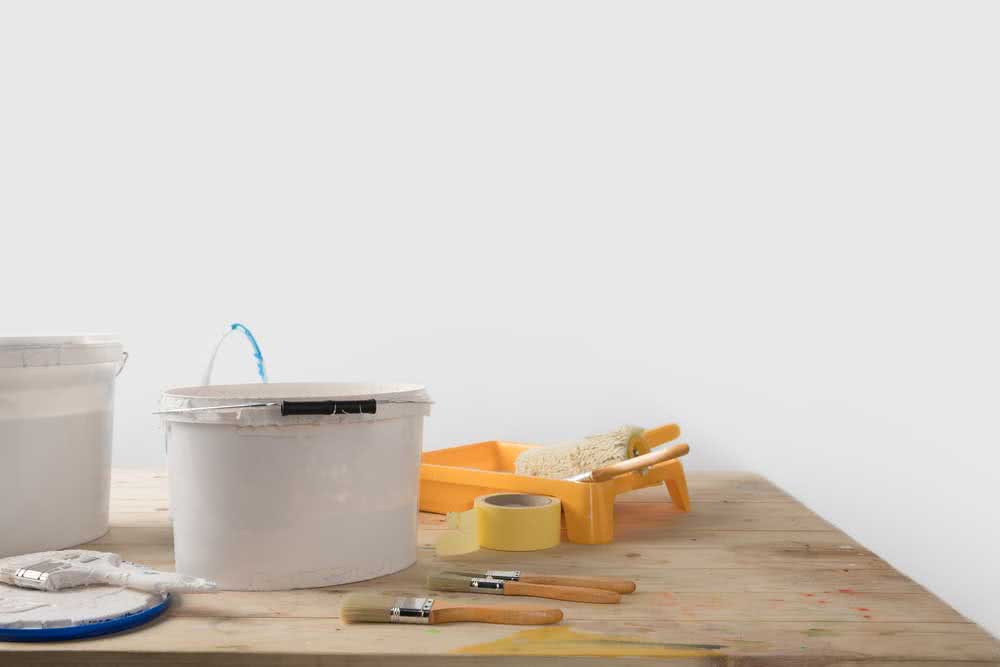
11. Separate all materials
It may seem a bit obvious to say this, but the truth is that many people end up leaving this step aside.
The result of this forgetfulness is having to chase after materials, delaying all the work of painting.
Therefore, provide everything you need in advance.
12. Clean the roller
It is not only after the painting is finished that you need to clean the roller. It is important to do this before too. Do you know why? The paint roller usually has loose hairs that can end up sticking to the surface.
To clean the roller before painting, just tape it around. The loose hairs will stick to the tape and the roll will be clean.
At the time of painting
13. Use a rubber band
The trick for not wasting paint, or even running the risk of paint splashing on the floor, is to stretch a rubber band over the can, so that you can remove the excess paint from the brush. Simple, practical and economical for your pocket.
14. Attention to the corners

Larger areas can be easily painted with a roller, but when filling in edges and corners, it is best to use a brush or small roller.
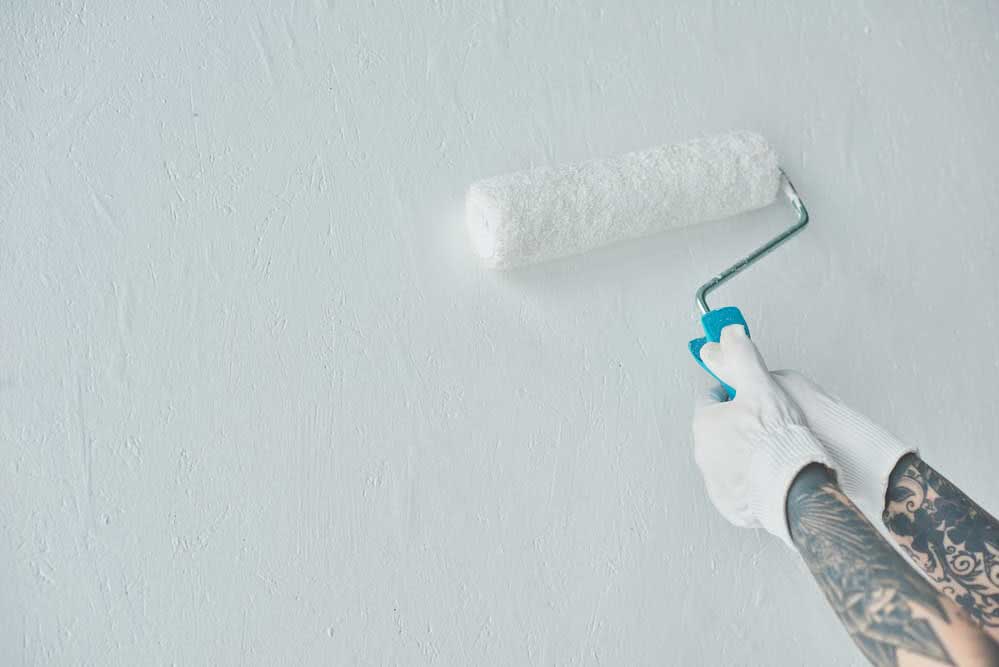
15. Zigzag
What is the best way to make a painting? You got it right if you said zig zag. Well, neither vertical nor horizontal. The correct way to unload the paint roller so that the wall is evenly painted is in the zigzag direction.
After everything ready
Ready paint, now just enjoy the result, right? Not yet! Before contemplating your work it is important to take care of some details. Check out:
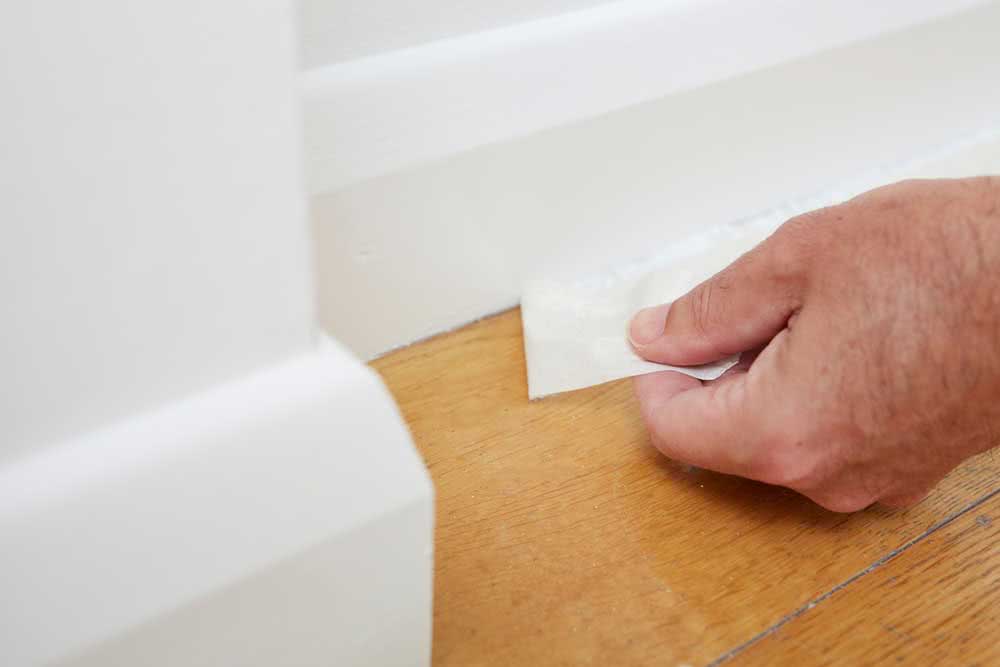
16. Stylus
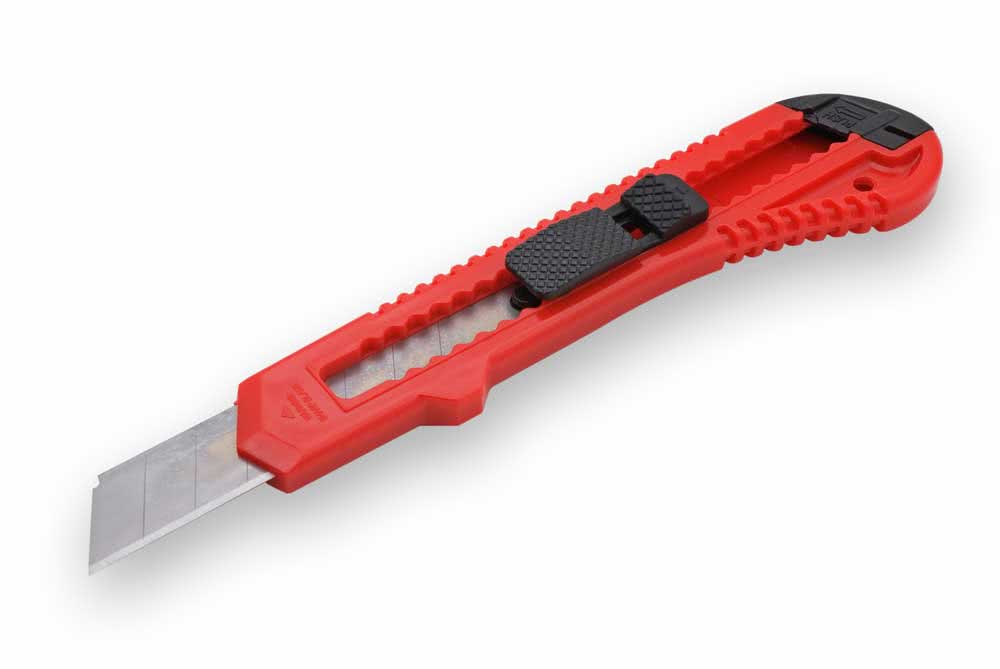
If you have chosen to use adhesive tape to protect areas that should not be painted, then it is good to know that it is not enough to just remove the tape at the end of the painting.
The ideal is to wait for the paint to dry completely. Then, with the help of a stylus, you must draw a line close to the masking tape. This procedure will help the tape to peel off the paint and come out more easily, without running the risk of tearing off a piece of the paint together.
17. Cleaning brushes and rollers
Paint rollers and brushes must be kept clean and dry. To do this, dip them in a glass with remover and then wash them under running water. Let it dry.
If the painting takes more than a day to complete, the trick for the paint not drying on the brush is to store it in the refrigerator wrapped in a plastic bag.
18. Save everything
Surely this world will not be your last painting. Therefore, keep your brushes and painting materials in a dry and ventilated place. Even a tip: use a tube of potato chips to store the paint roller. It is protected and fits right in there.


