
Laminate flooring has become the darling of interior renovations and renovations for some time, as it is very sturdy, easy to install and costs much less than hardwood flooring.
This material is also very versatile, as some of them are suitable not only for homes, but also for high traffic environments such as gyms, stores and malls. Have you decided on laminate flooring, but don’t know how to install it? Then follow our today’s article with tips and guidance from how to put laminate flooring:
What is laminate flooring?
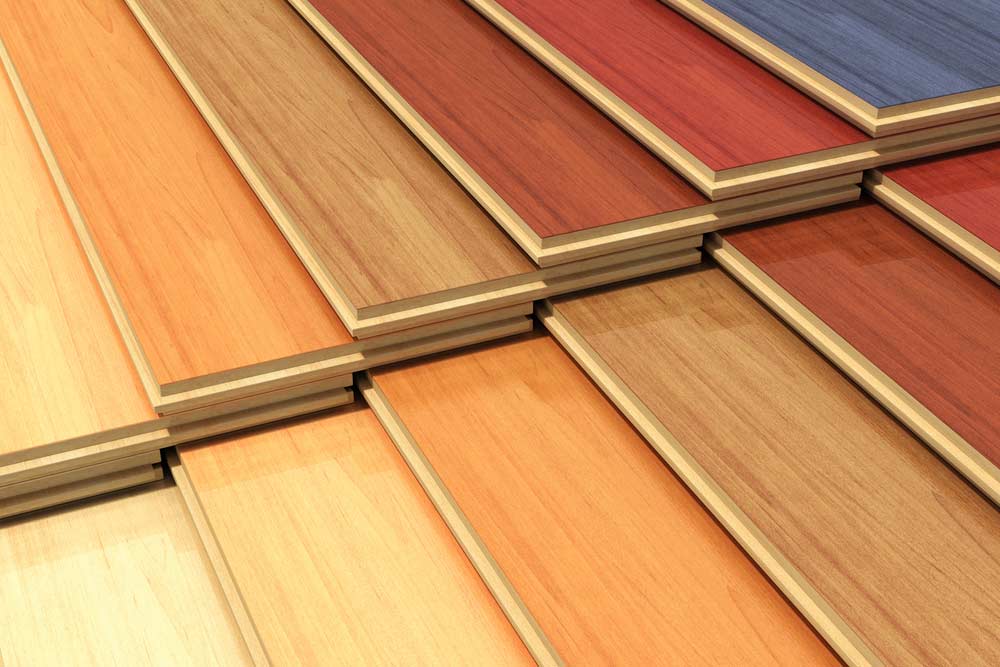
The laminate floor is a floating floor made of wood veneers in varying widths and lengths with different finishes and colors. It is floating because it is neither nailed nor glued to the subfloor, its installation is made on a blanket.
The main characteristics of laminate flooring and its main benefits: is that it is a natural wood product coated with a high strength resin film, low porosity that prevents liquid absorption, easy maintenance when cleaning and high durability .
Each floor tile is composed of 4 layers: the balance, the substrate, the decorative laminate and the overlay. The swing is the lowest part of the floor, responsible for the stability of the blades and the resistance of the product to moisture.
The substrate is the main part usually made of high density plywood, very resistant to impacts and is where the fittings are. The decorative sheet is made of cellulose and gives the color and texture of the floor. It can be printed on a wooden film, depending on the chosen line.
And finally, the overlay, which is nothing more than a film applied over the decorative laminate and which provides protection against scratches and scuffs.
Types of laminate flooring
1. Wooden laminate flooring
This type of laminate flooring is what is generally used in apartments and houses. The blades vary from 7 to 9mm in thickness, average width of 21cm and length in the range of 1.36m. These dimensions are not standardized, each manufacturer can present floors in different formats.
2. High traffic laminate flooring
This type of floor is suitable for environments with high circulation of people such as stores, gyms and shopping malls. Its main feature is an even greater resistance than the laminate to wear. The amount of colors and textures is as large as wood veneer and the installation is the same.
Main advantages of laminate floors
- Easy maintenance: the laminate floor is very easy to clean, just a damp cloth and you remove most stains and dirt;
- Easy installation: the blades were designed with male-female inserts facilitating installation;
- Reduced cost: compared to hardwood floors (hardwood), laminate is much cheaper;
- Environmentally friendly: laminate floors are made from reforestation wood, so there is no risk to the environment;
- Extended warranty: most manufacturers offer at least 10 years warranty;
- High resistance: laminate floors are unlikely to present problems such as termite infestation, as they are already produced with components that ward off this type of pest;
How to lay laminate flooring: installation
Know now the necessary materials, what to do before you start and the step-by-step on how to lay laminate flooring:
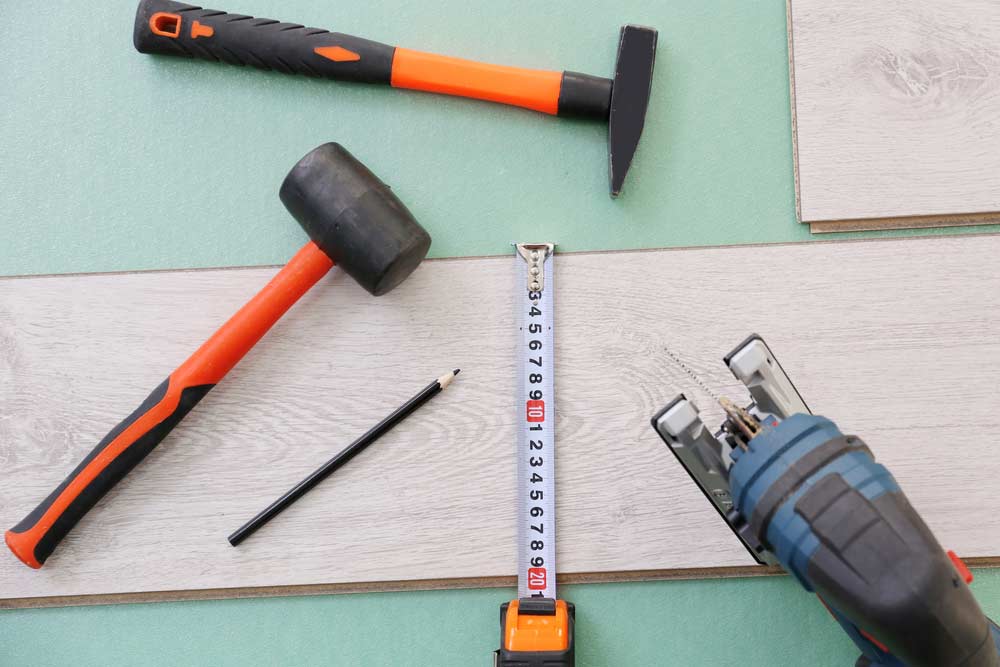
1. Materials needed
- Laminate flooring in the amount needed to cover the floor surface. This type of material is sold per square meter, do the calculation before purchasing the material;
- Plain blanket for cemented screeds or non-ground floor apartment floors. Ventilated blanket for wooden, stone, ceramic or vinyl ground floors. Acoustic blanket for non-ground floors and apartments that need noise reduction;
- 1.5cm spacers;
- T profile to be installed in all doorways and every 8m², floor-to-wall profile that can be used as an alternative to baseboards, angle brackets to be installed next to built-in cabinets or masonry furniture;
- Skirting boards;
- Glue for baseboards;
- Measuring tape;
- Square;
- Scotch tape;
- Stylus;
- Circular saw;
- Rubber hammer;
- Headless nails;
- Pencil.
2. Before you start
- Before starting to install the floor, 24 hours before, keep the floor at room temperature, in a horizontal position and on a flat surface.
- Make sure that the subfloor is clean and level.
3. Step-by-step instructions for laying laminate flooring
- Install the proper mat for the type of subfloor. It should always be placed in the opposite direction to the placement of the blades. Leave about 1cm of excess behind the baseboards or in the corners of the walls. Use the adhesive tape to join the pieces of the blanket together;
- Place the spacers along the wall to leave enough space for the floor to expand;
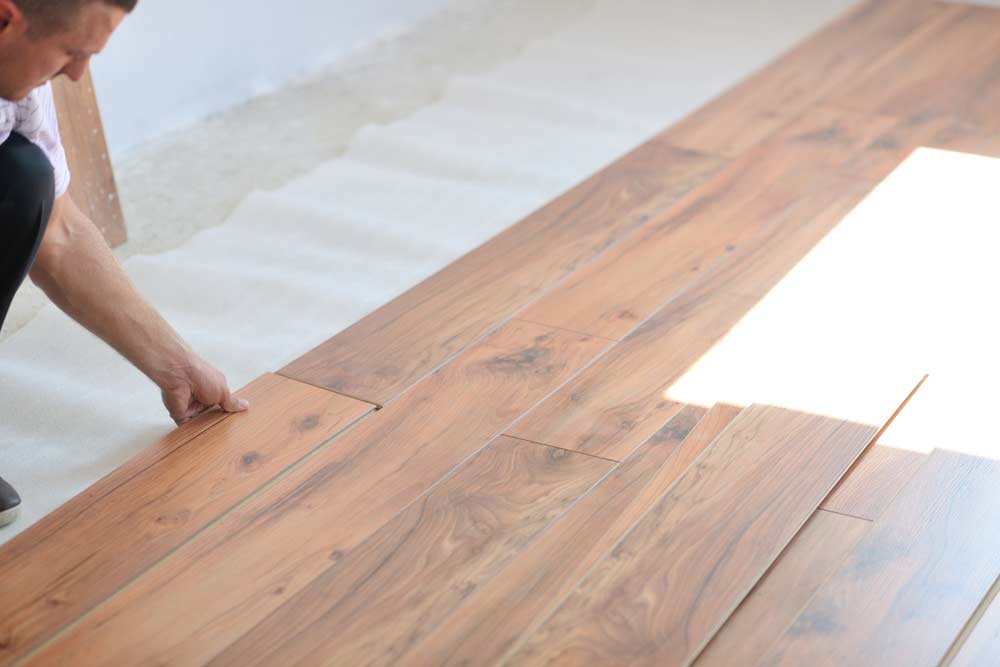
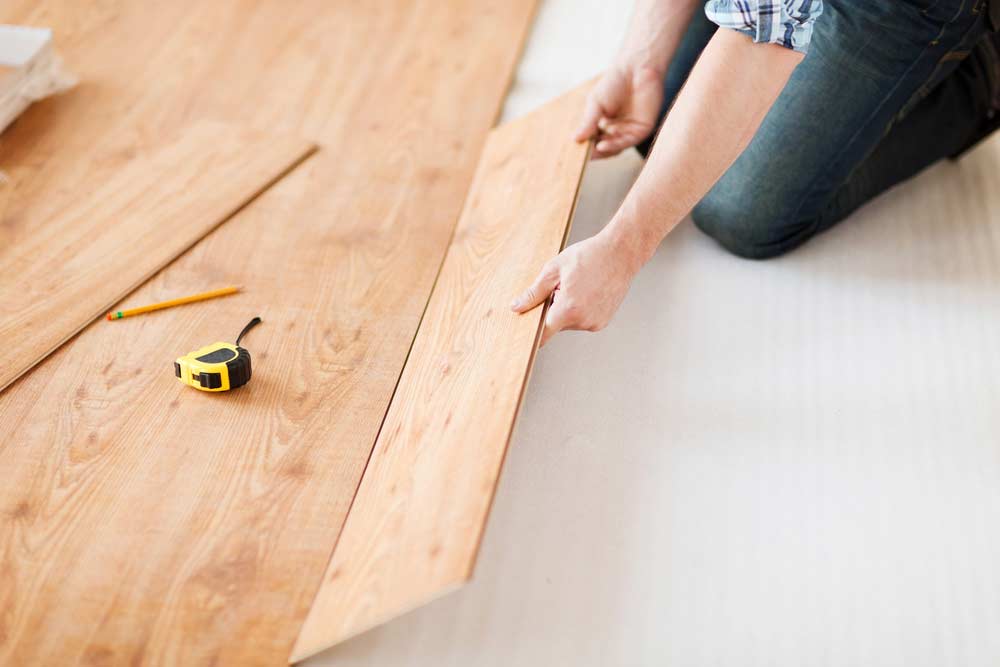
- Begin installing the blades parallel to the widest wall in the room. The first blade should have the male side facing the wall;
- Keep fitting blade by blade and always keep an eye on whether the wood design is in sequence;
- When you finish the row, you may need to adjust the length of the final blade. Cut it with the decorative side down and the cut part faces the wall;
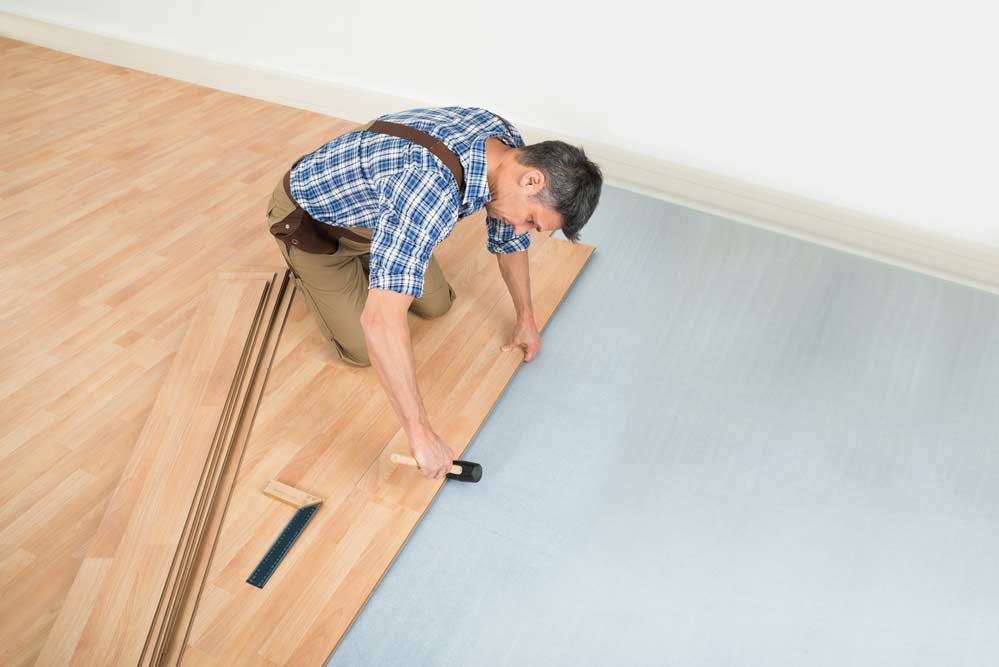
- When starting the second row, use a blade cut in half. Place it at an angle of 30 degrees and go down to fit it and follow this way until the end of the installation;
- Secure the blades by gently hammering the ends and closing the fittings. Use a stop block and do not use the hammer directly on the blades;
- When installing the last row of blades, you may have to adjust the size of the width of the entire row. If necessary, measure and cut each blade with the saw;
- Finally, remove the spacers, fix the baseboards to the wall with glue and nails without a head. Go fitting the profiles of suitable for each corner of the wall.
How to lay laminate flooring: important tips
- You can improvise your own spacers and save on this material. Just create spacers that are 5 to 10mm thick, cut in an L shape and at least 30cm long;
- Don’t forget to remove the spacers when you are finished installing all the blades;
- It is good to have someone with you who is responsible for observing how the assembly is doing, if there is any difference or defect;
- It is important to start the second, third and other rows always halfway through the blade of the previous row to take advantage of more blades and to make the floor more resistant. This technique also makes it difficult for people to see the floor joints when it is finished;
- Always use protectors such as glasses and gloves to avoid cutting yourself when handling saws and stilettos or when hammering;
- Do not install laminate floors in damp areas such as bathrooms, saunas, laundries or kitchens, it is not resistant to excess moisture;
- Place felt protectors under heavy furniture, feet of tables and chairs to prevent them from scratching or damaging the floor;
- To clean your floor, just use a soft broom or vacuum cleaner. For a deeper cleaning use a cloth moistened with a little water and a non-abrasive cleaning product.
So, what did you think? Do you think you can install your laminate floor alone or with the help of friends?


