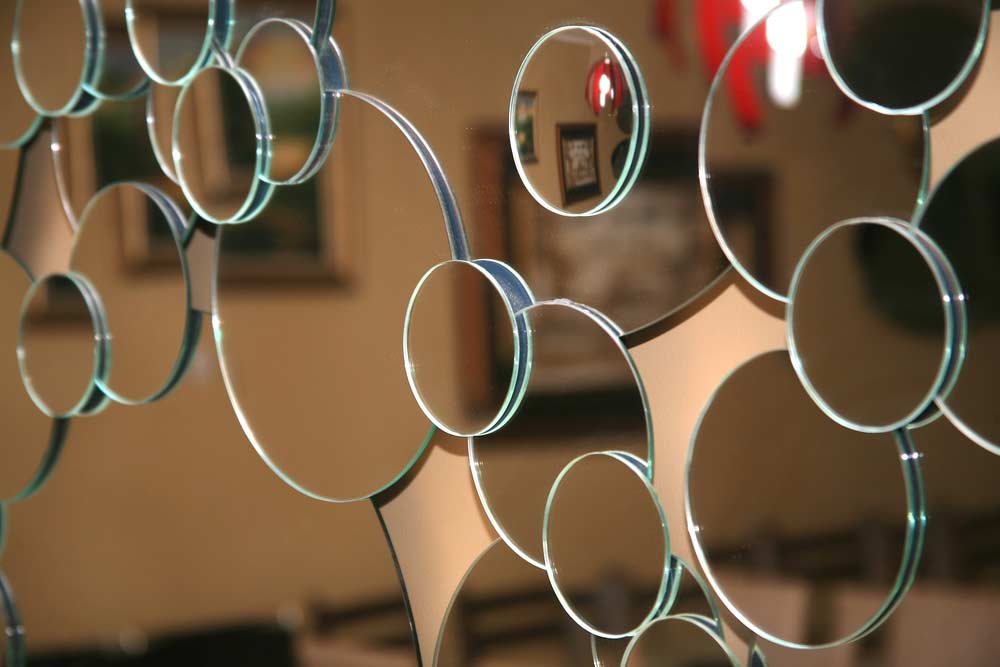
There is a lot that we don't think we can do at home. But just think! Because in reality it is possible, including cutting mirror and glass.
It may seem dangerous, complicated and it will not work, but believe me: with the right tips, tools and inspirations, you can easily cut a mirror at home.
And for what exactly do you need to know how to cut mirror? Simple: to reuse a broken mirror, to personalize a piece or even to renew the decoration of the house. And you must already imagine that doing this work on your own still saves a little money, right ?.
So let's learn how to cut mirror and glass?
How to cut mirror: safety first

First of all take care of your safety when handling glass pieces. This type of material can loosen splinters, splinters and splinters capable of causing serious injuries. So, start by providing gloves and goggles.
It is also important to wear closed shoes when cutting the mirror, this prevents splinters from reaching your foot or else you step on glass chips that may have fallen to the floor.
Prefer to cut the mirror outdoors and away from children and pets.
Another important tip: use only mirrors in good condition. No want to cut mirrors that are cracked or very corroded by time, since the possibility of them shedding shrapnel is much greater.
Materials needed to cut mirror
After separating the safety items for this job, provide the other necessary materials:
- Mirror or glass you want to cut
- Sand
- Glass cutter
- Ruler or tape measure
- Pen
- Towel
- Alcohol
- Cleaning Cloth
The glass cutter is an indispensable item for this task. If you don't have one at home, don't worry. Nowadays it is very easy to find glass cutters to sell in hardware stores, hardware stores and handicraft stores. On the internet it is also possible to find cutters to sell.
When buying the glass cutter you will notice that there is a price difference between the models. The cheapest ones cost around R $ 15, while the most expensive ones can cost R $ 60. The main difference between them is the tip of the cutter. The cheapest ones are usually made with steel tip, while the most expensive are made with carbide tips.
If your intention is to make simple cuts, straight and in small quantities, simple cutters are sufficient and will do the job. But if the idea is to make curved cuts, with drawings and in large quantities, prefer, in this case, a more professional model.
Did you write everything down? So let's go to the next step.
How to cut mirror – Step by step
Step 1: Start by cleaning the entire surface of the glass or mirror with a soft cloth slightly moistened with alcohol. This step is important to remove possible dust particles that can hinder the mirror cutting process, so do not ignore it.
Step 2: After cleaning the entire part, make the cut mark on the face of the mirror. To do this, use the tape measure (or the ruler) and a pen (it can be one of the permanent type, used to mark CDs). The line must be well marked to ensure an accurate cut.
Step 3: Cover with a towel a firm, straight and regular surface to support the mirror. Then hold the mirror with one hand and with the other position the cutter vertically over the starting point of the line.
Step 4: Slide the glass cutter over the marked line. It is very important that you pass the cutter firmly, continuously and with light pressure along the entire length of the line, avoiding interrupting the cut.
Step 5: If all goes well, you will hear a high-pitched noise, indicating that the glass is being cut correctly. The absence of sound, on the other hand, signals that the cut is not being done properly. Correct this error by increasing the pressure on the mirror, but without exaggeration.
Step 6: After completing the cutter outline on the line, you will need to highlight the mirror parts. To do this, position the mirror on the edge of the surface with the cut area out. Then, apply light downward pressure and the mirror will split. If the mirror is small, to the point of being able to hold it firmly with your hands, just turn your wrists and the cut parts will stand out.
For very large mirrors, the tip is to keep the piece resting on a surface with the scratch side facing down. Then, with your hands, begin to apply gentle, continuous pressure along the entire length of the cut parts.
Another way to highlight the mirror is with the help of pliers. Position the tool about 1.5 cm from the cut line and press down. This technique is also the most suitable for curved cuts or with more worked designs.
It is worth mentioning that at this stage it is essential that you are wearing gloves, because if the mirror has not been cut correctly there is a great possibility that it will shrapnel.
Step 7: With the mirror cut, you should start the finishing step. Do this using sandpaper. The sanding process removes all splinters and splinters from the edges of the mirror, making it safer and more beautiful.
Now just hang your cut mirror wherever you want and enjoy the new decor. Did you see how simple it was?


