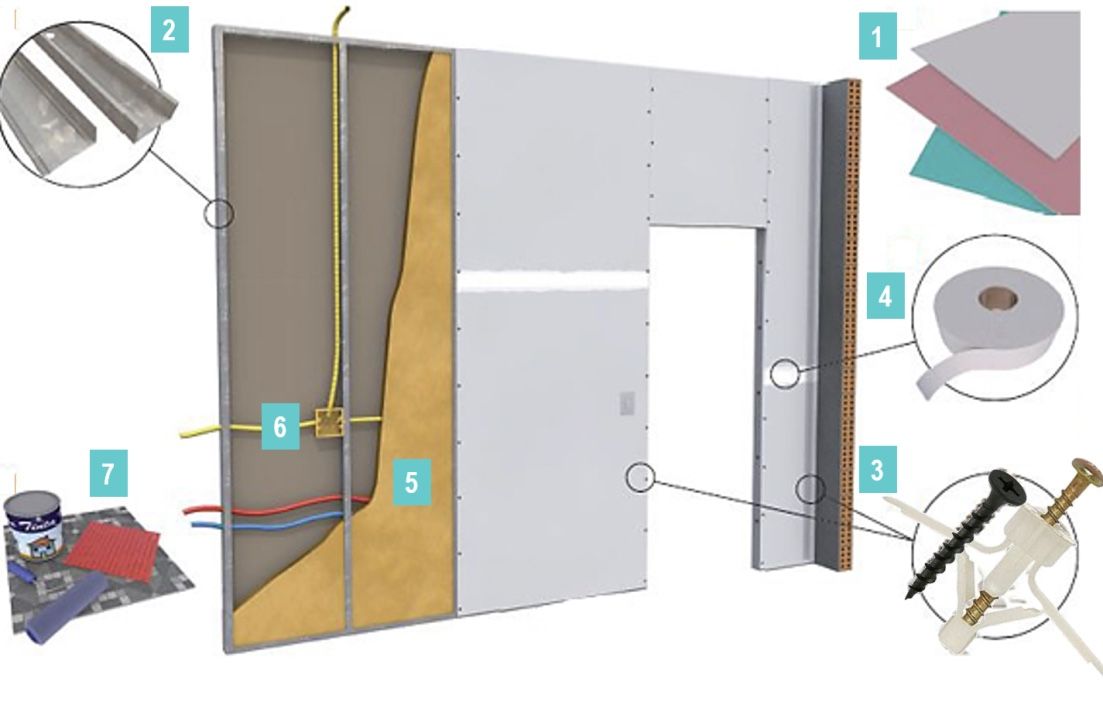
THE plaster wall, known as drywall system, is the assembly of a wall using an aluminum structure covered by plasterboard and fixed directly to these profiles.
Depending on the environment to be applied, it is necessary to pay attention to the type of plate that differs by tones and functions:
- The green, called RU, is indicated for wet areas such as kitchens, bathrooms and service areas.
- The rose, called the RF, is resistant to fire so they are recommended in bench areas with cooktop and fireplace.
- And finally the white one, called ST, which is the simplest, being used in ceilings and walls of traditional environments such as living rooms, corridors and bedrooms.
Plaster wall layout
Playback: Next Group
Subtitles:
- Plaster panels for every type of environmental need
- Metal structure
- Screws and bushings
- Gasket tape for closing the plates
- Thermoacoustic insulation blanket
- Hydraulic and electrical installations inside the Drywall
- Final finishing (sanding and painting)
This type of material is resistant due to its metallic structure, which takes enough reinforcement to insert furniture and doors in the desired wall.
In the decoration, the plaster wall allows different types of finishes! From a simple painting to highlight your presence to more sophisticated coatings to accompany the rest of the setting.
Difference between masonry and plaster
Because they are different materials, they have opposite characteristics. In addition to the installation method, the expansion of the plaster is less than that of the conventional wall. Thus, cracks and fissures are less in structural movements. The system is not as resistant to impacts as masonry, but each project has its particularity to structural calculations.
What is the value / price of a plaster and drywall?
The average price per square meter of the plaster wall can cost from R $ 100.00 to R $ 150.00. In masonry, this value can increase by 20%. This value can often be different due to labor and access to material in each region, which varies the length in each city.
50 ideas for decorating with drywall and drywall
Plaster wall in the room
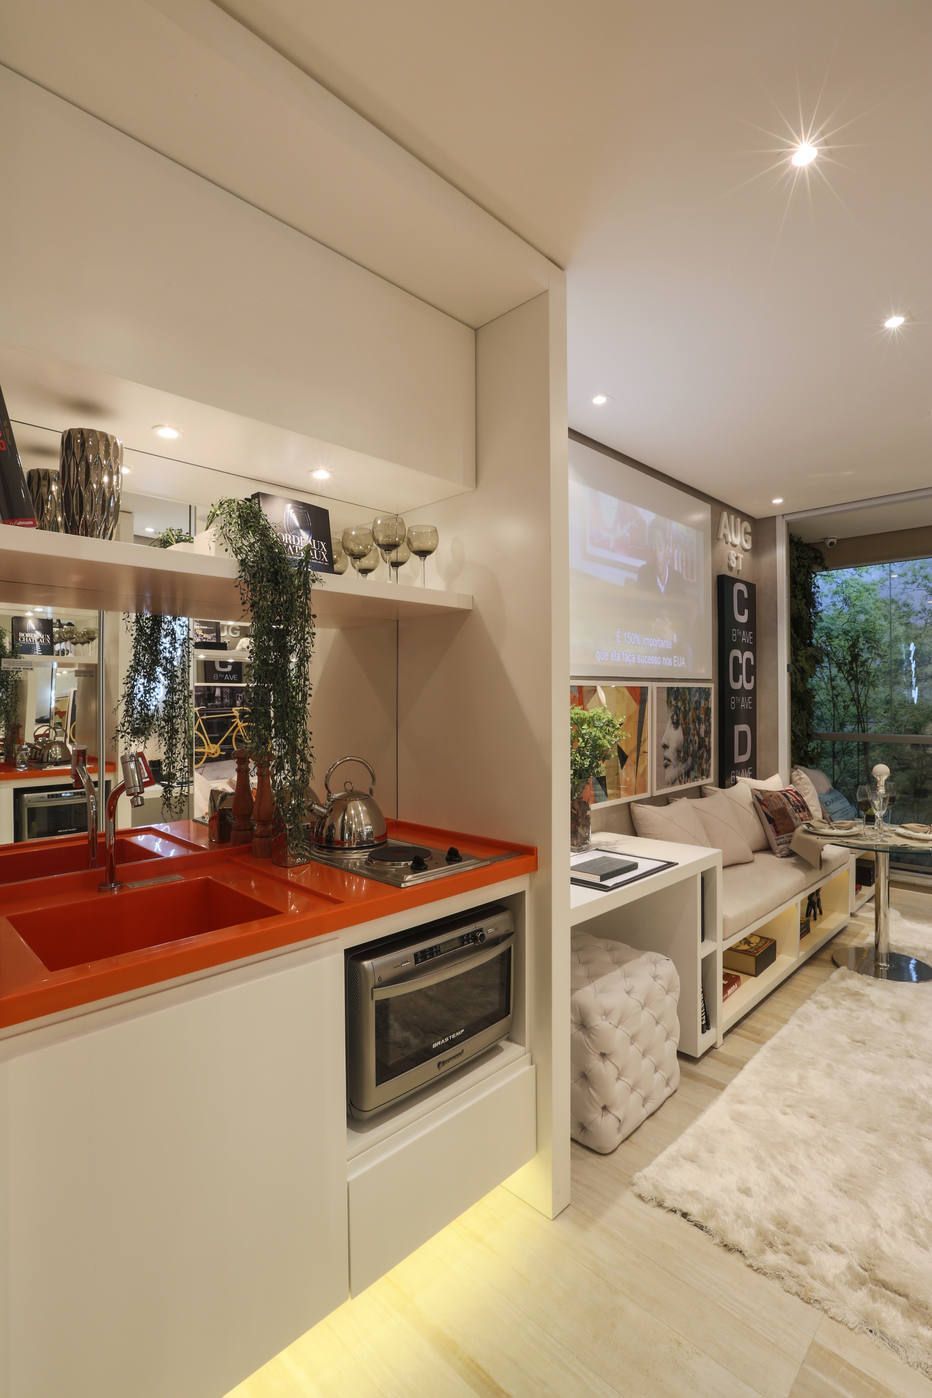
Very common in small apartments, the drywall has become an indispensable item in the decoration. Usually it is integrated into the kitchen and living room, which may or may not be dispensed with in the project, but taking advantage of what is already structured can result in beautiful environments.
To complement this wall, the ideal is that it receives some differentiated work, be it in the finishing or a support furniture. This piece of furniture can be the TV panel, an American countertop, a modern cladding or perhaps the hollow elements.
The cool thing is that its thickness is less than masonry, so it gains points in relation to space savings and flexibility in the rest of the setting. And if you want, learn more about the plaster ceiling, ceiling, molding and drawdown.
Image 1 – Plaster wall maintaining the original shape and adding the American bench.
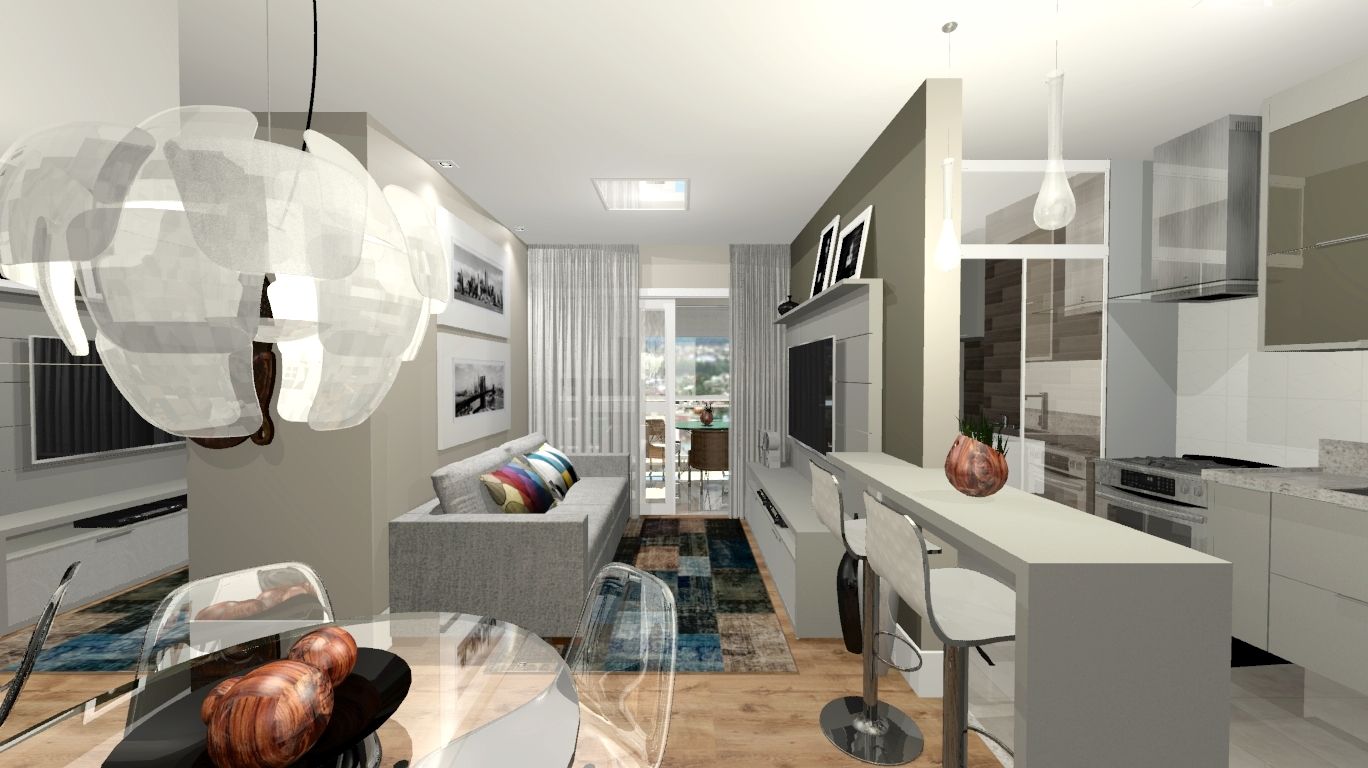
Image 2 – The integrated countertop can be small, as if it were a bar cart, just to support drinks and glasses.
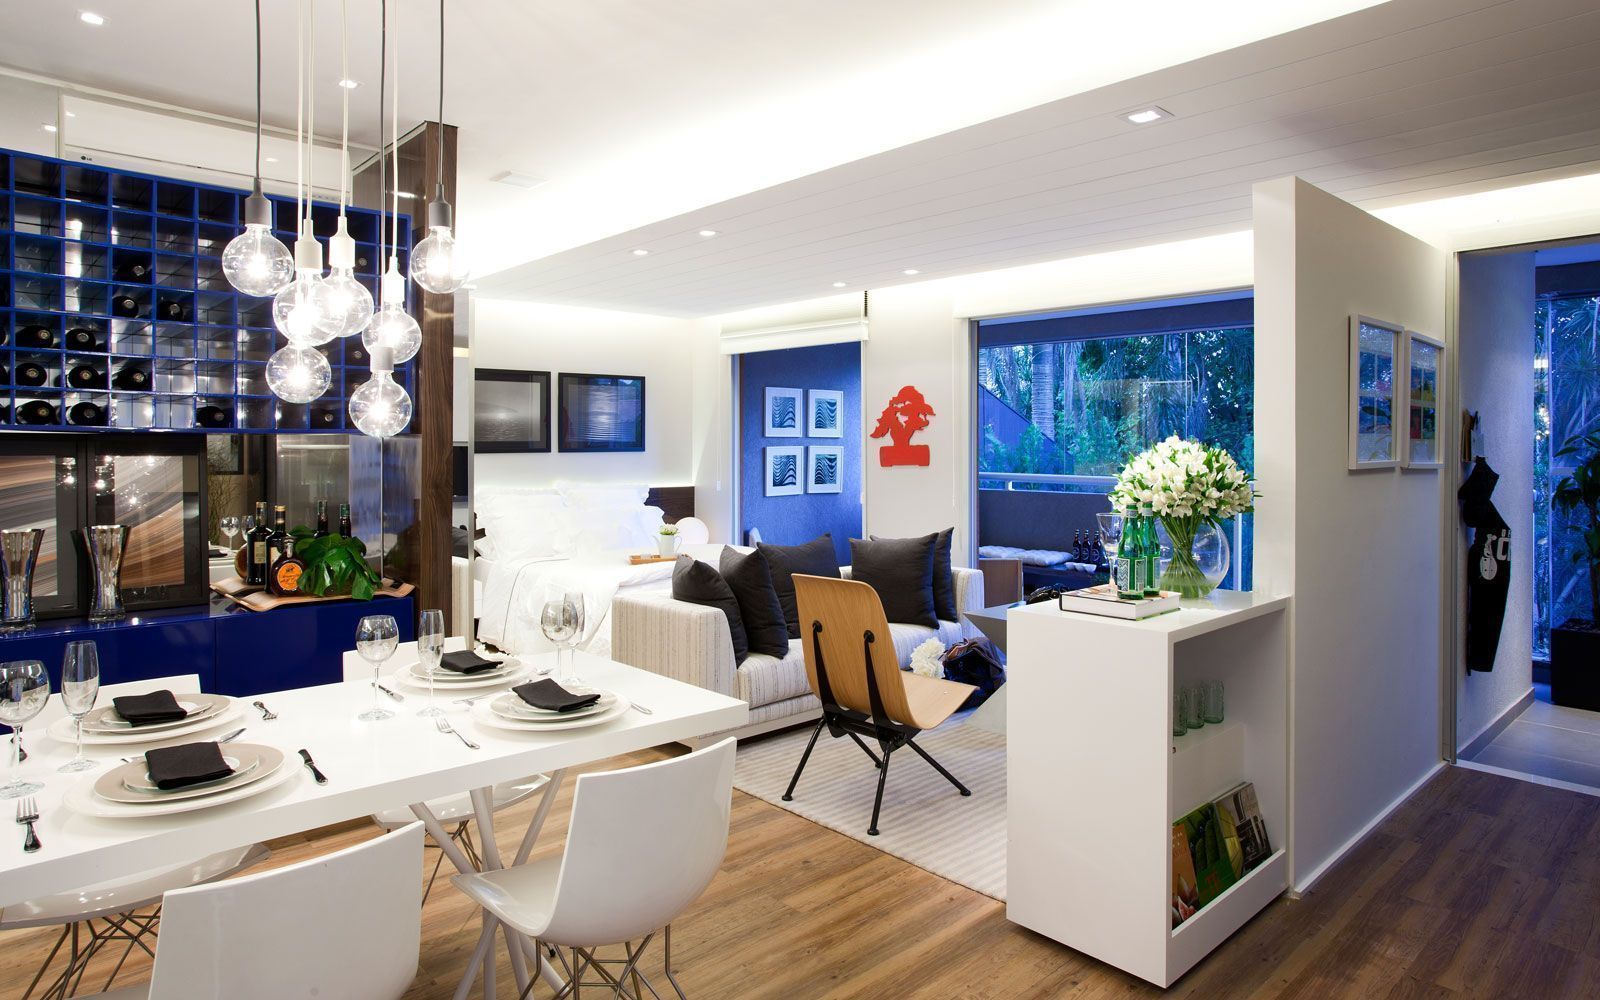
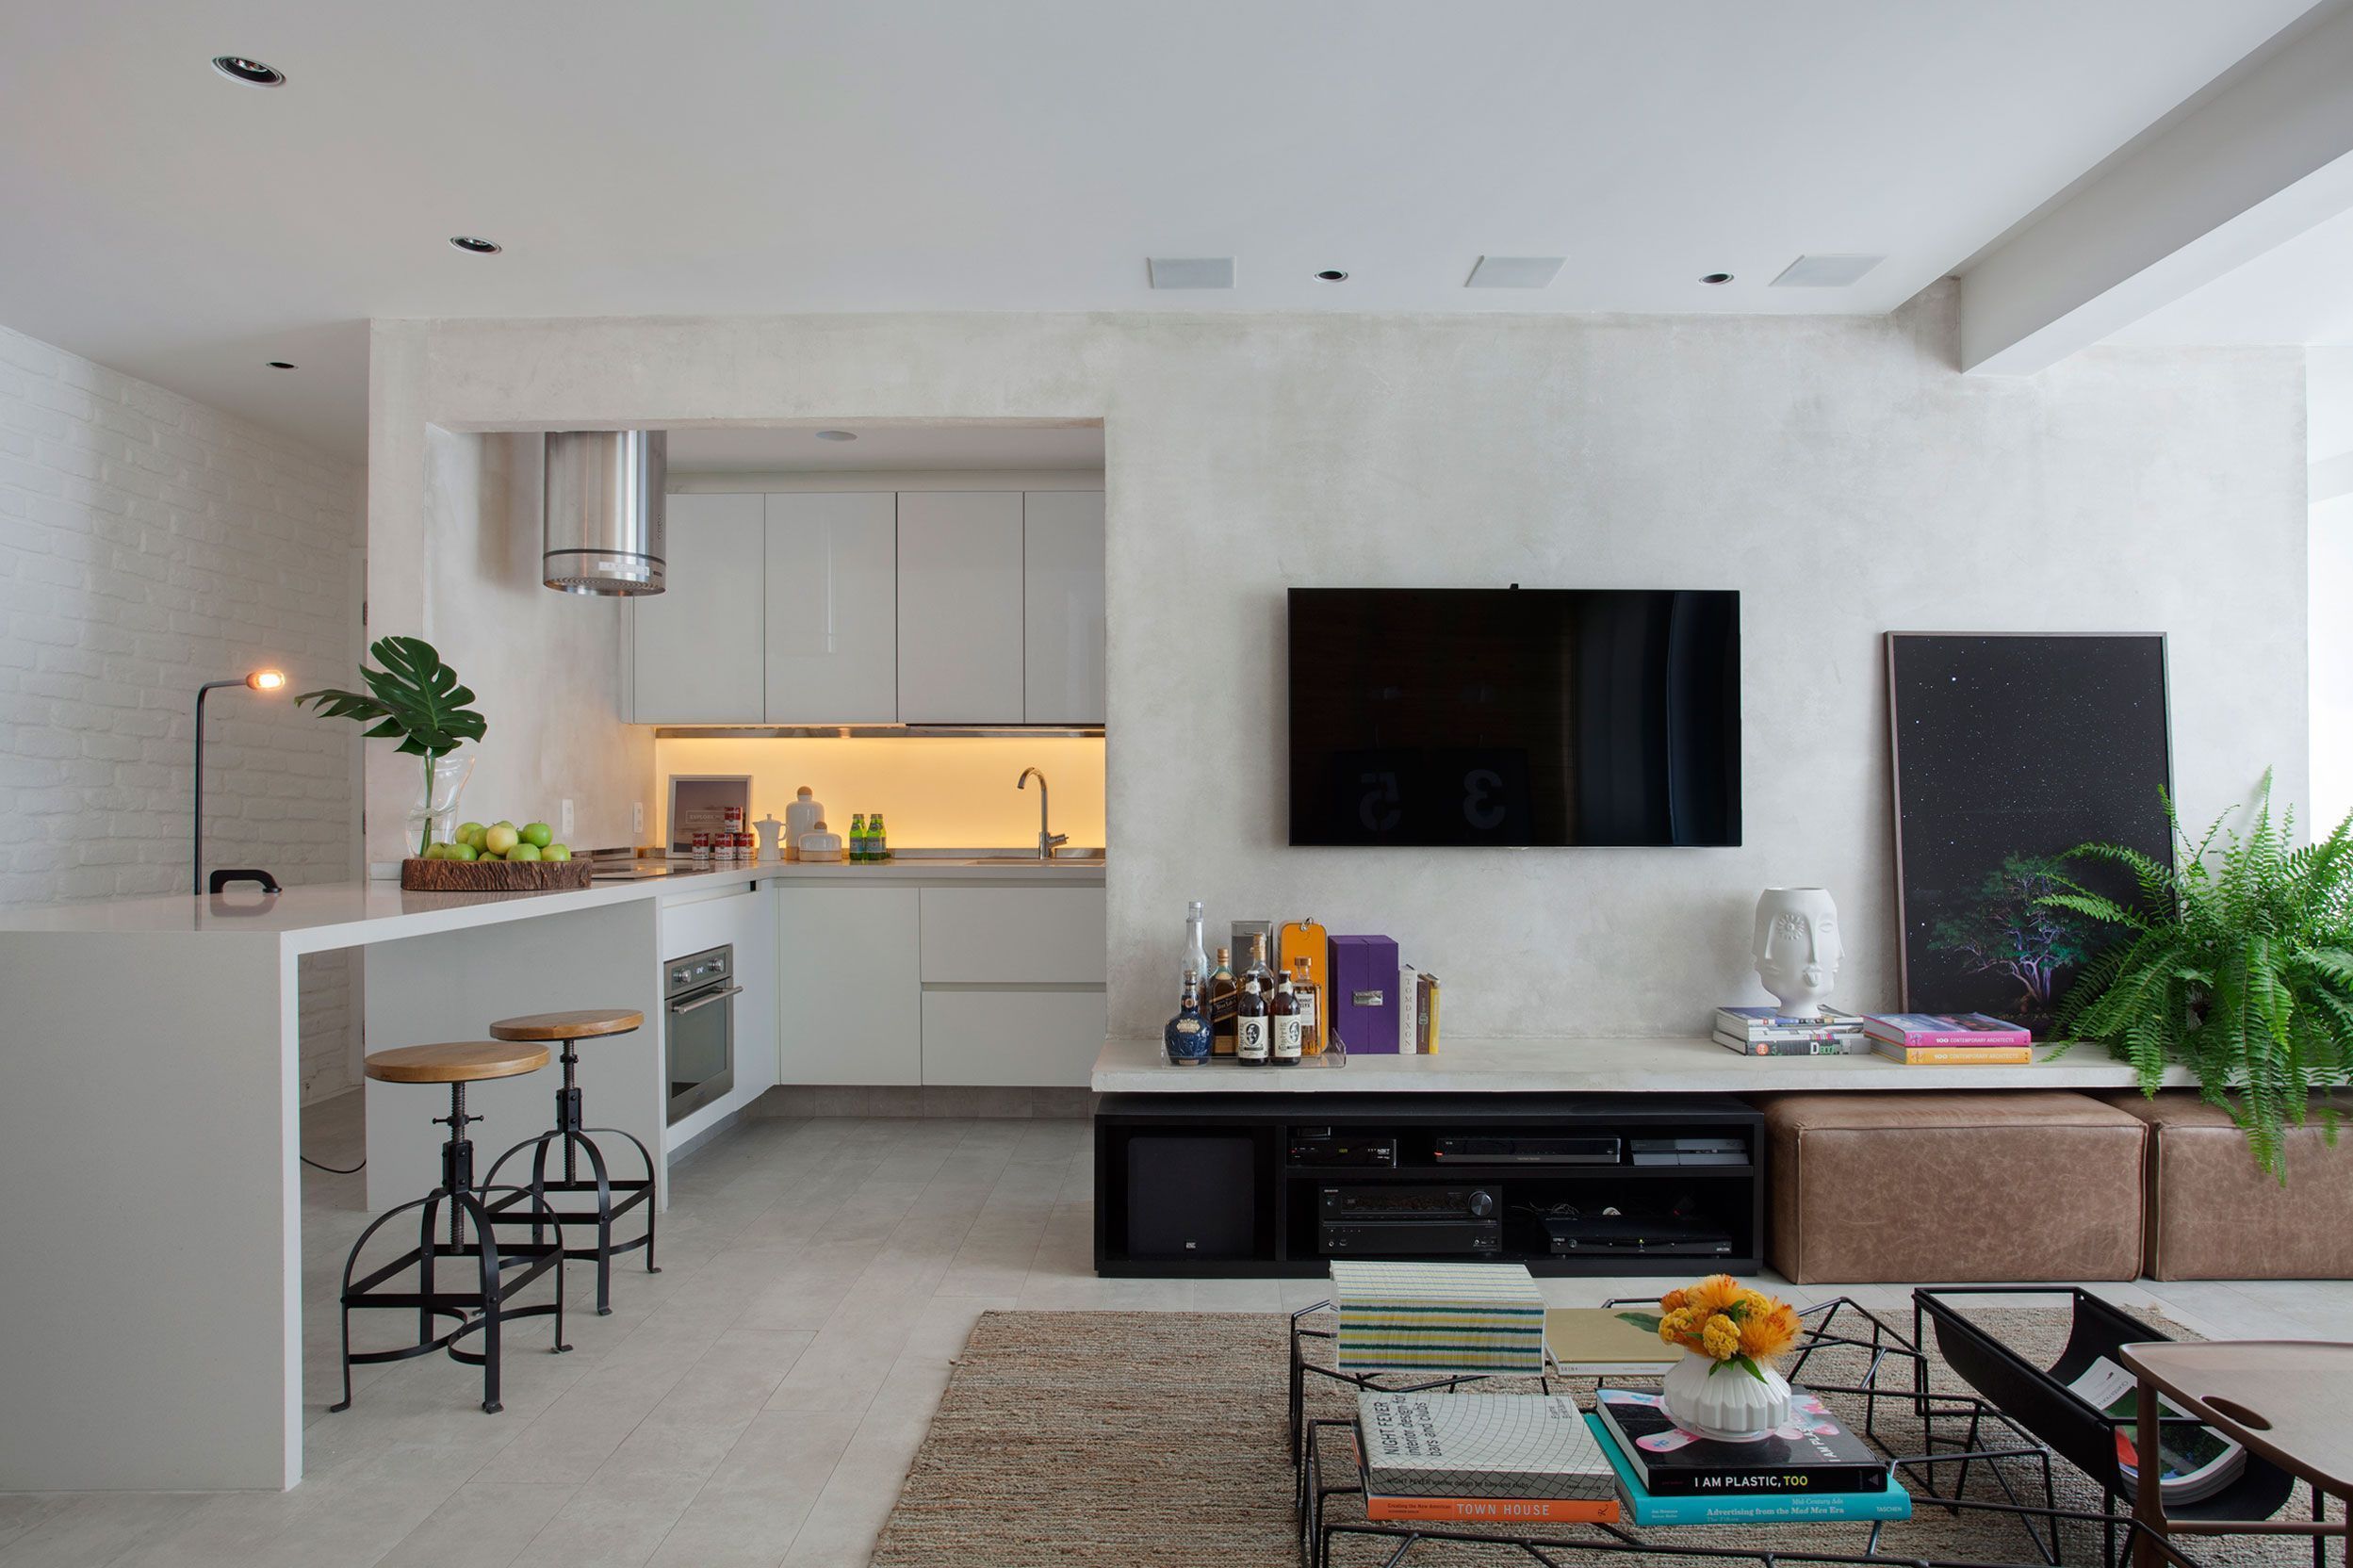
Image 3 – The plaster wall can give continuity to a sideboard in the living room.
Picture 4 – Mix materials for an amazing result!
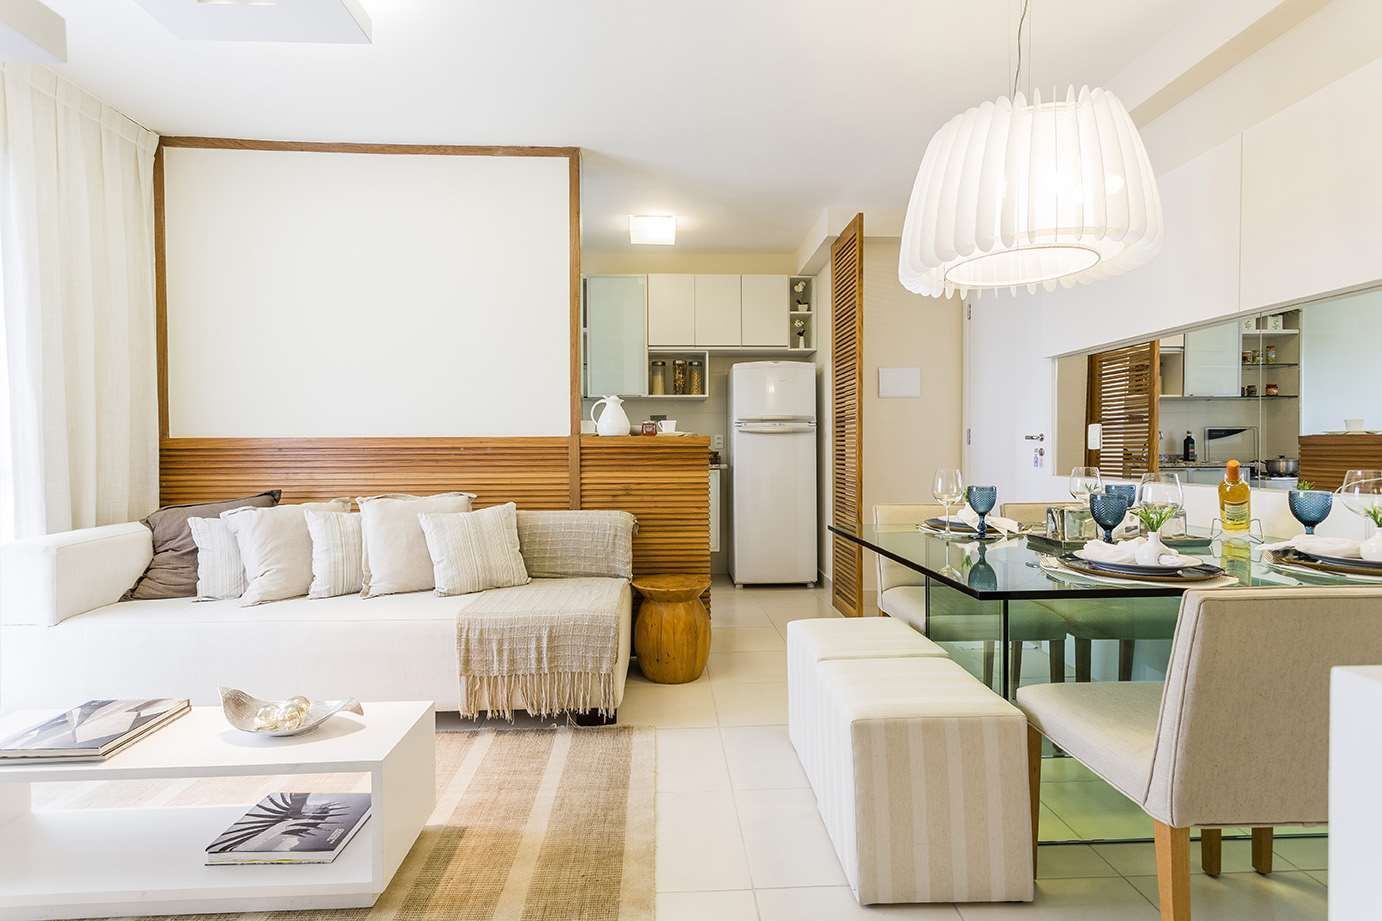
Image 5 – Plaster wall with white cobogós.
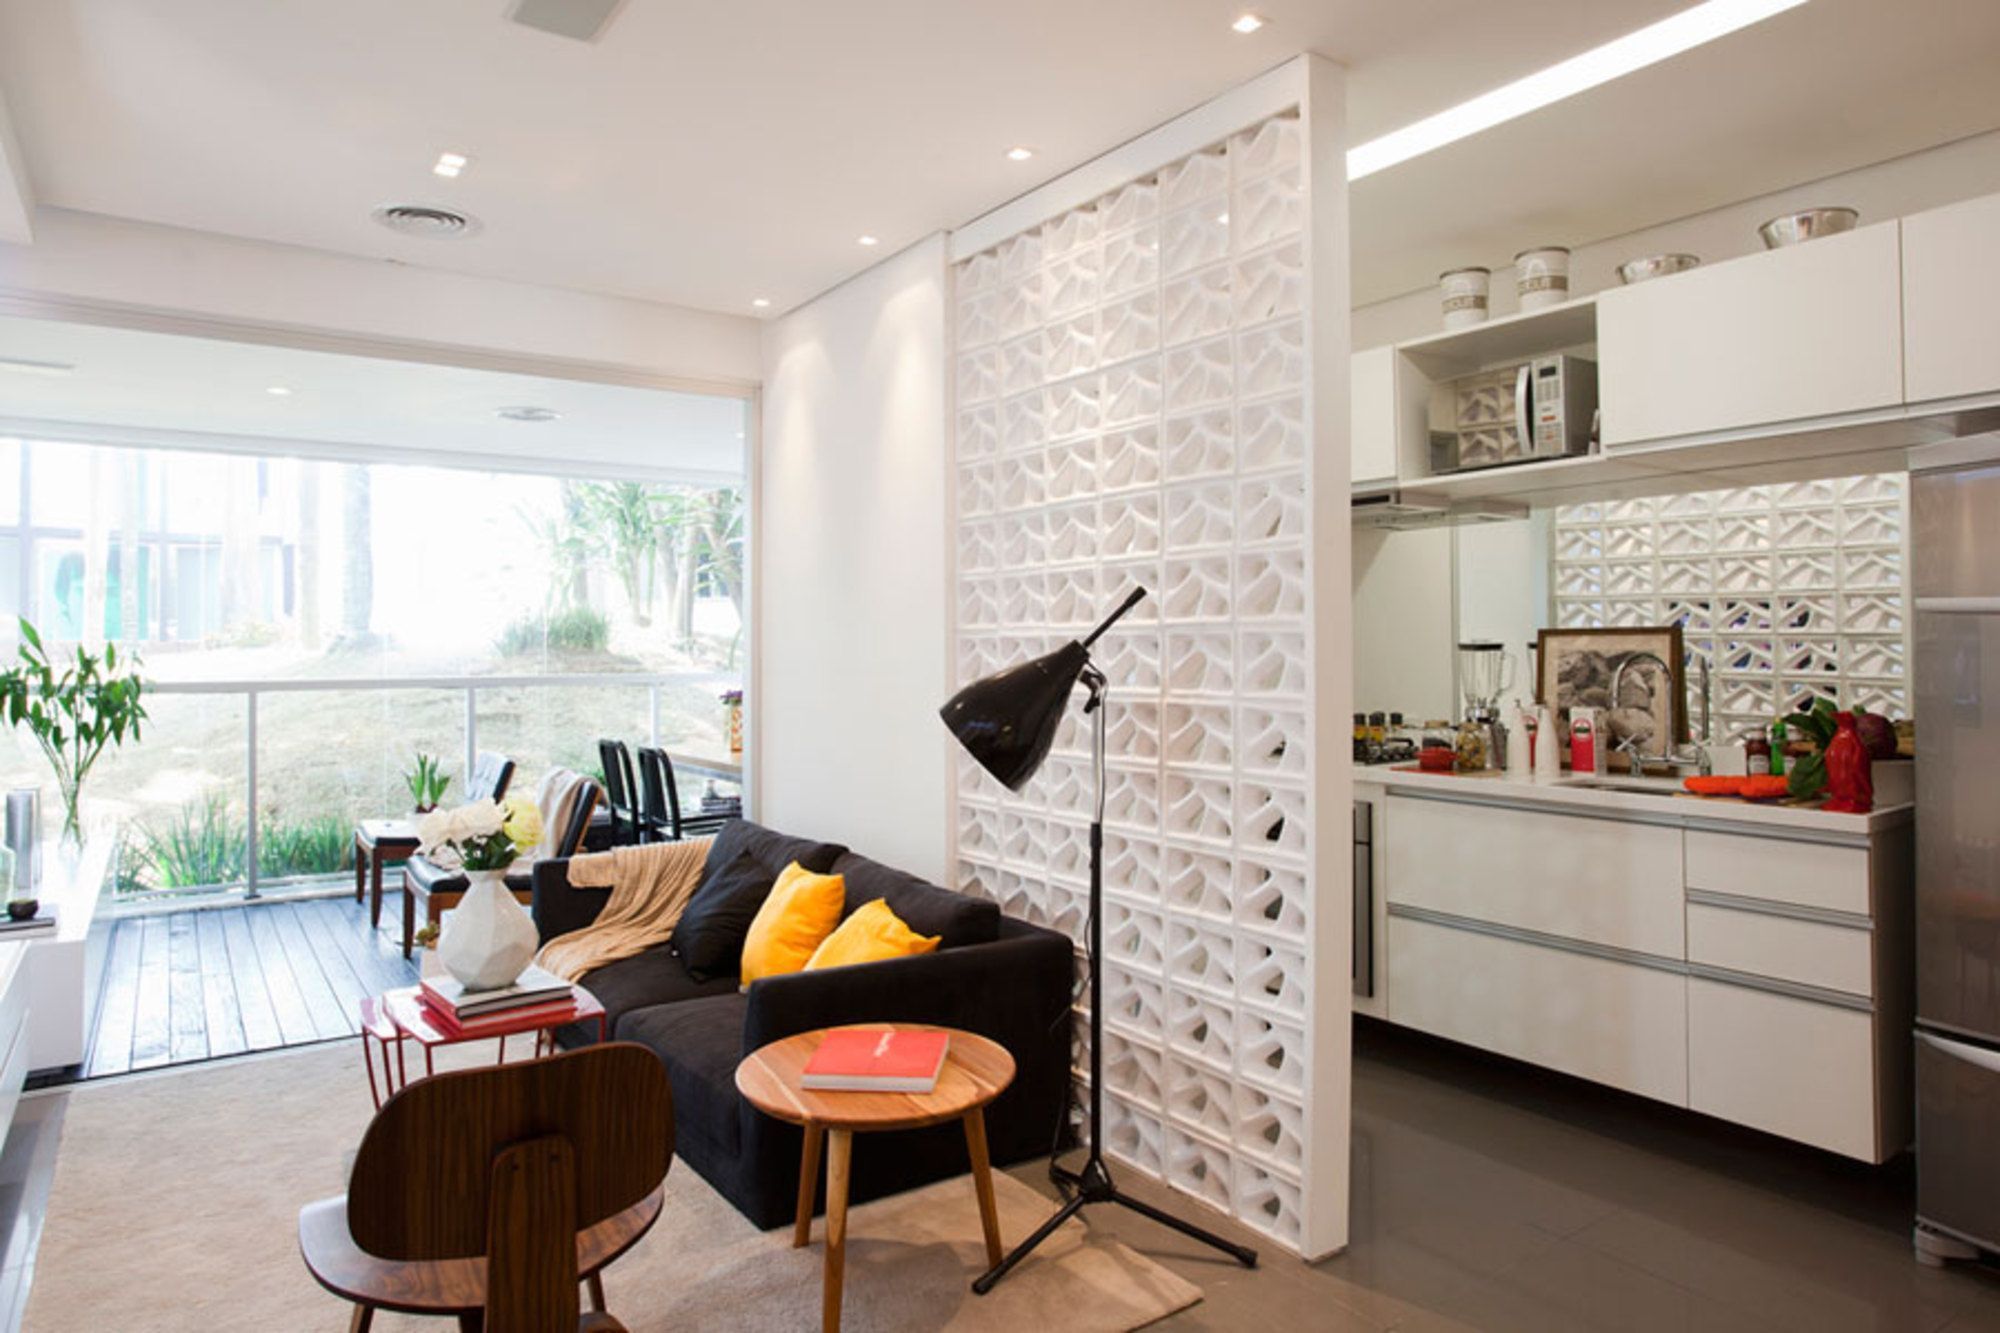
Image 6 – Plaster wall coated with mirror.
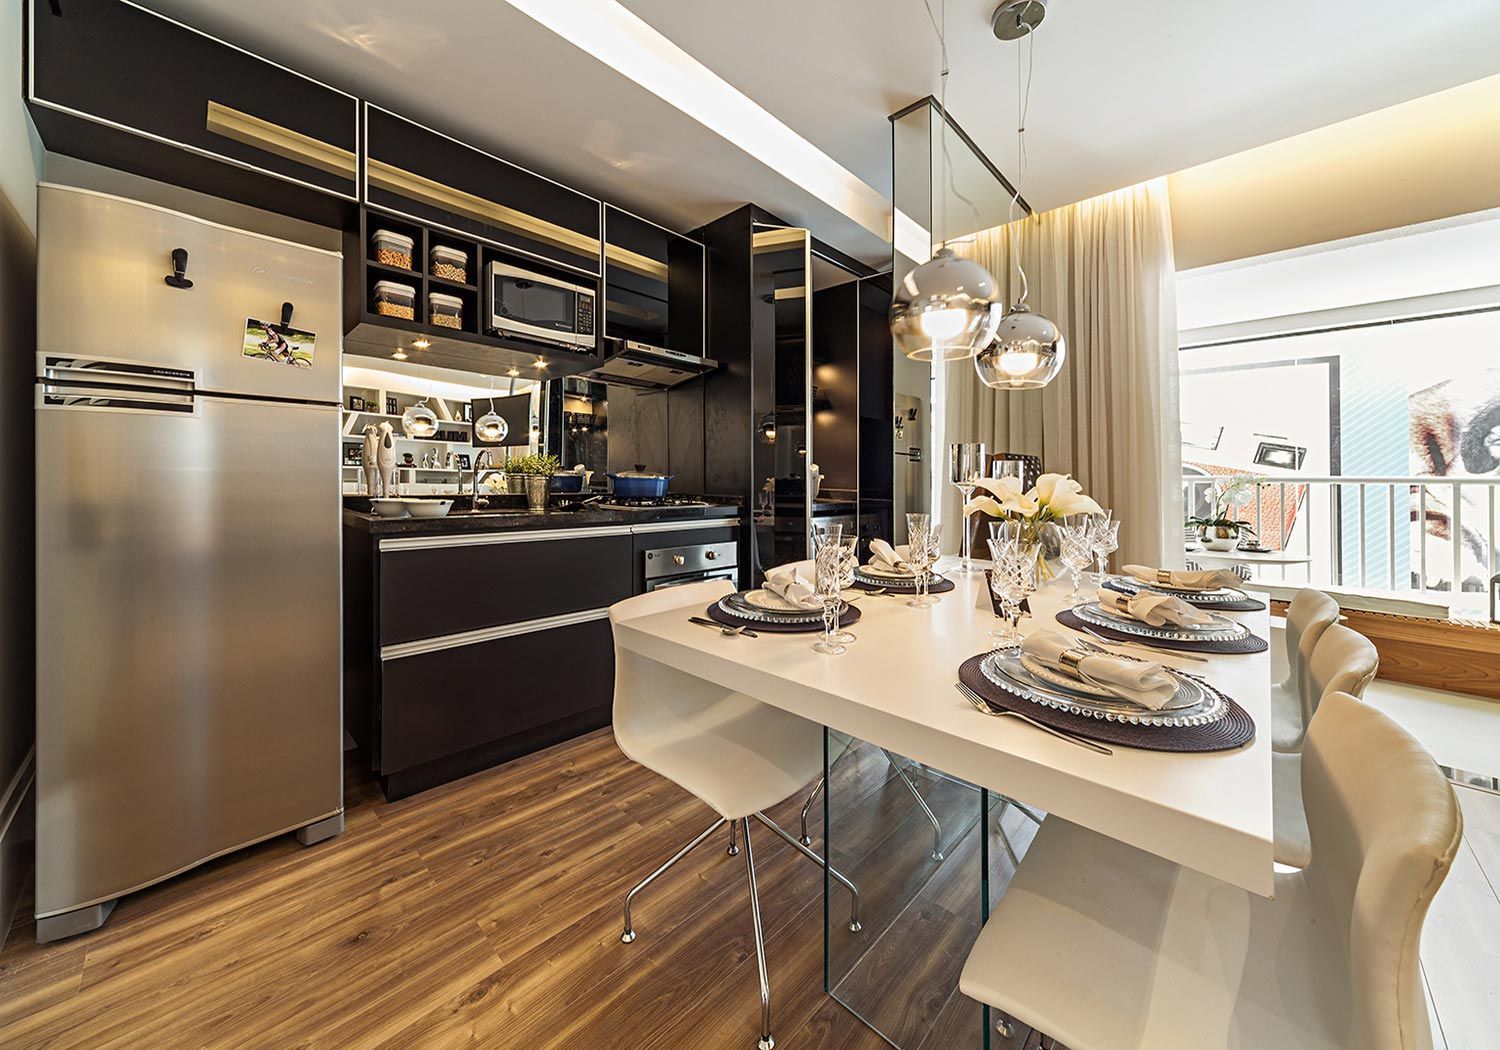
Image 7 – Plaster wall with colorful cobogós.
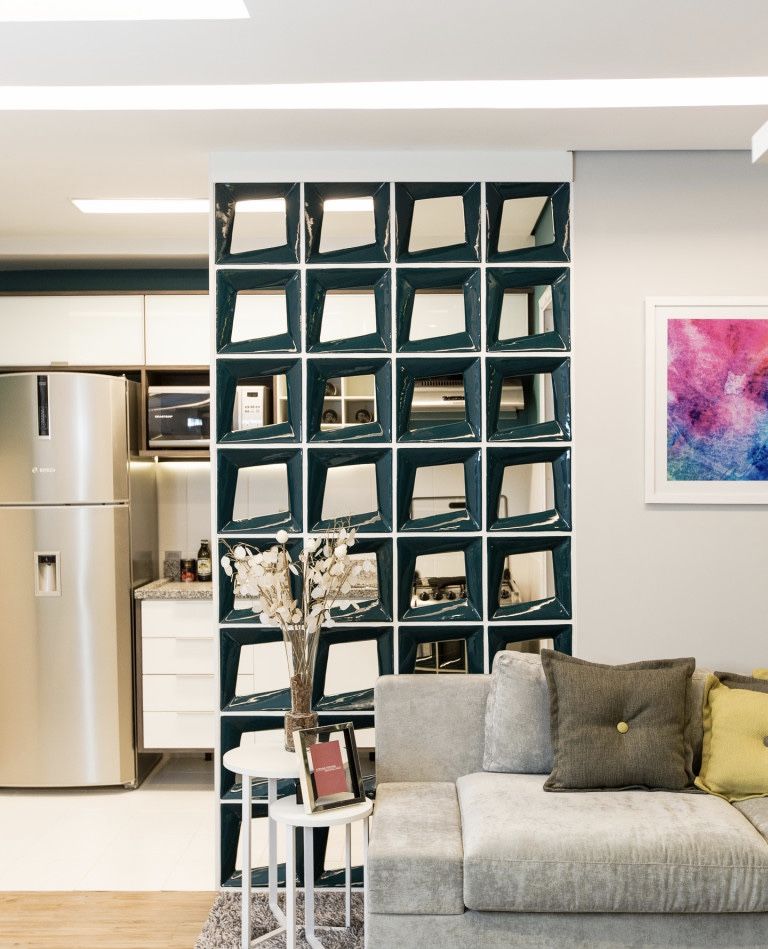
Picture 8 – Paint the wall with a different color!
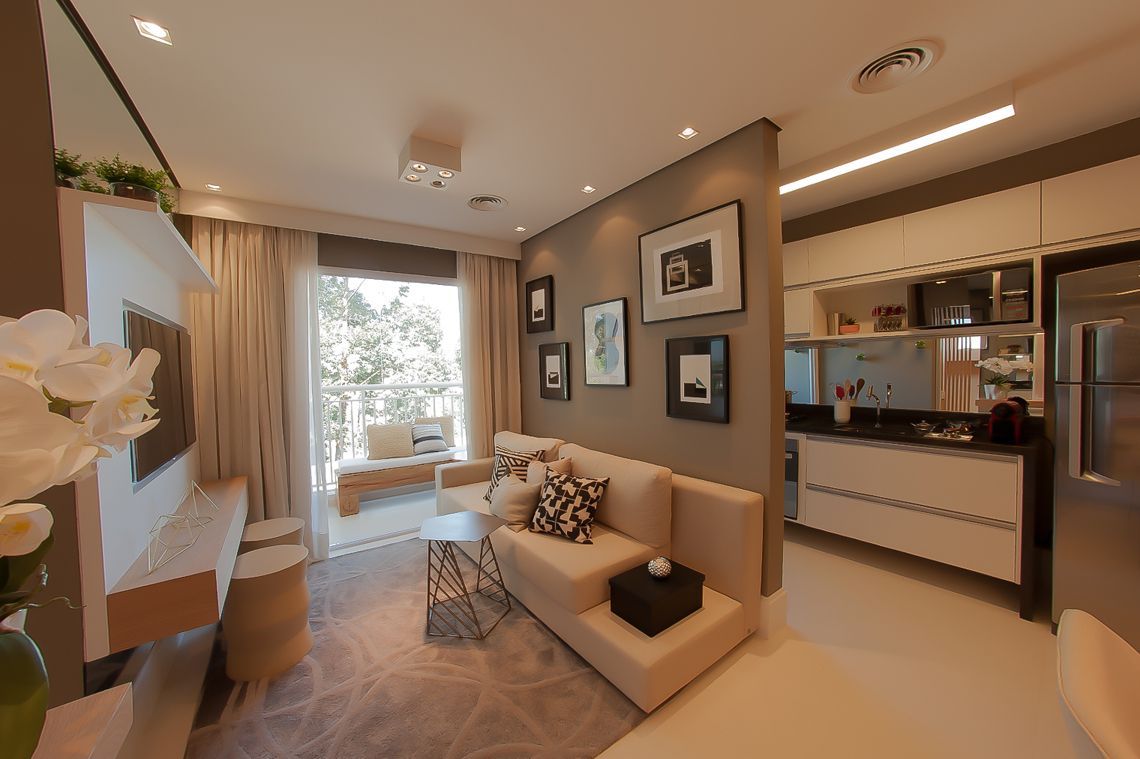
Image 9 – Line the plaster wall with a glass plate to give a different finish.
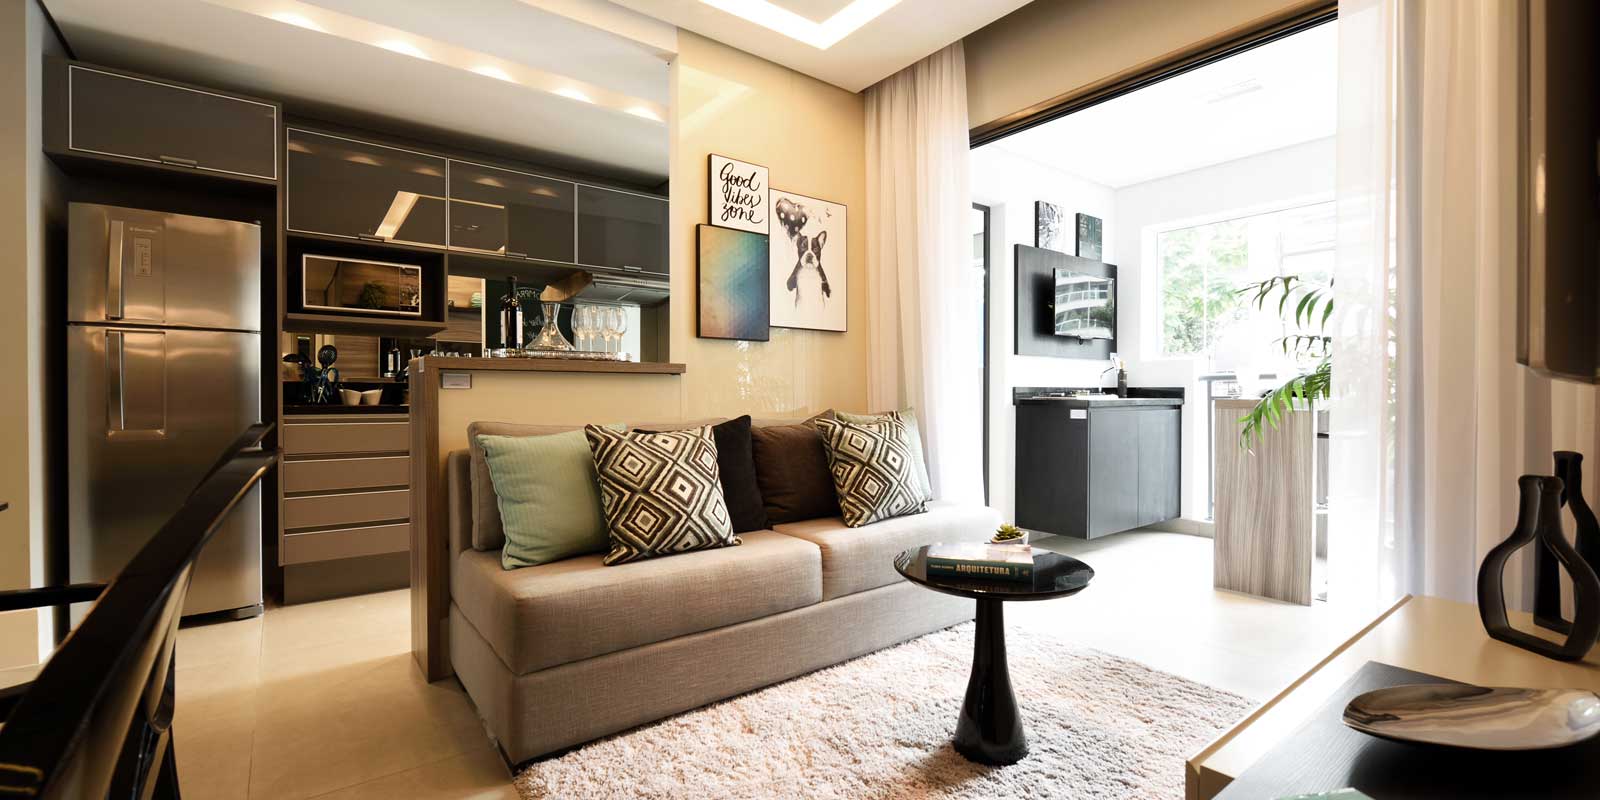
Image 10 – For greater effect, make the same finish for the entire wall.
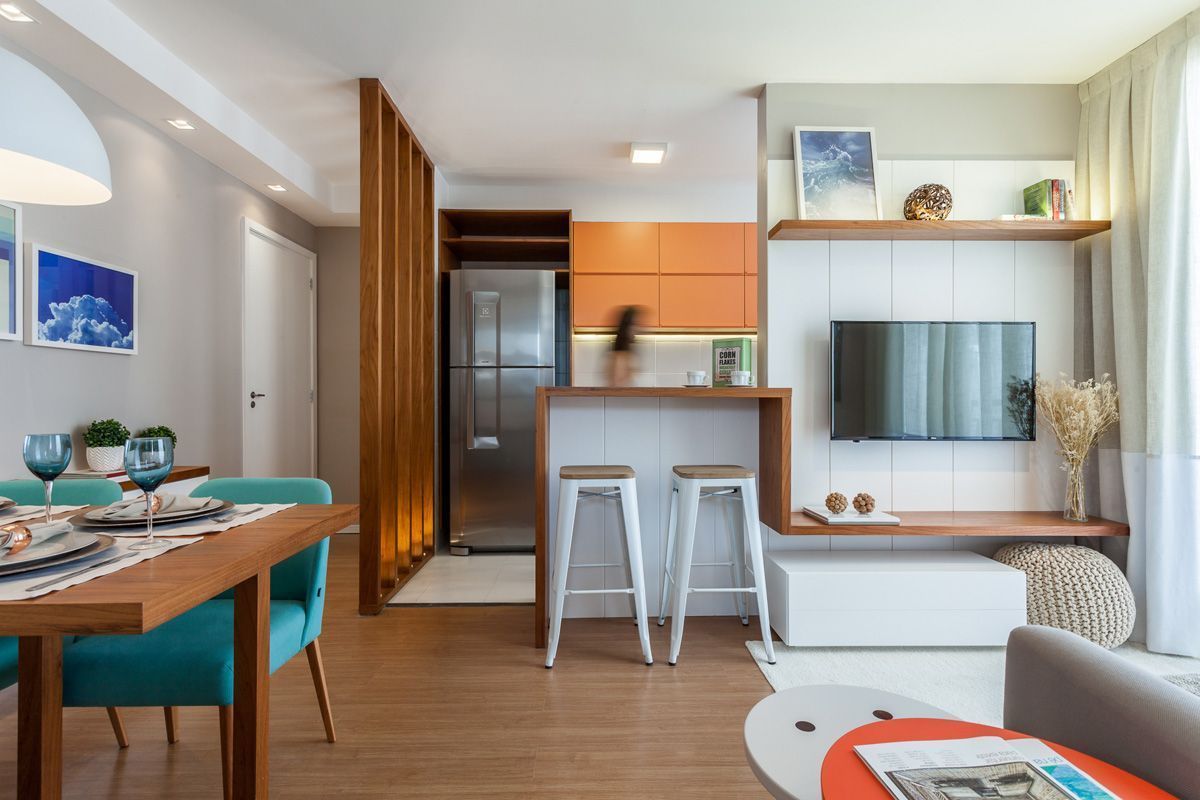
Image 11 – Outline some furniture on the plaster wall.
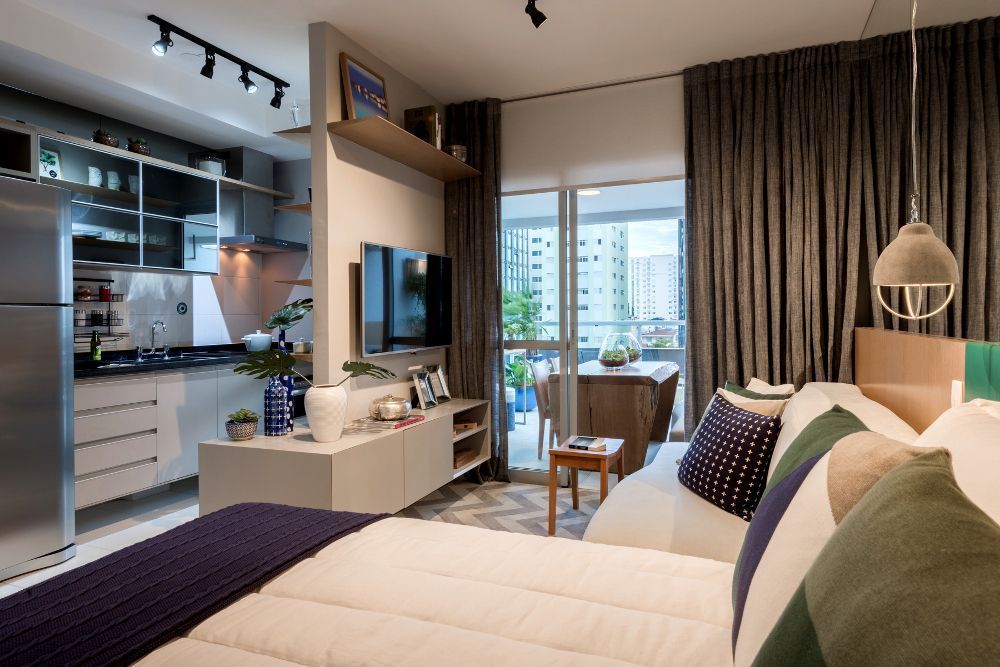
Image 12 – You can also insert some coating on it.
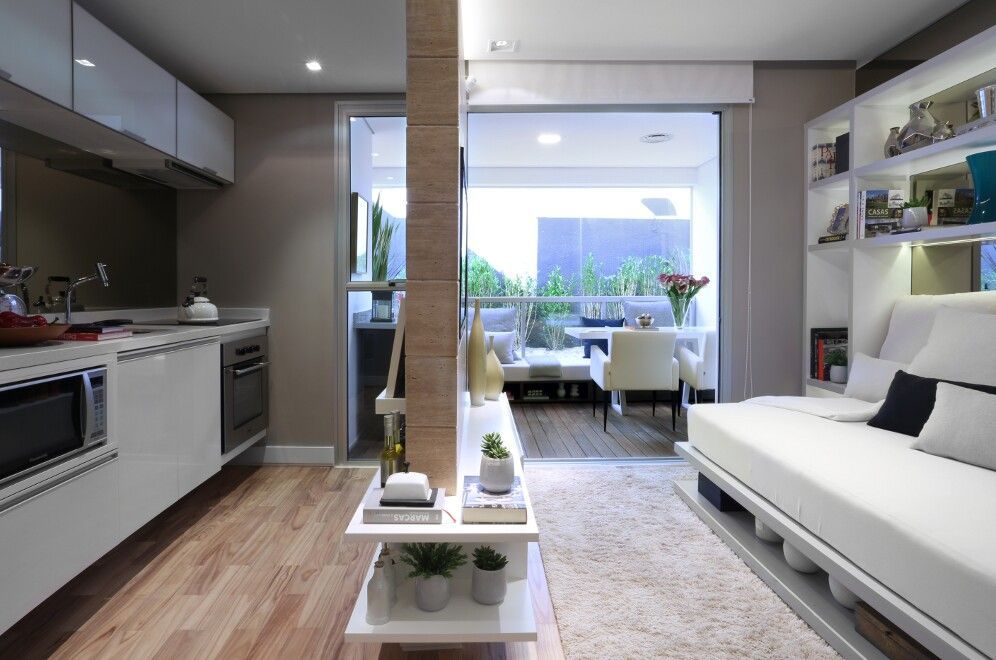
Image 13 – Complement the plaster wall with shelves.
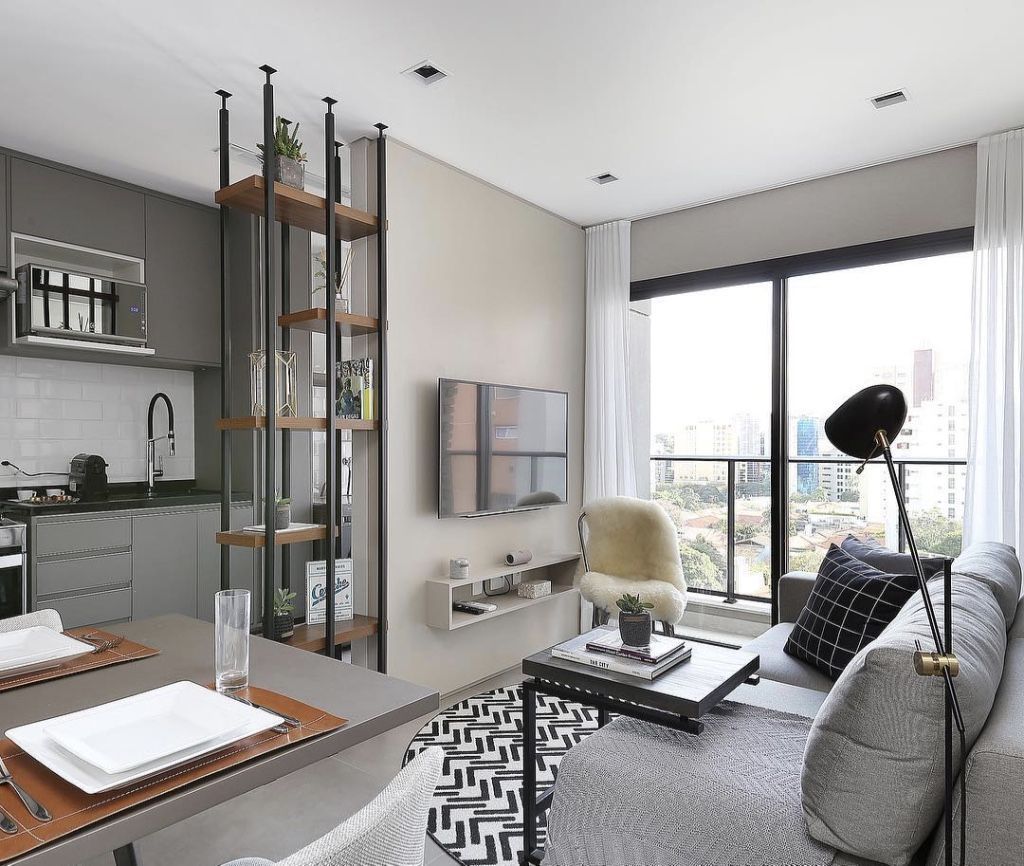
Picture 14 – Plaster wall simple and functional!
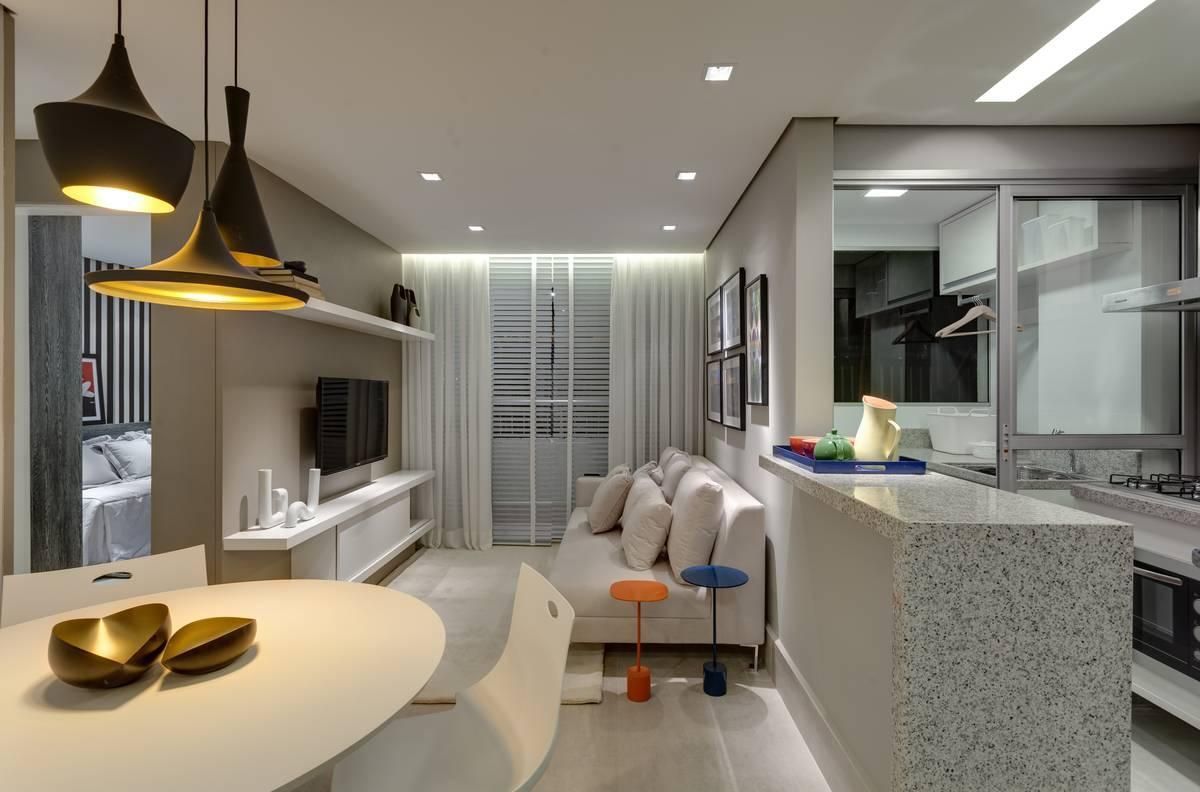
Image 15 – Plaster wall with burnt cement finish.
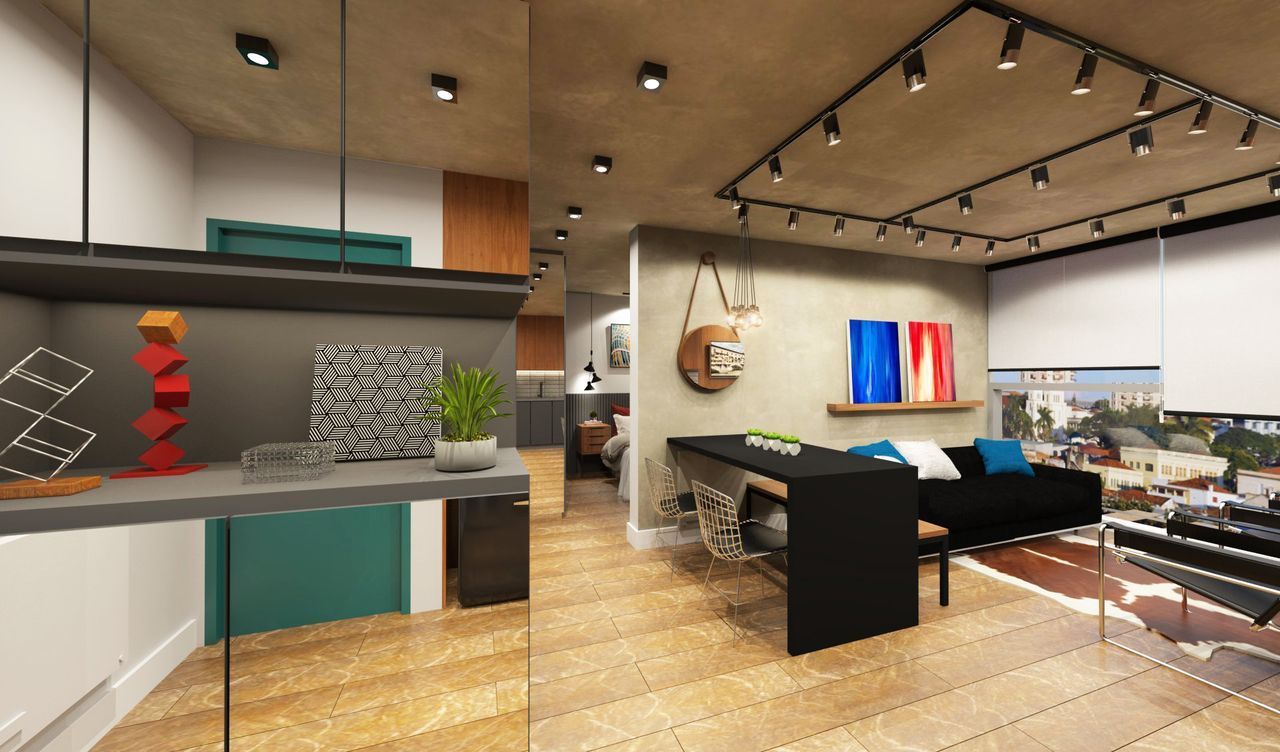
Image 16 – Plaster wall covered in wood.
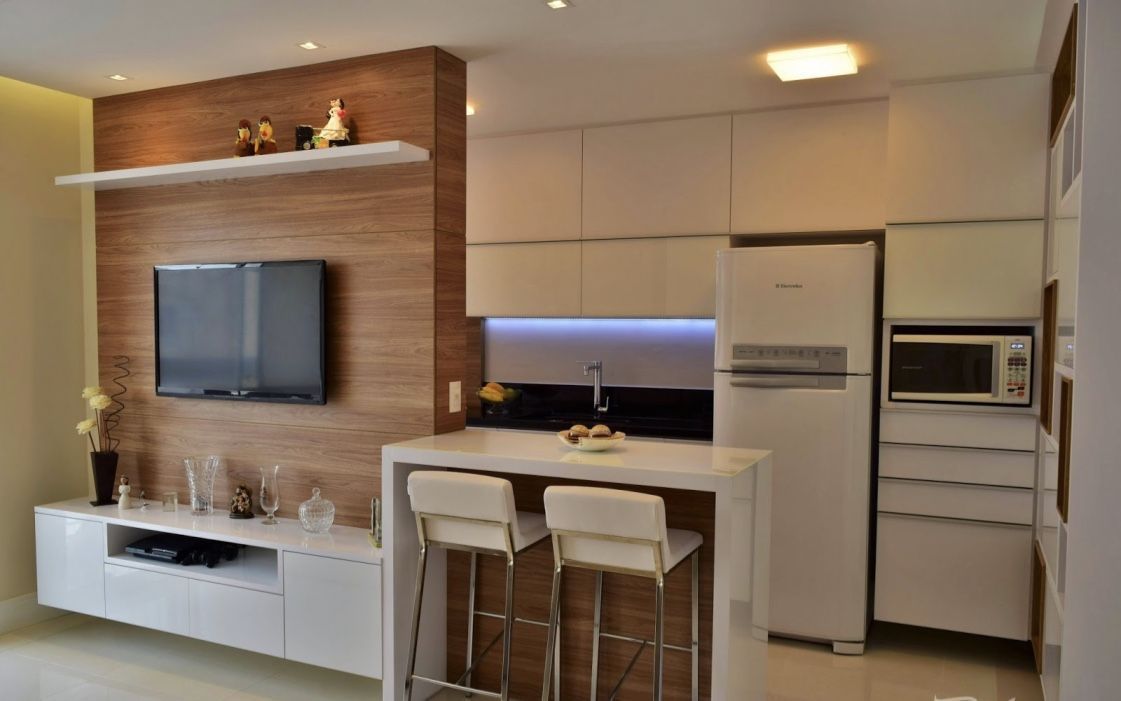
Image 17 – The plaster wall received a differentiated work to accommodate TV and wines.
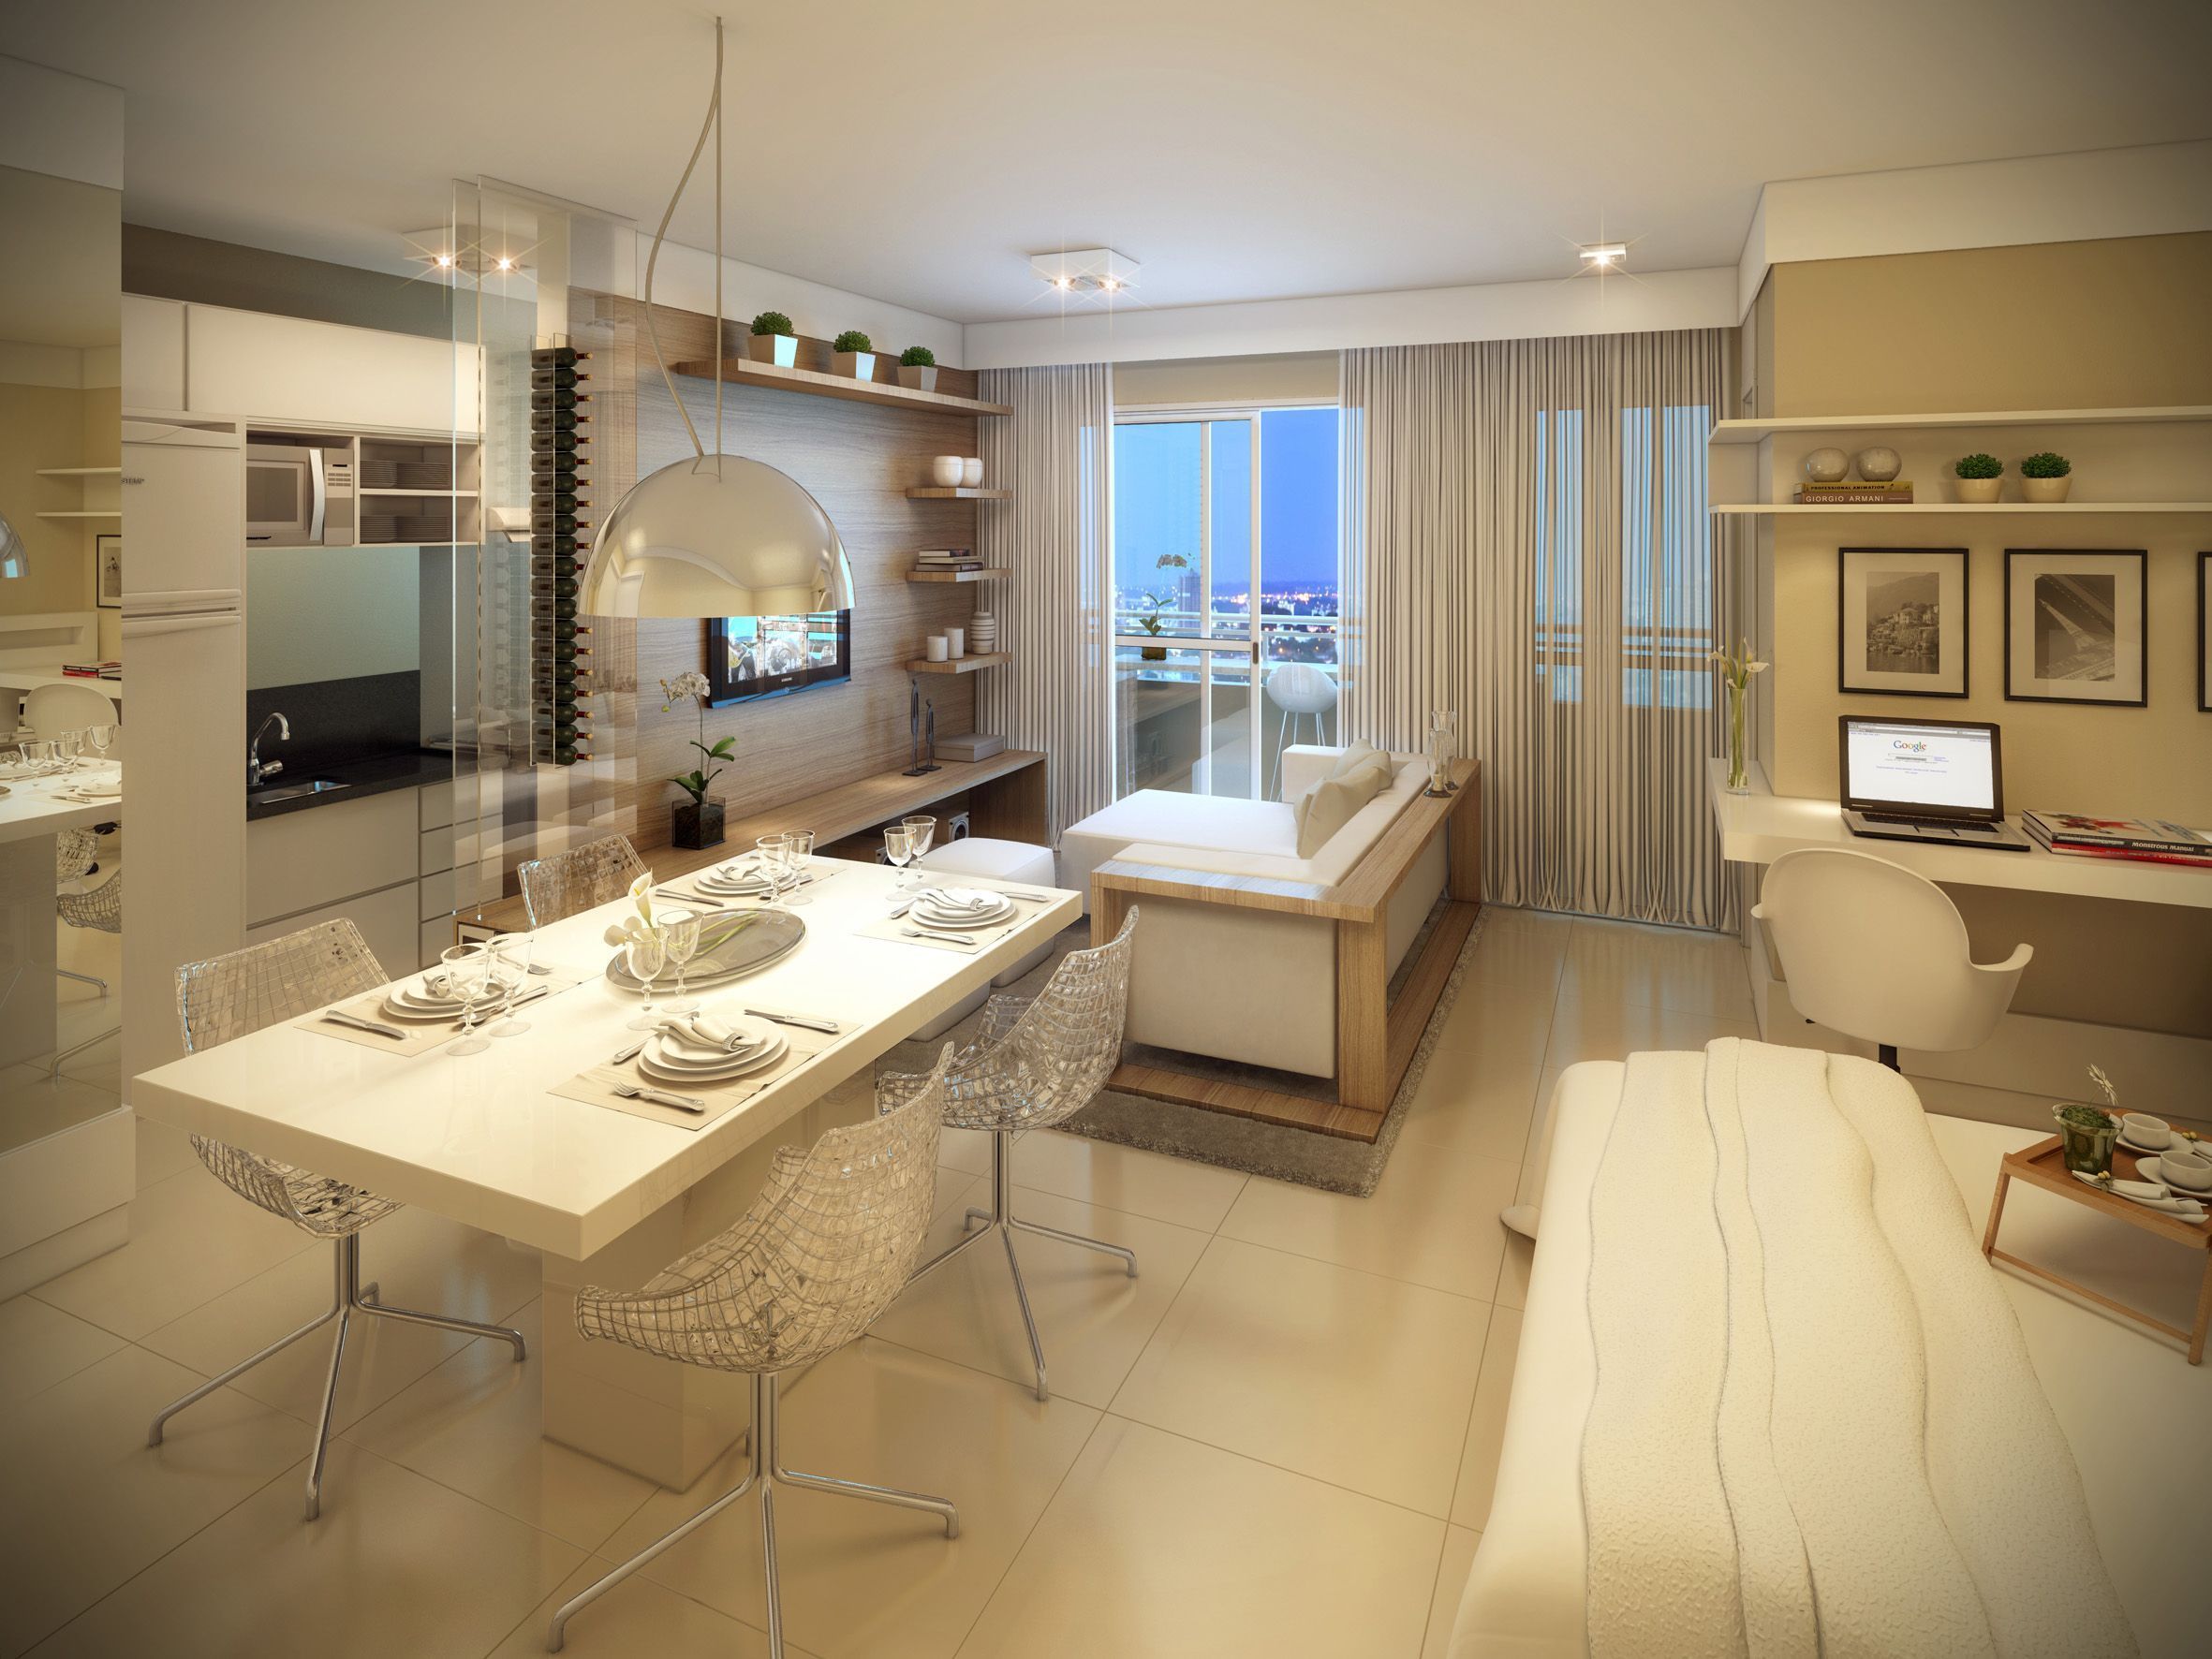
Check out some more projects on how and where to use the plaster wall in different environments:
Image 18 – Try to complement the plaster wall to the integrated project!
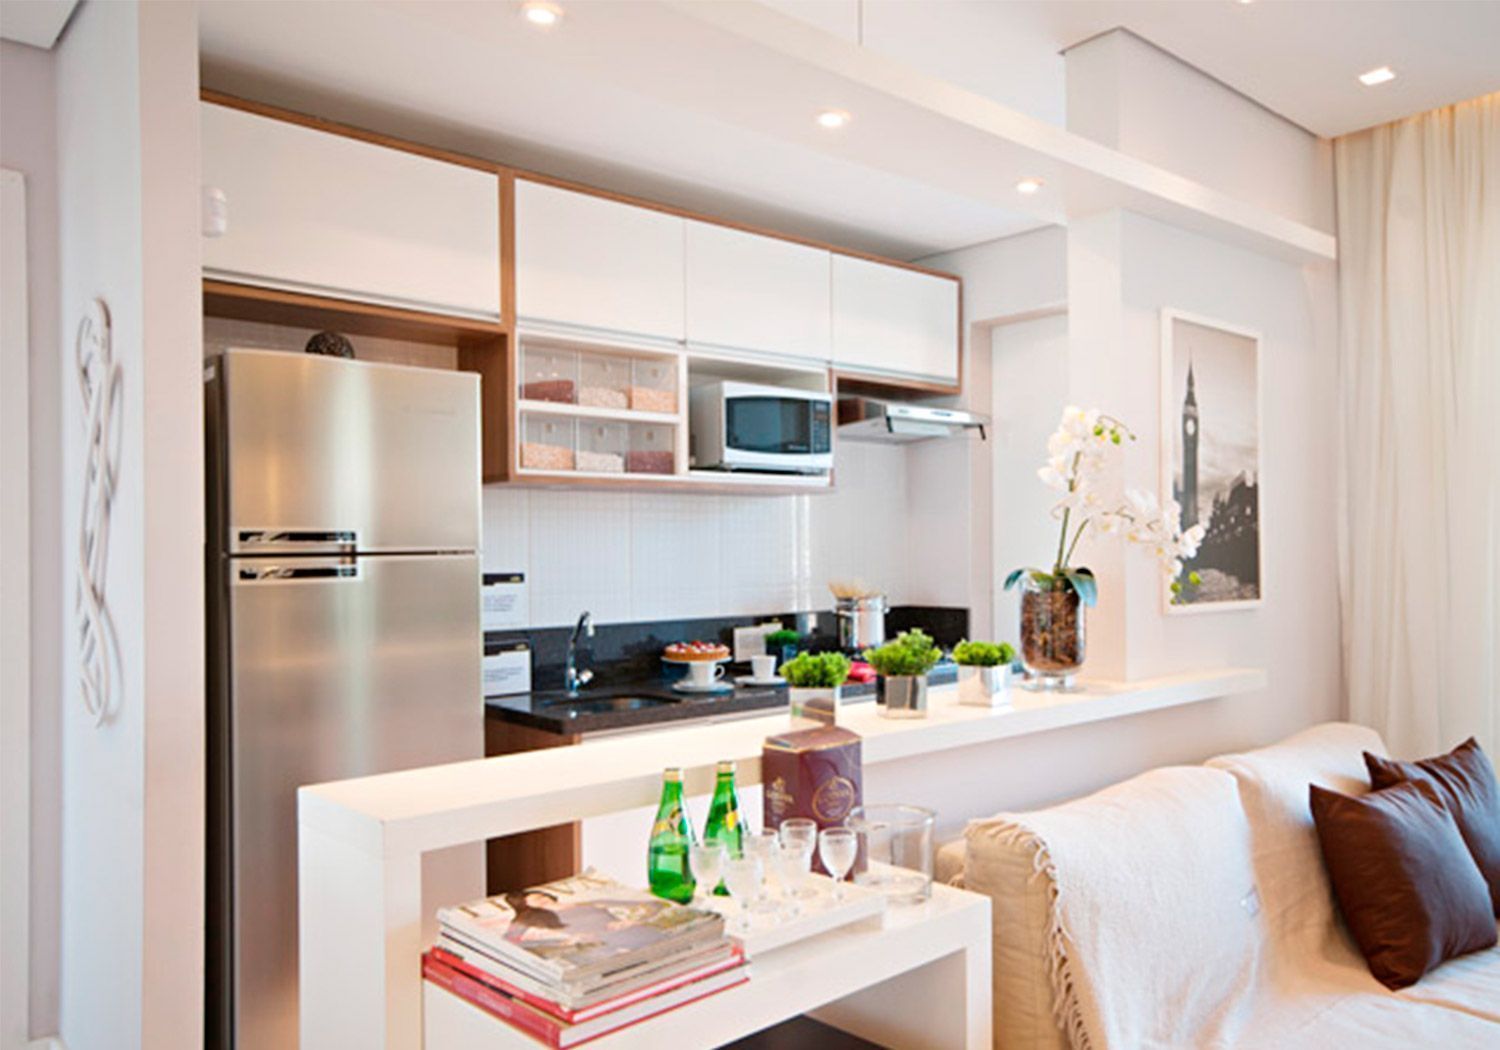
Picture 19 – Take advantage of the plaster wall to hang pictures and decorate the room.
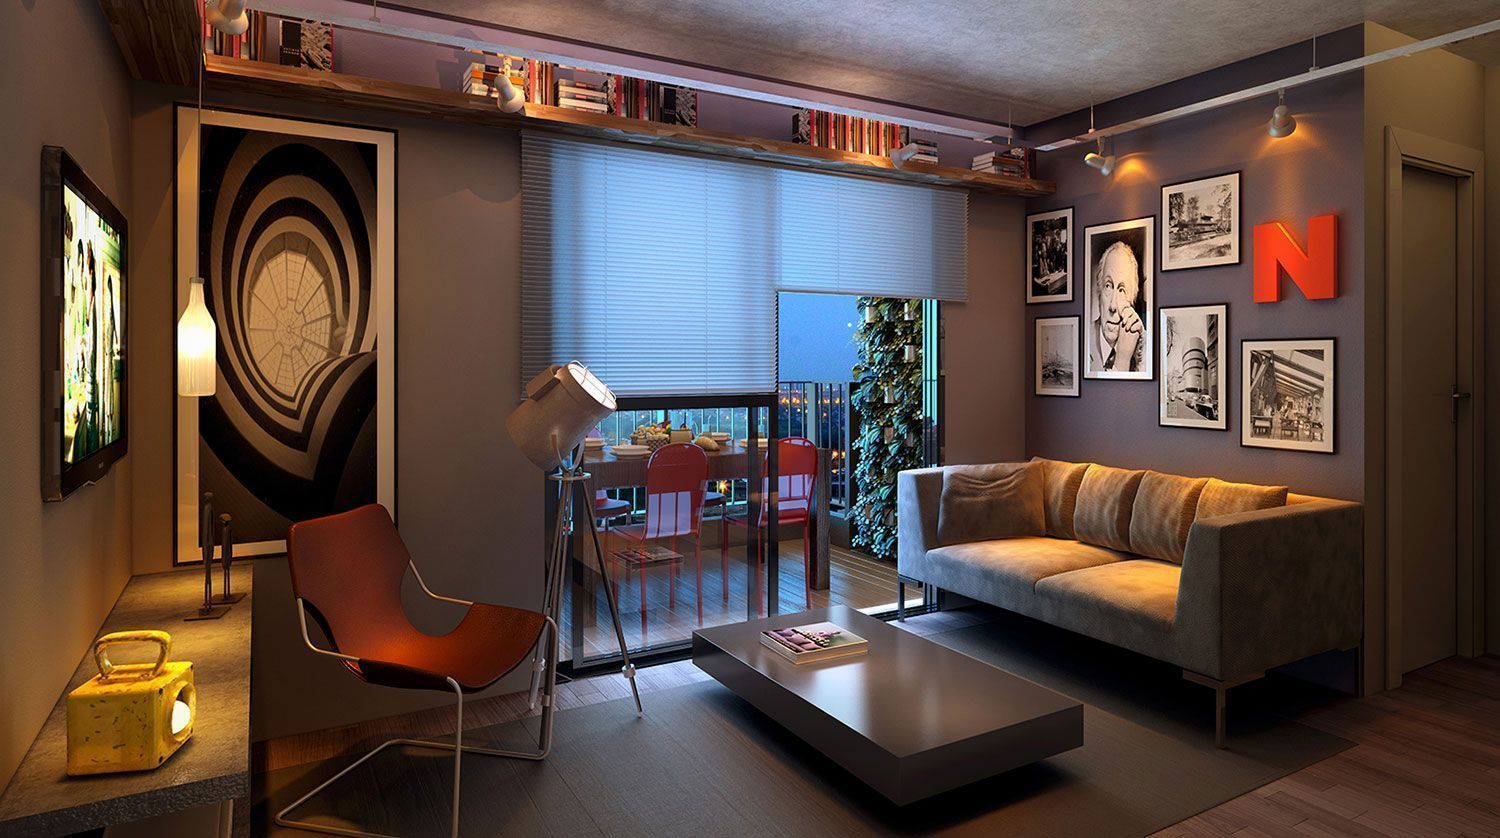
Picture 20 – In the service area are also welcome!
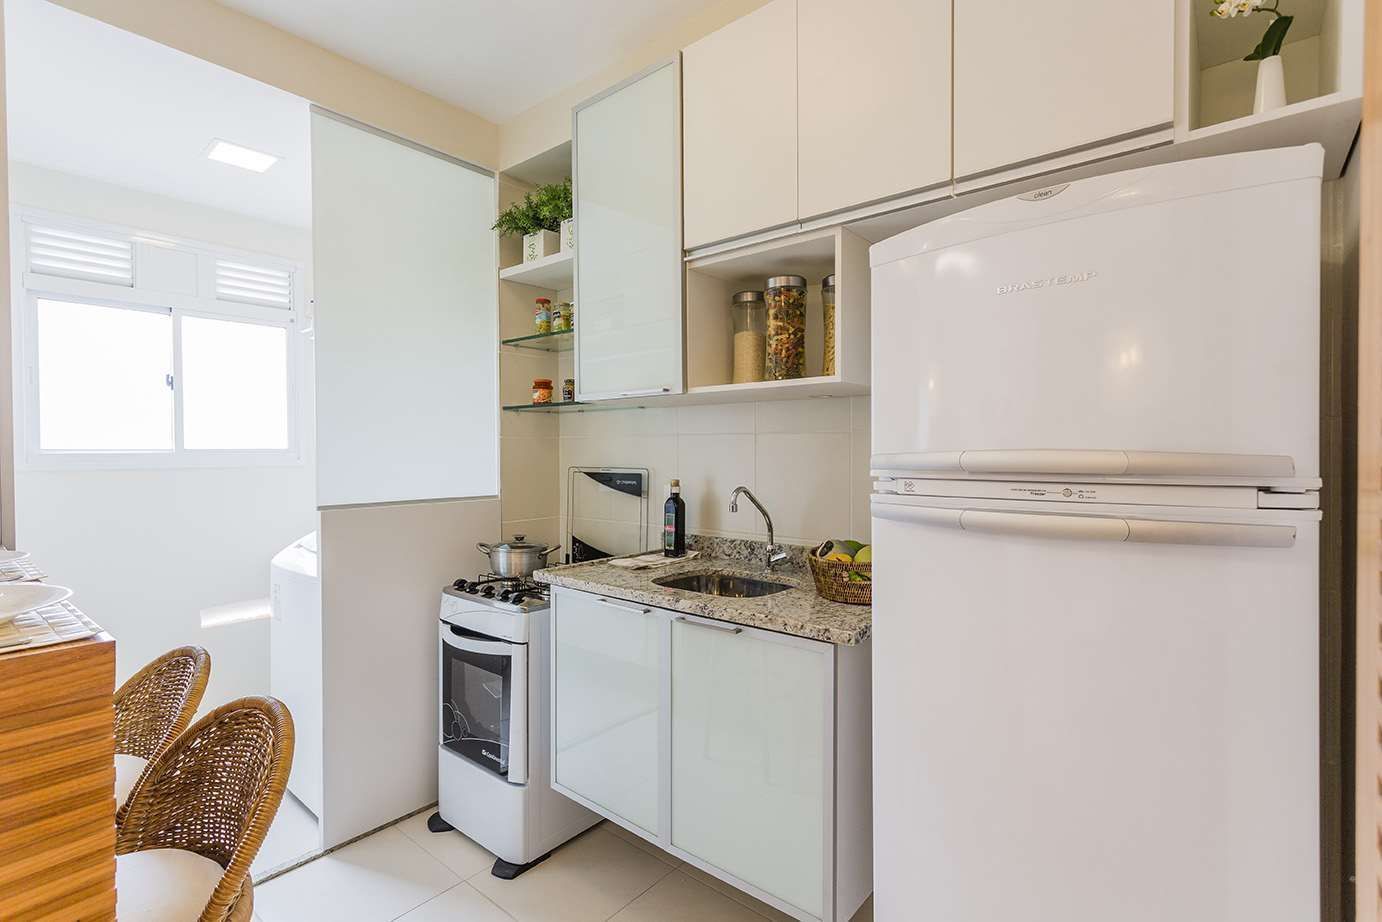
Image 21 – Plaster wall with OSB finish.
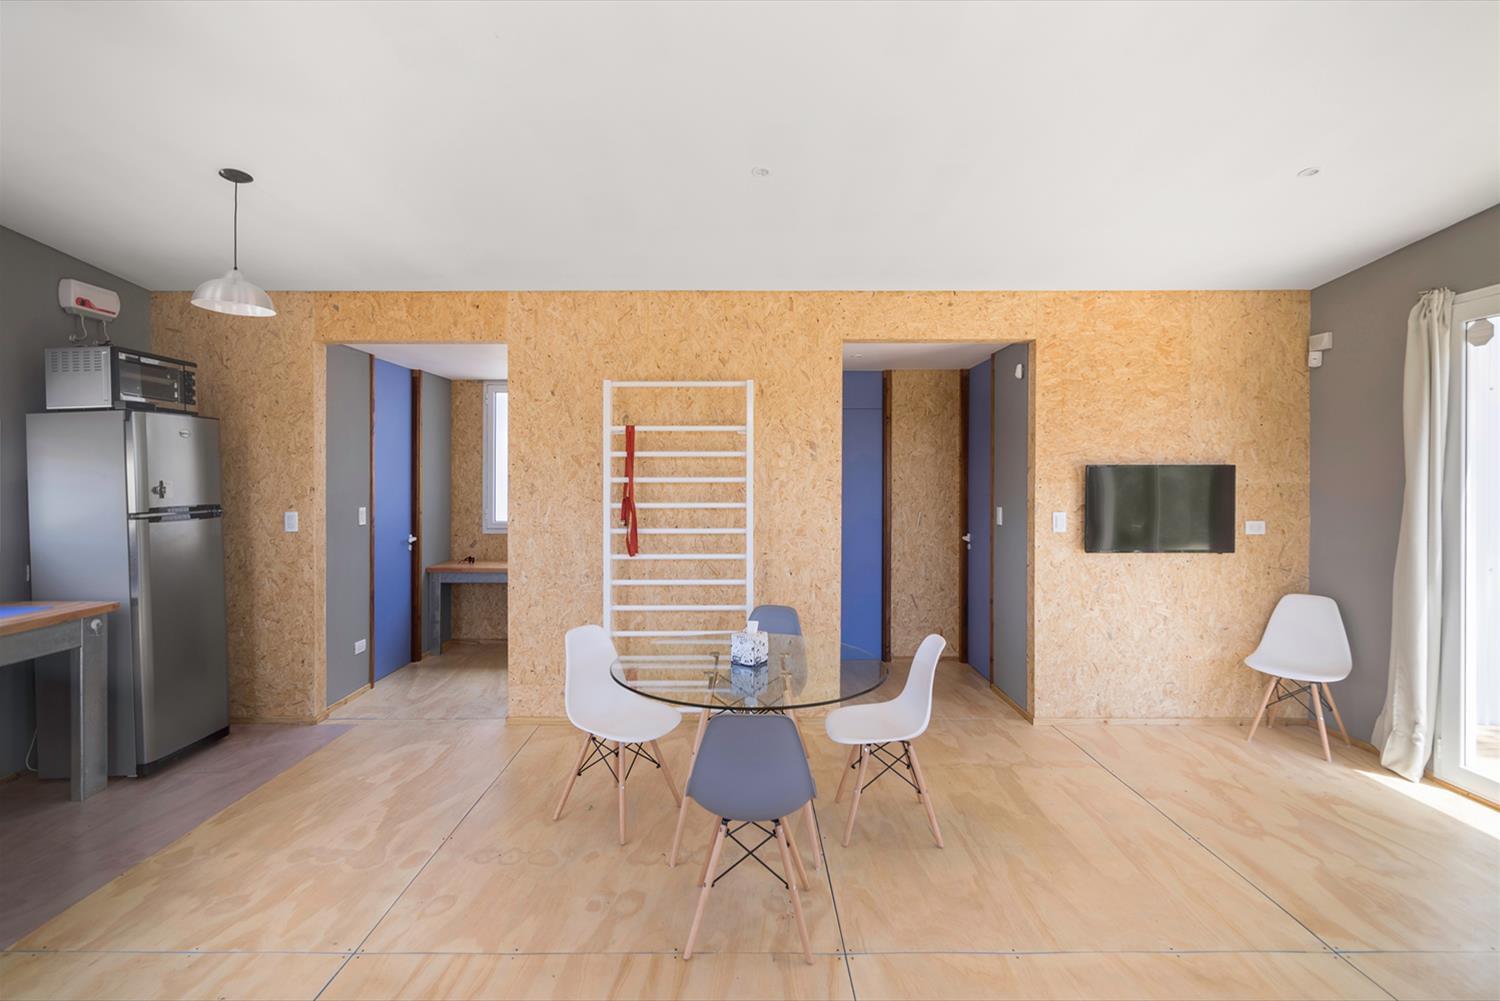
Picture 22 – Studio apartment with plaster walls.
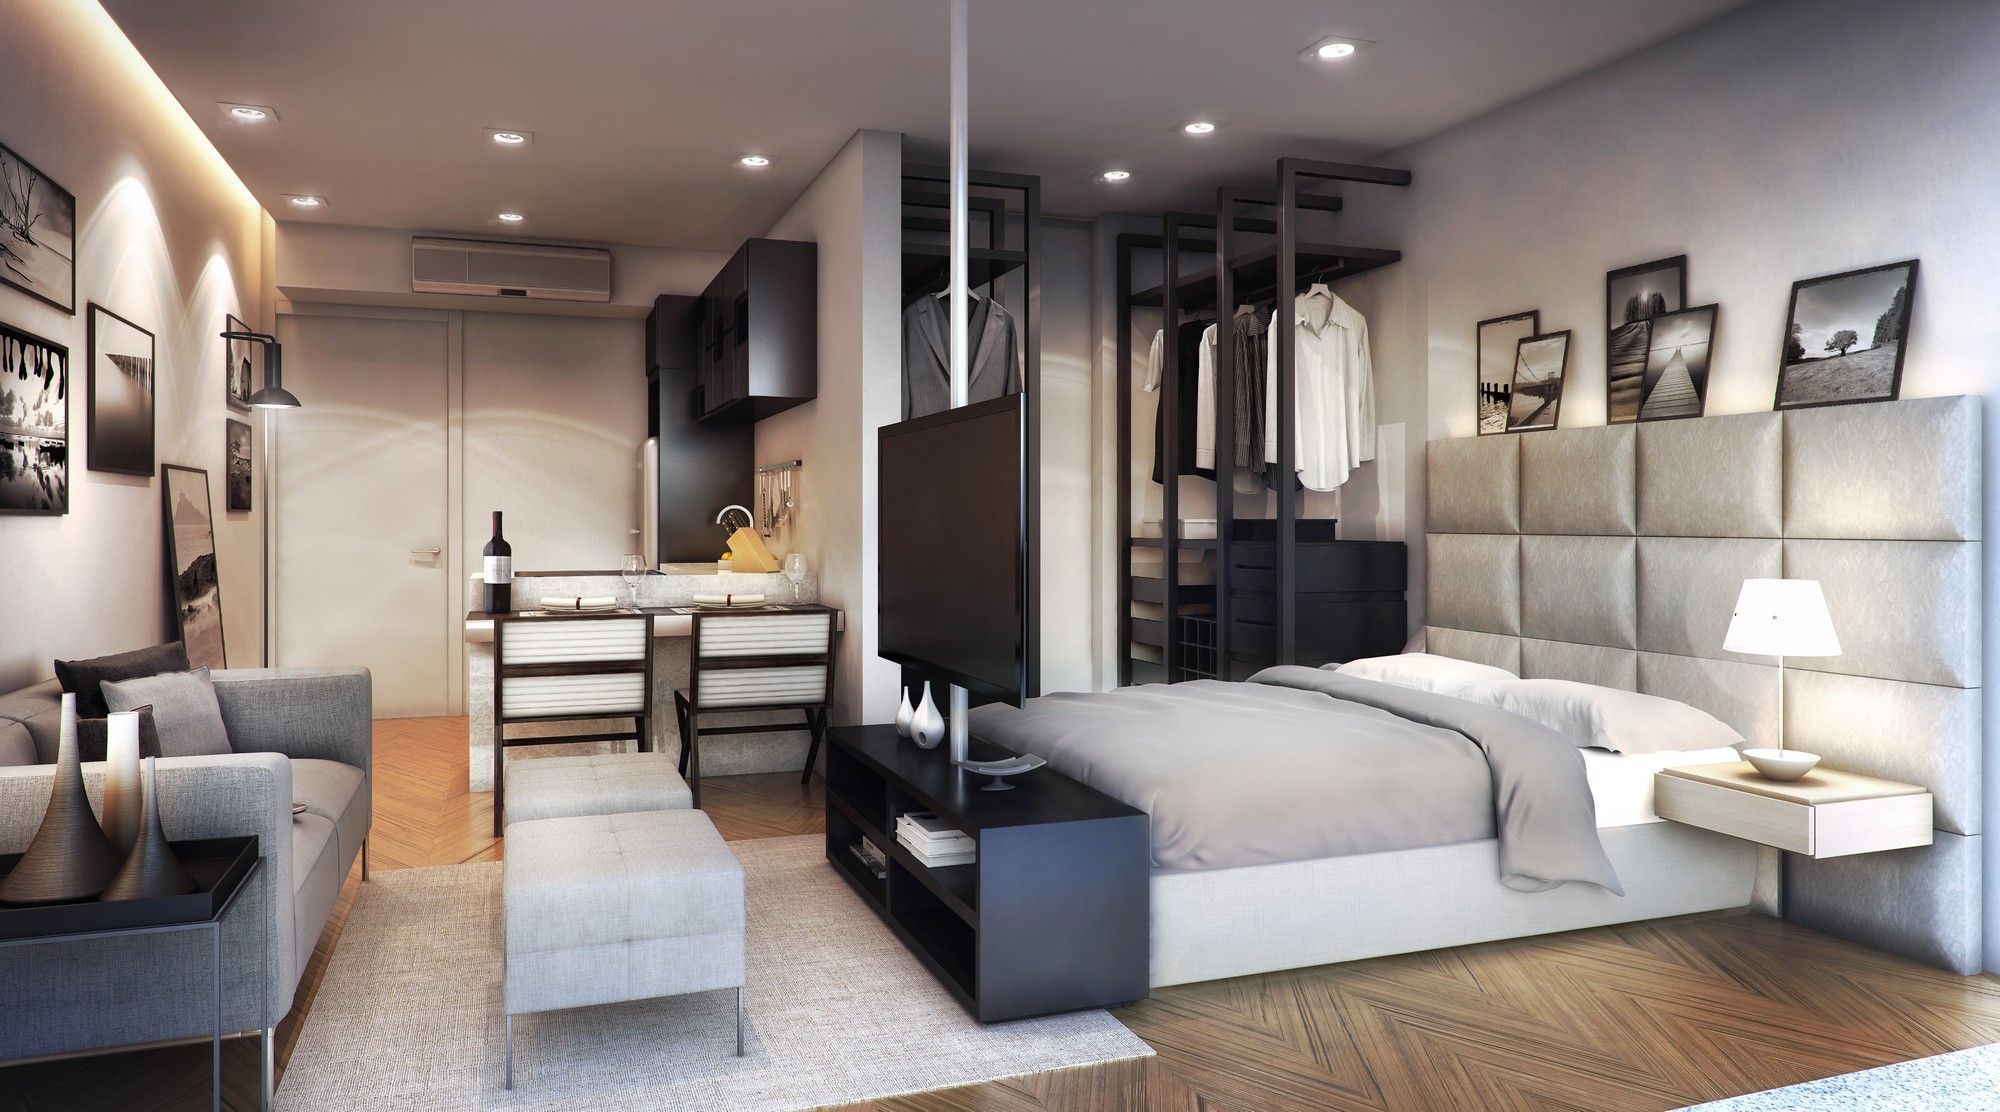
Image 23 – You can choose a smaller height and complement it with some other element.
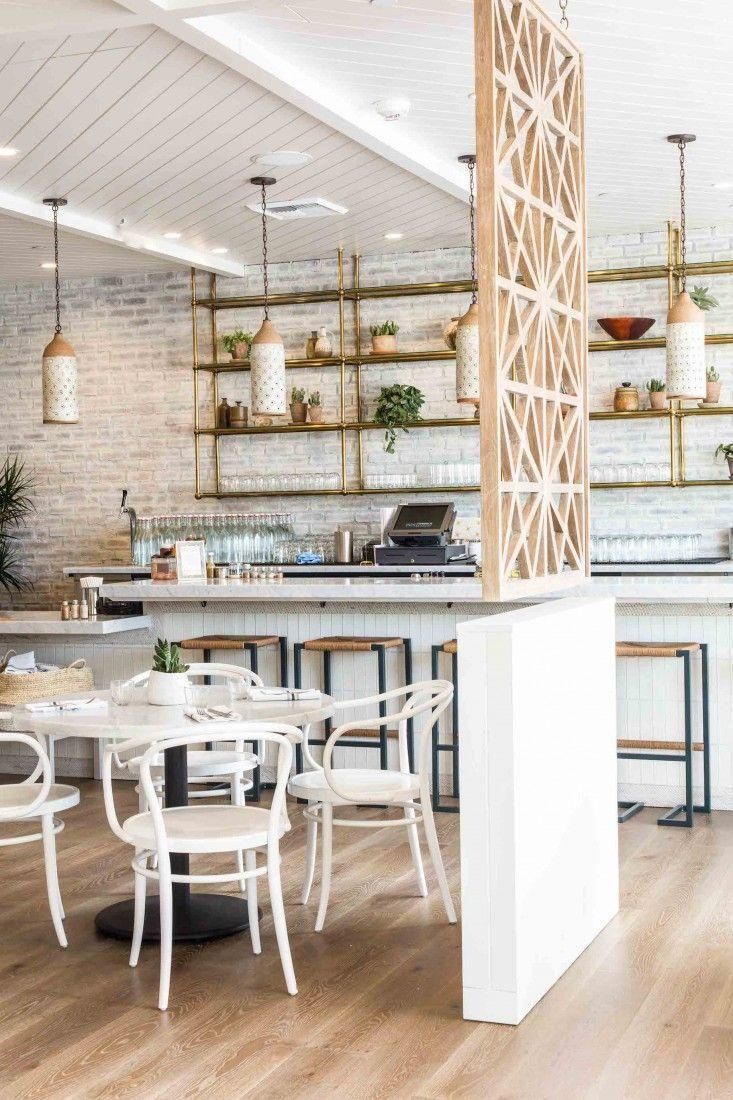
Image 24 – Plaster wall in corporate projects: they are the basis for the partitions.
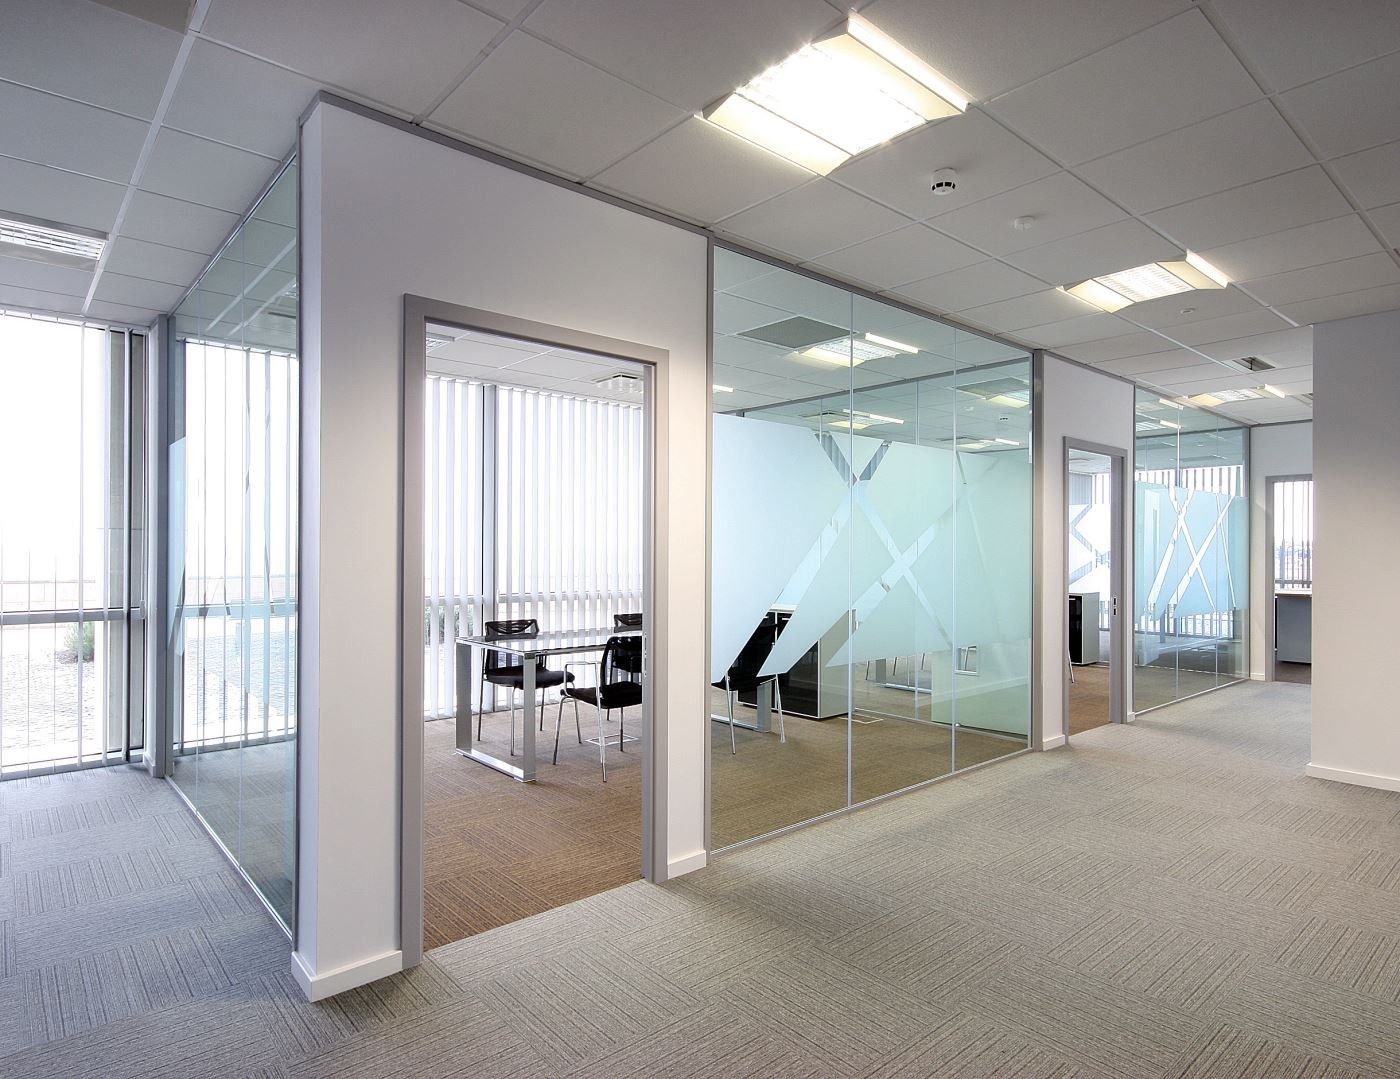
Image 25 – Work the lining together with the plaster wall!
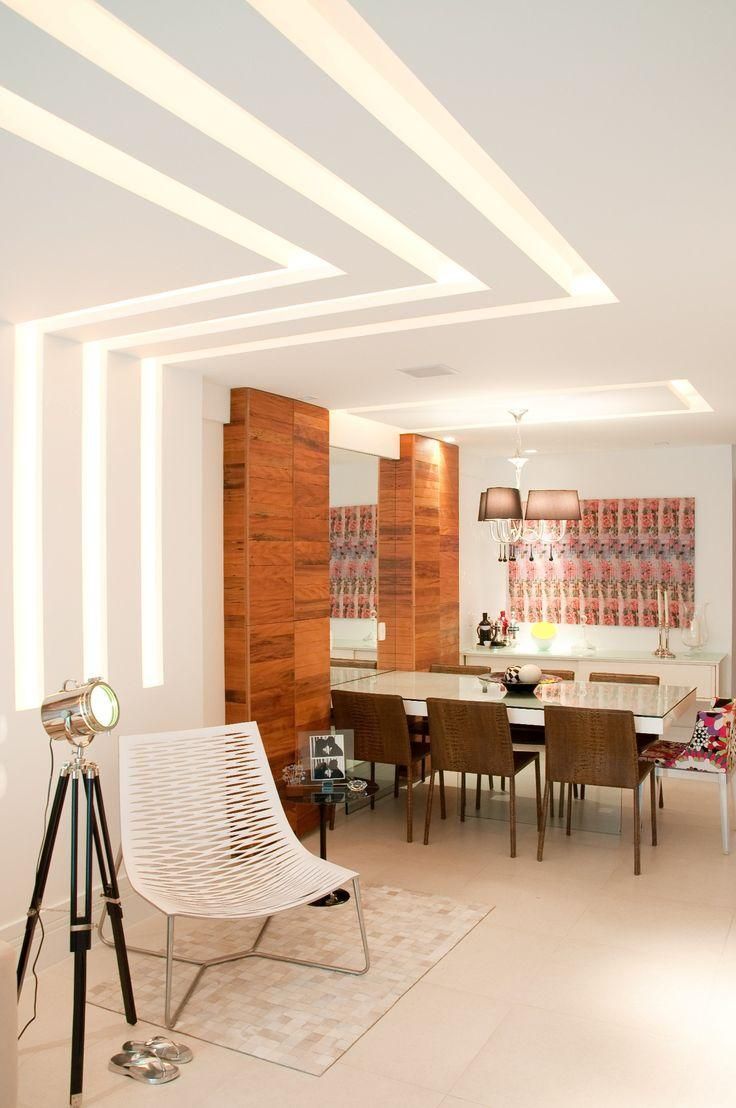
Image 26 – Plaster wall with room dividing function.
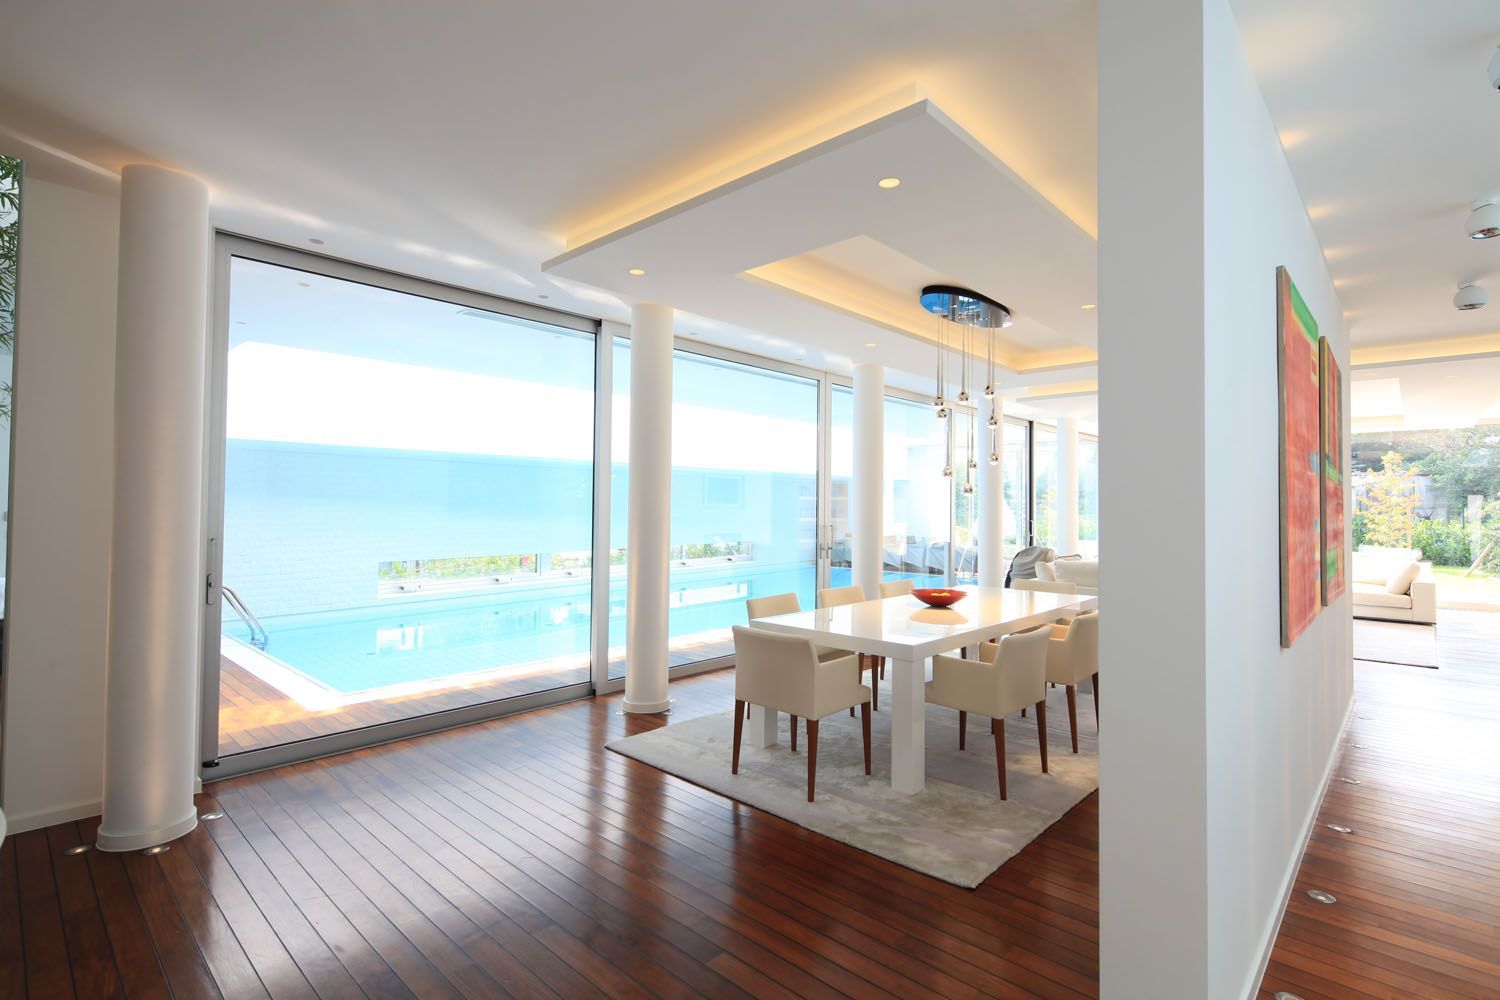
Image 27 – Stair with plaster wall.
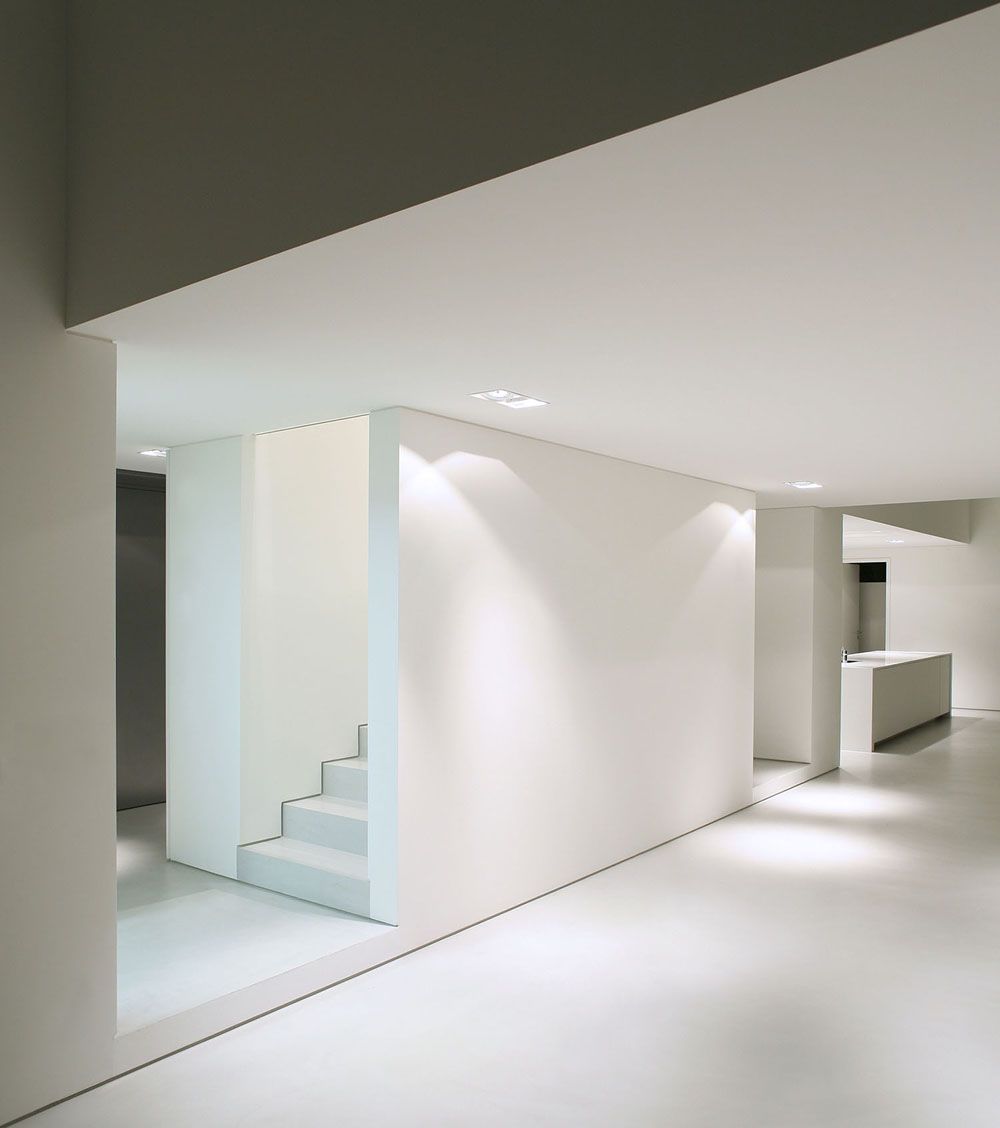
Image 28 – It is possible to work the plaster wall with some hollow areas.
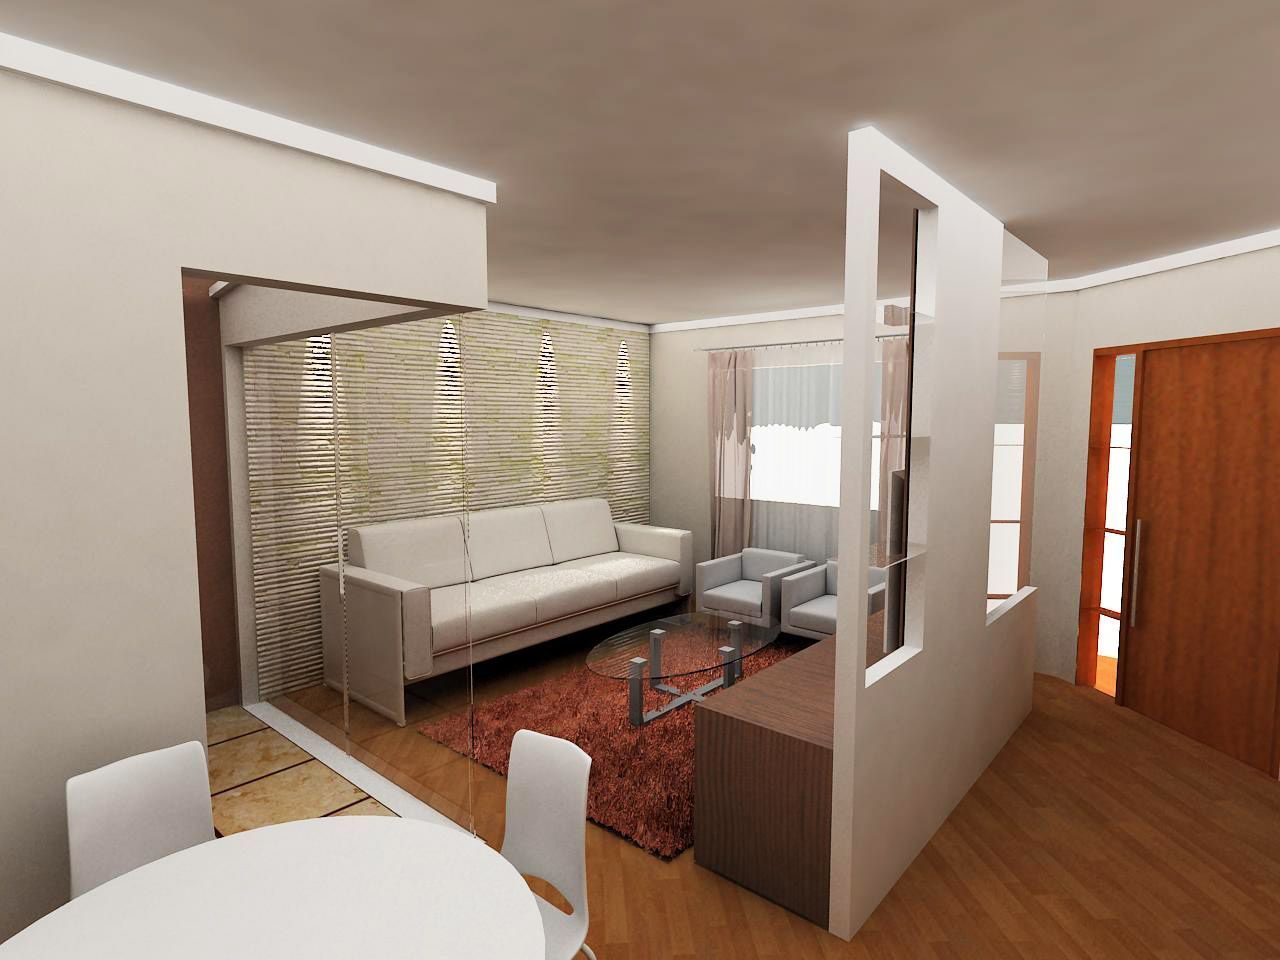
Image 29 – Corridor with plaster wall.
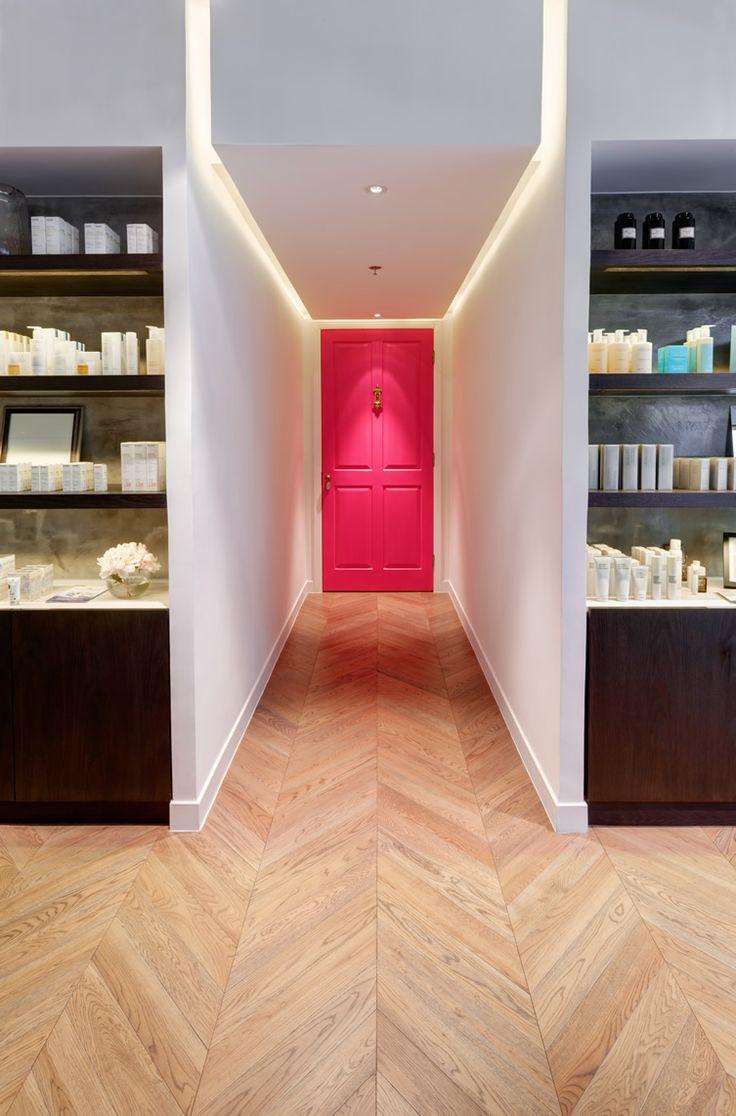
Picture 30 – The plaster wall is an economical option for those who want a little privacy in small apartments.
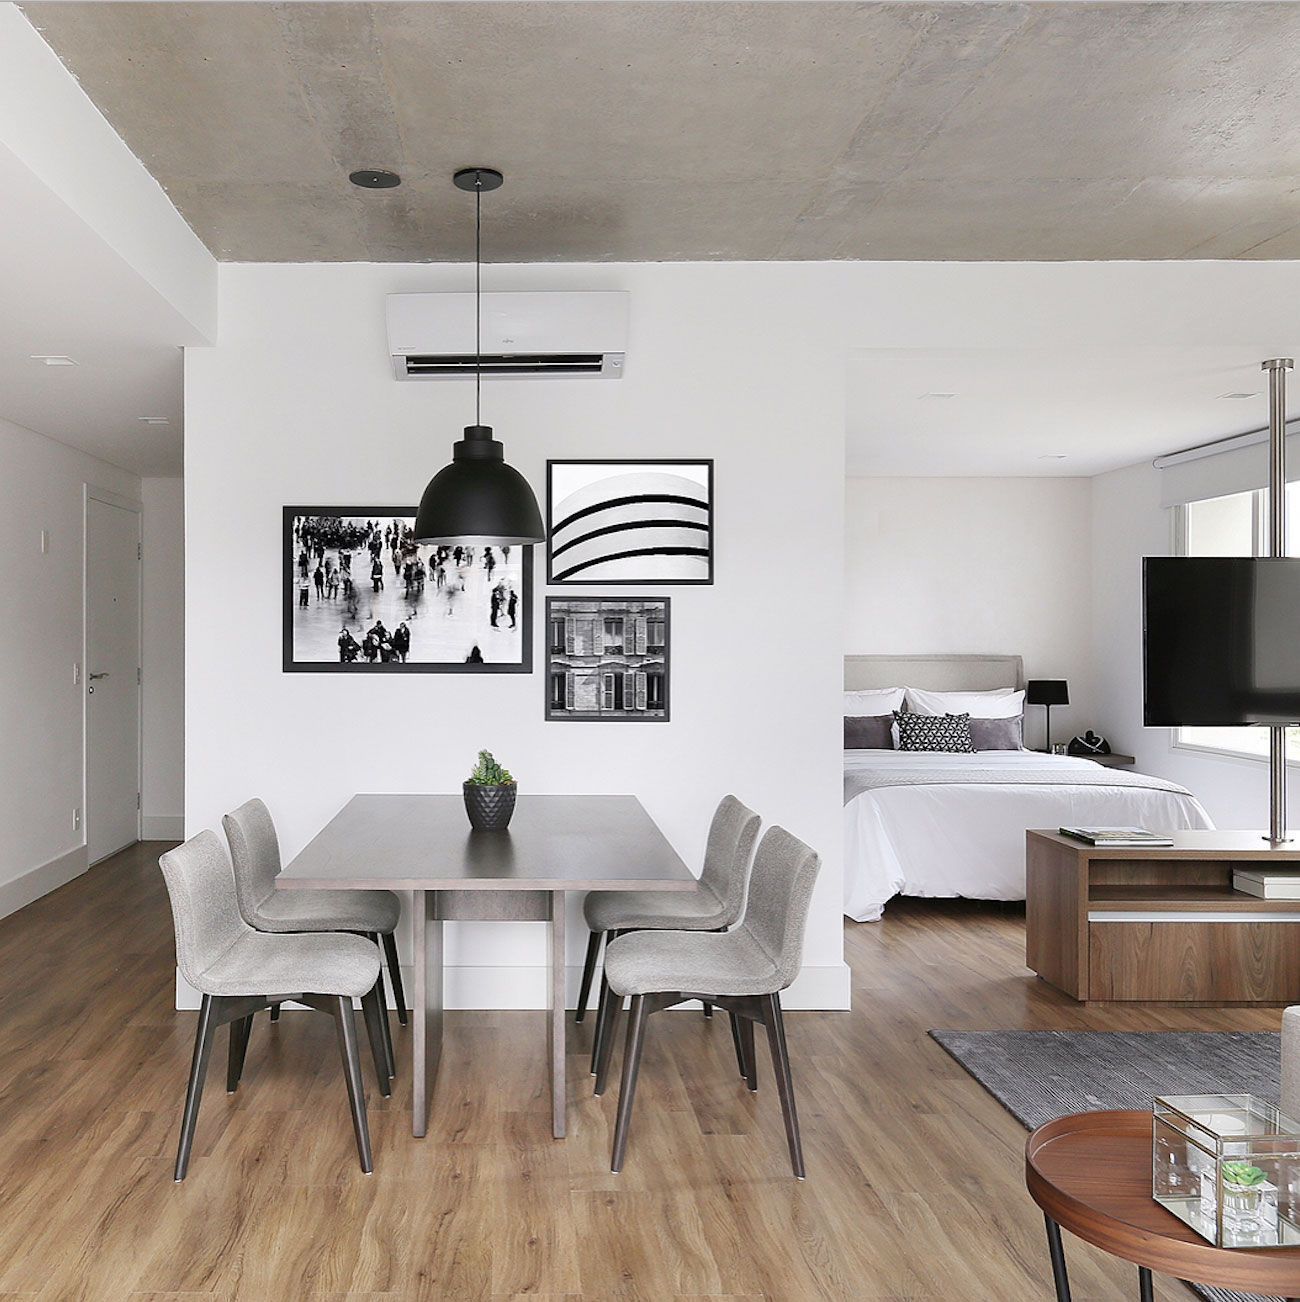
Image 31 – The plaster wall and the joinery received the same shade of color.
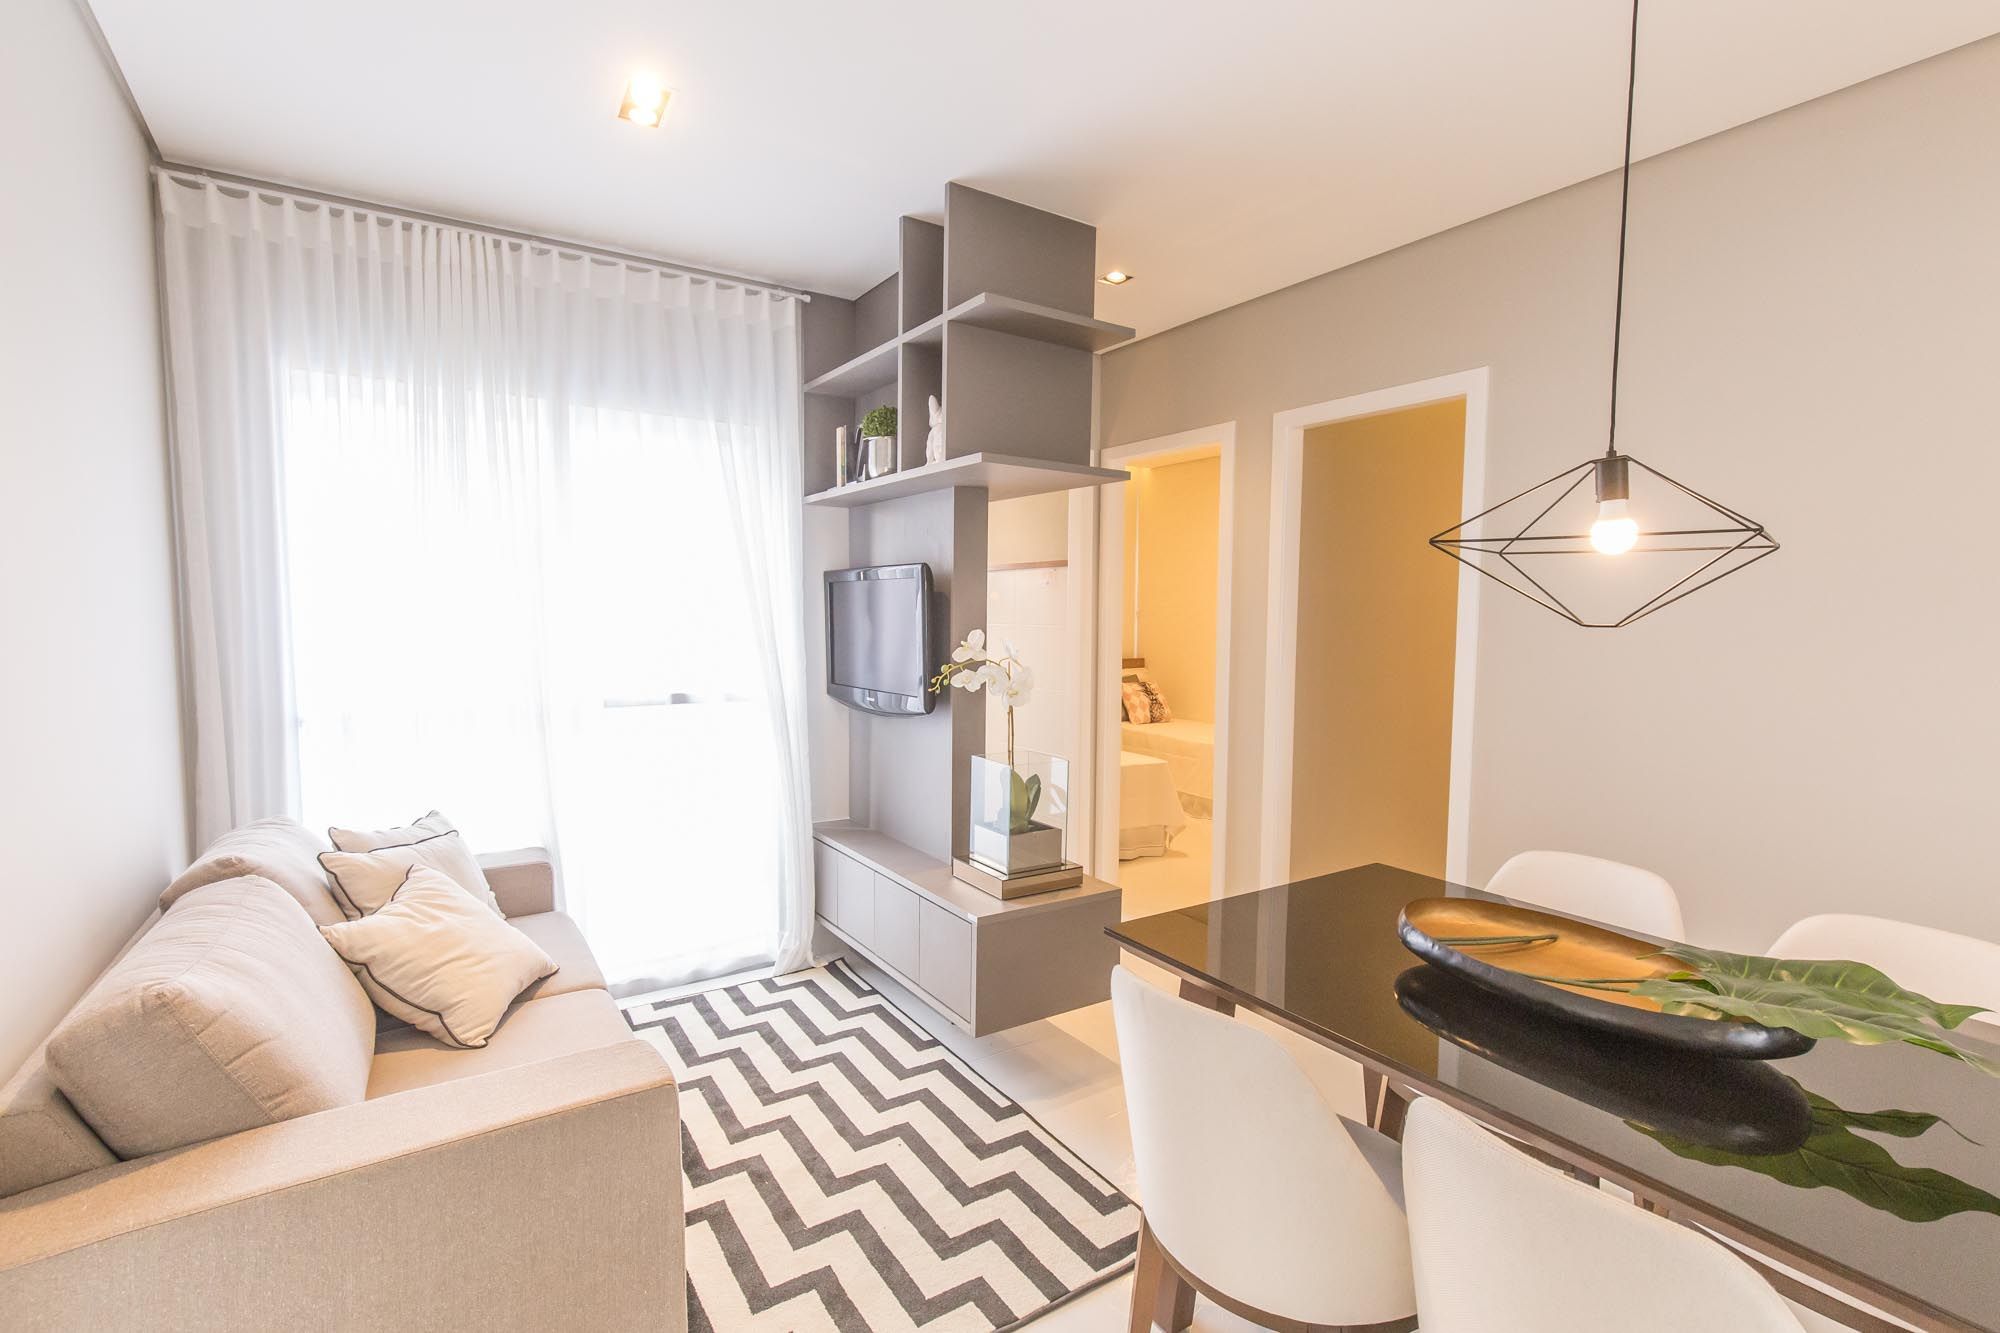
Image 32 – Apply plaster finishes to any type of wall.
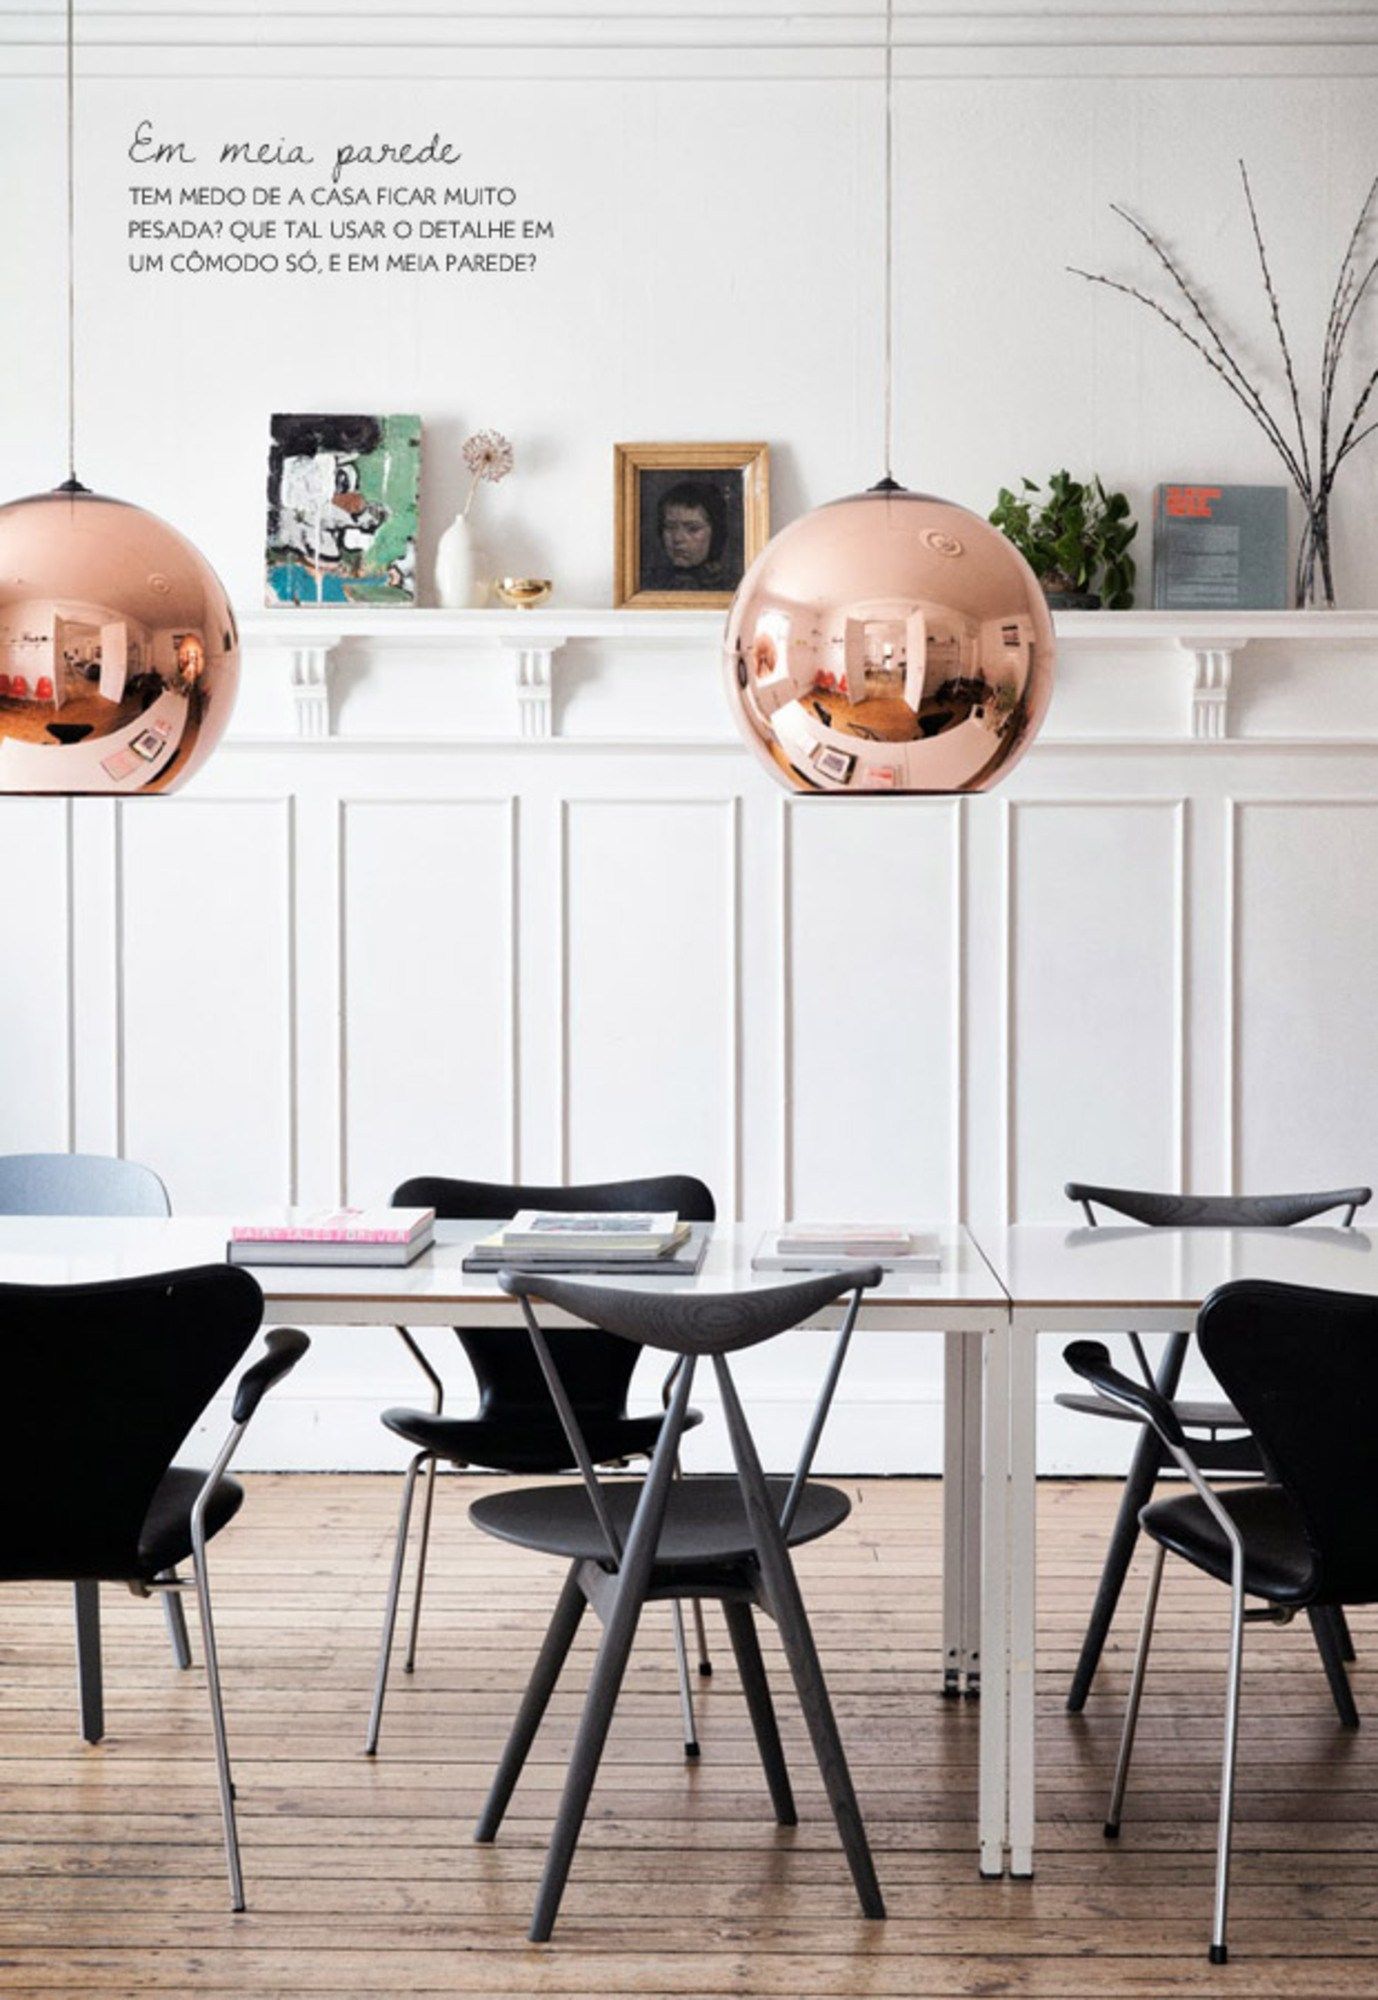
Image 33 – The plaster wall has a design that resembles a portico.
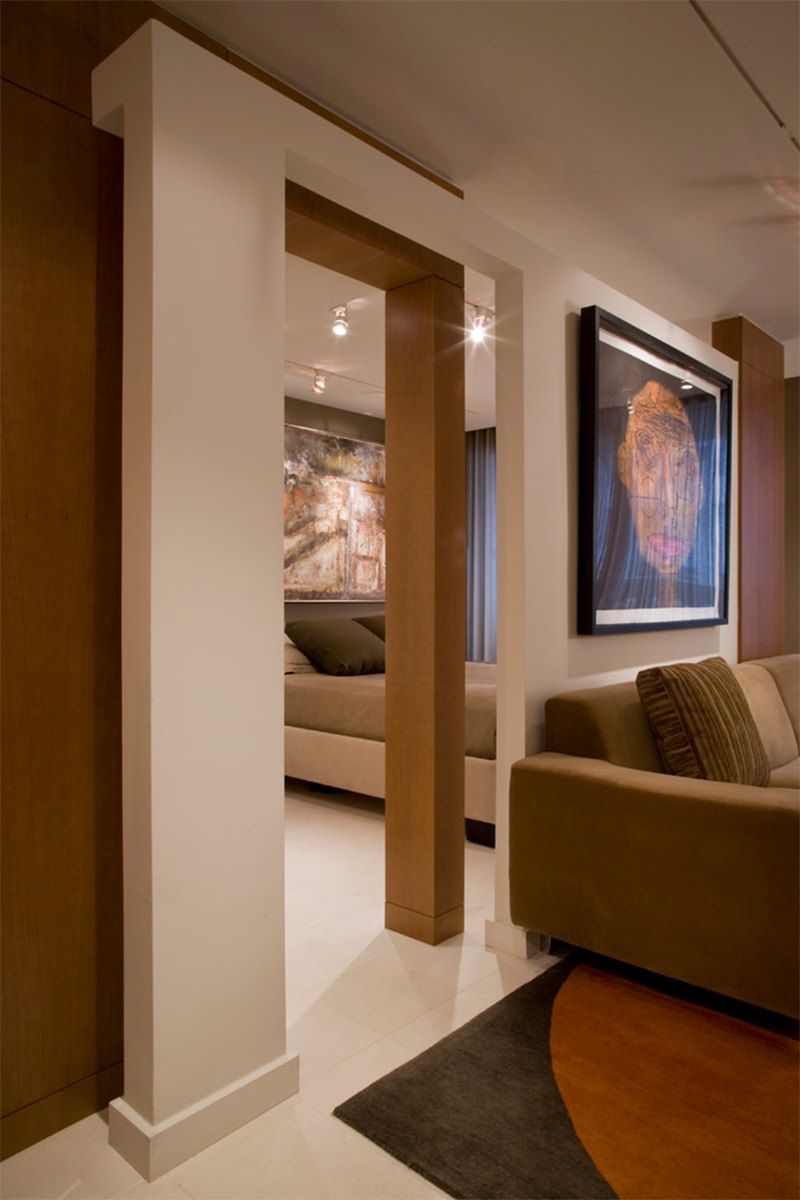
Image 34 – The drywall managed to form a corridor for the house.
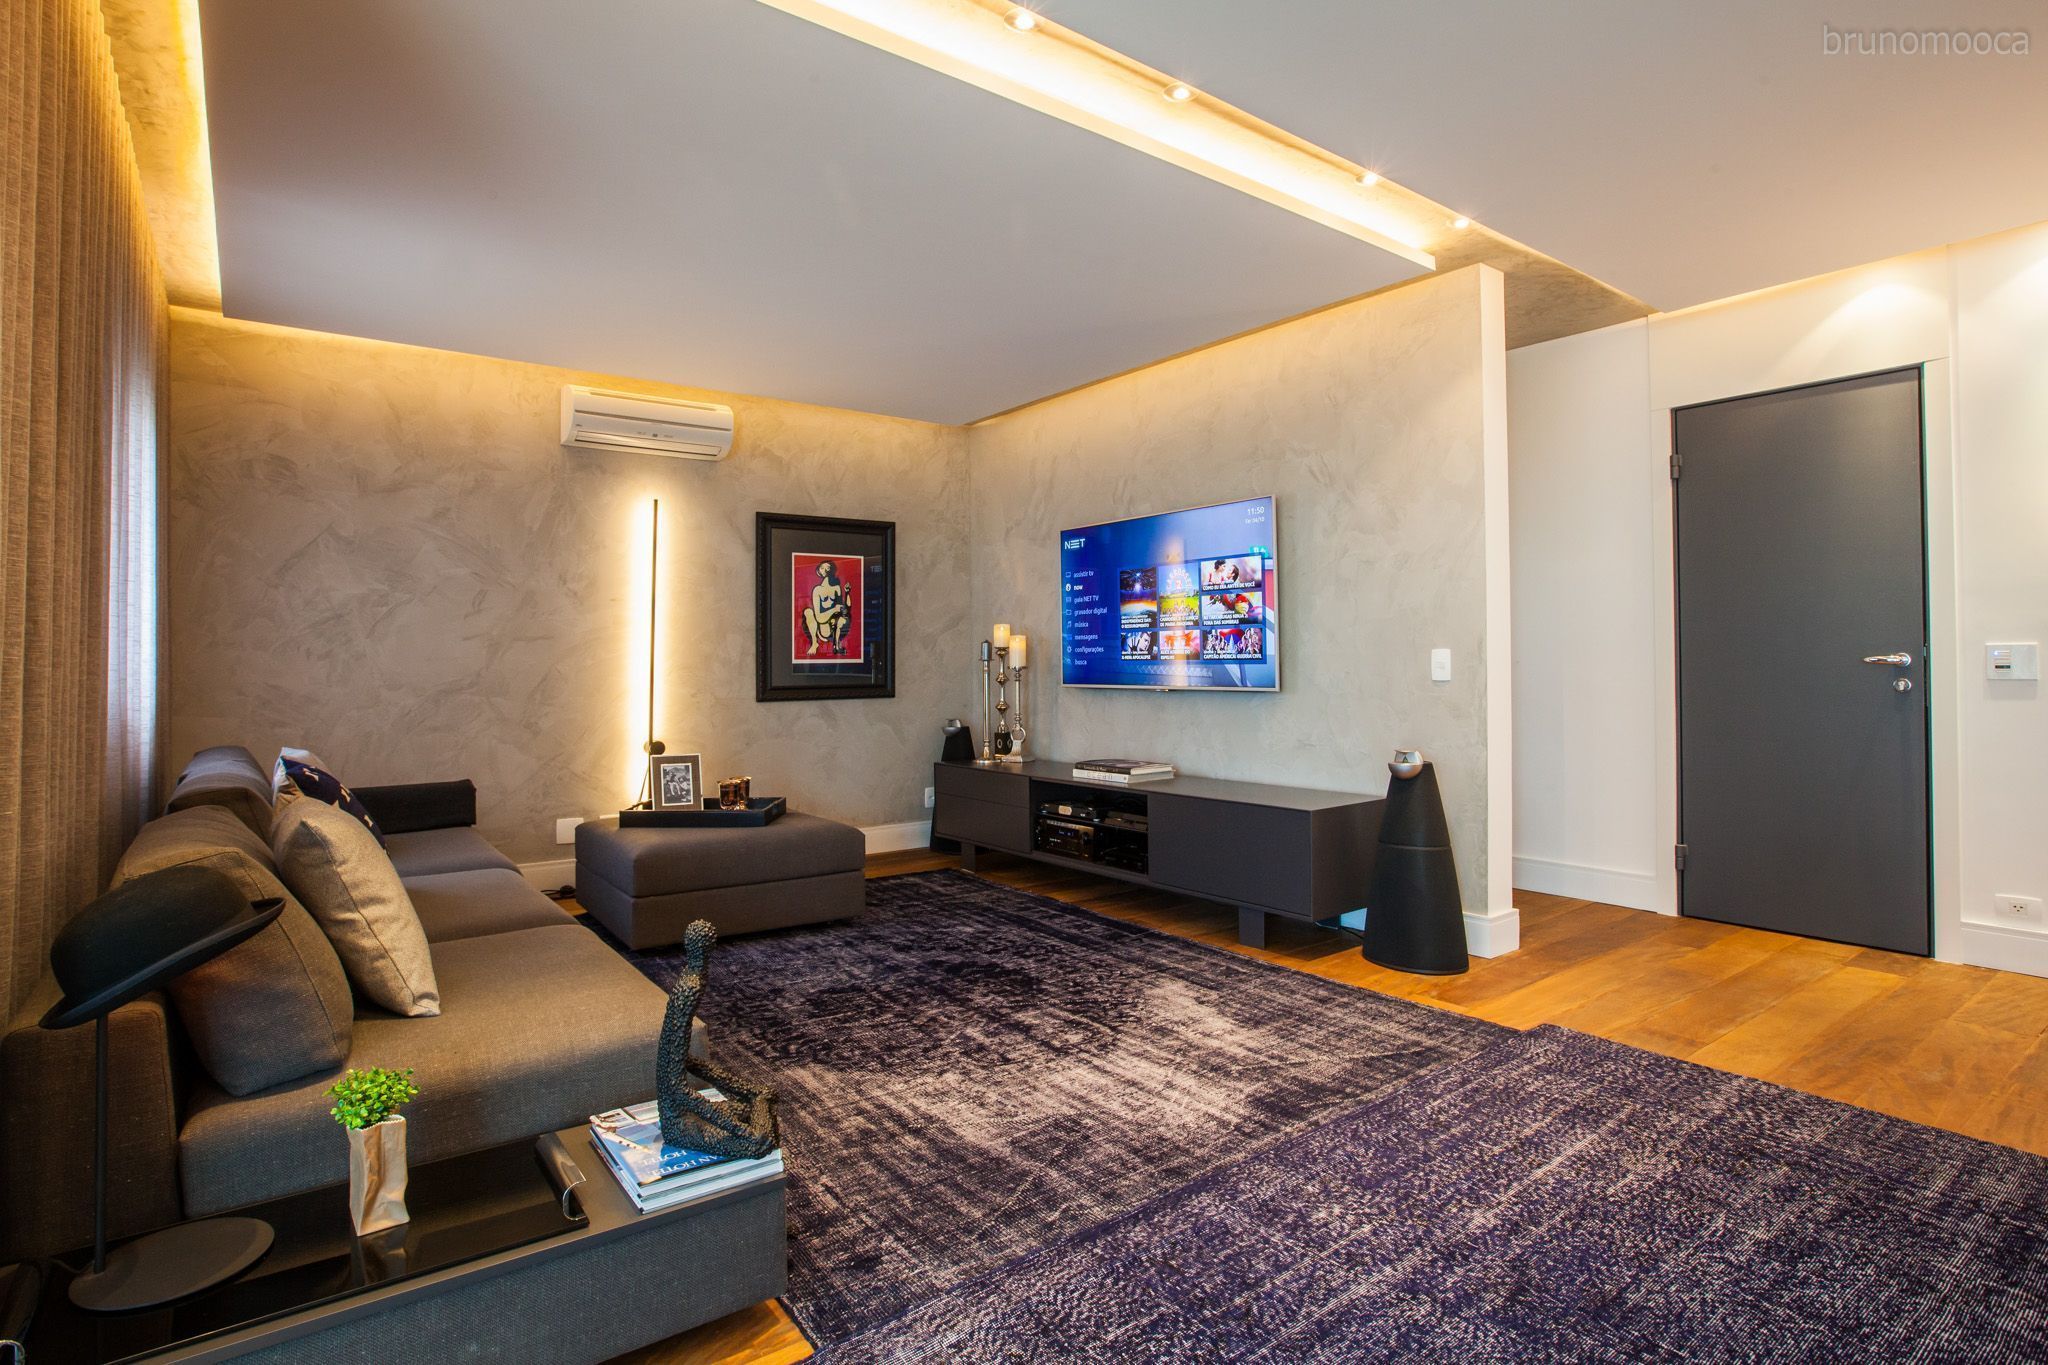
Image 35 – The plaster walls are able to receive the same finishes as a masonry.
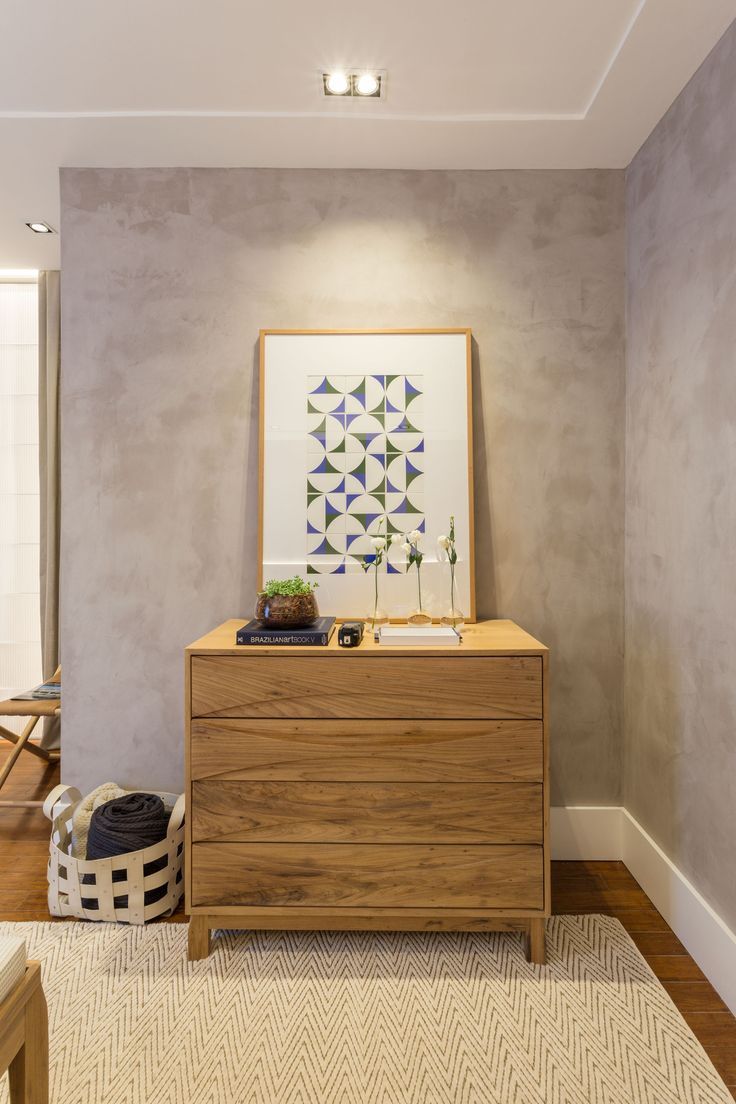
Image 36 – The plaster walls of this house received special highlights with their finishes.
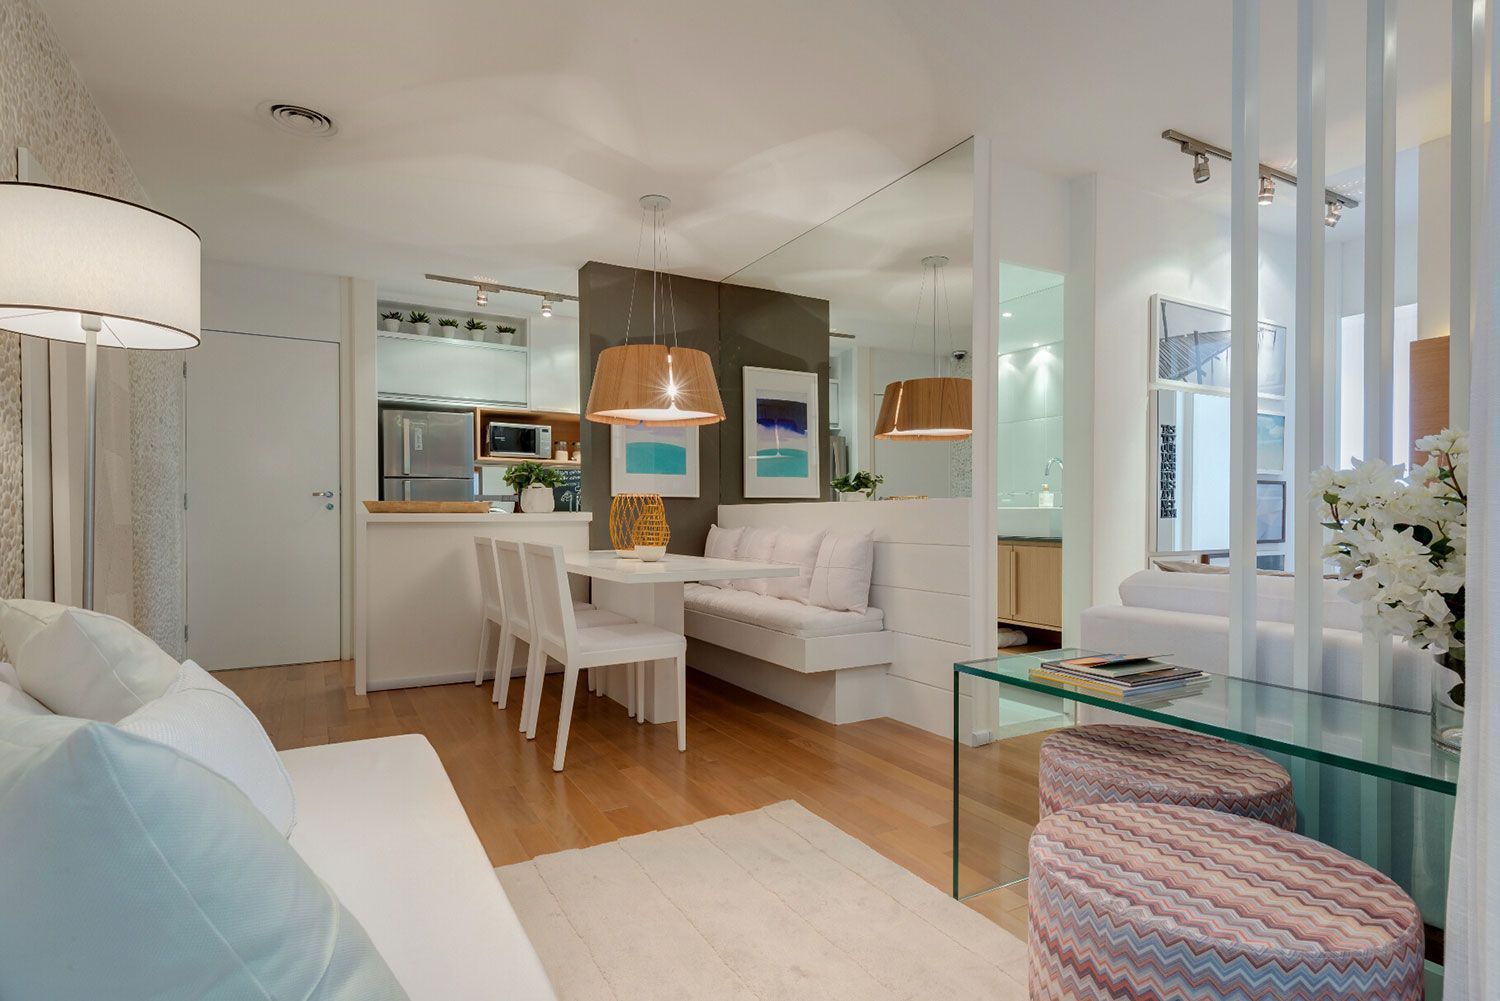
Image 37 – Plaster wall with simple painting.
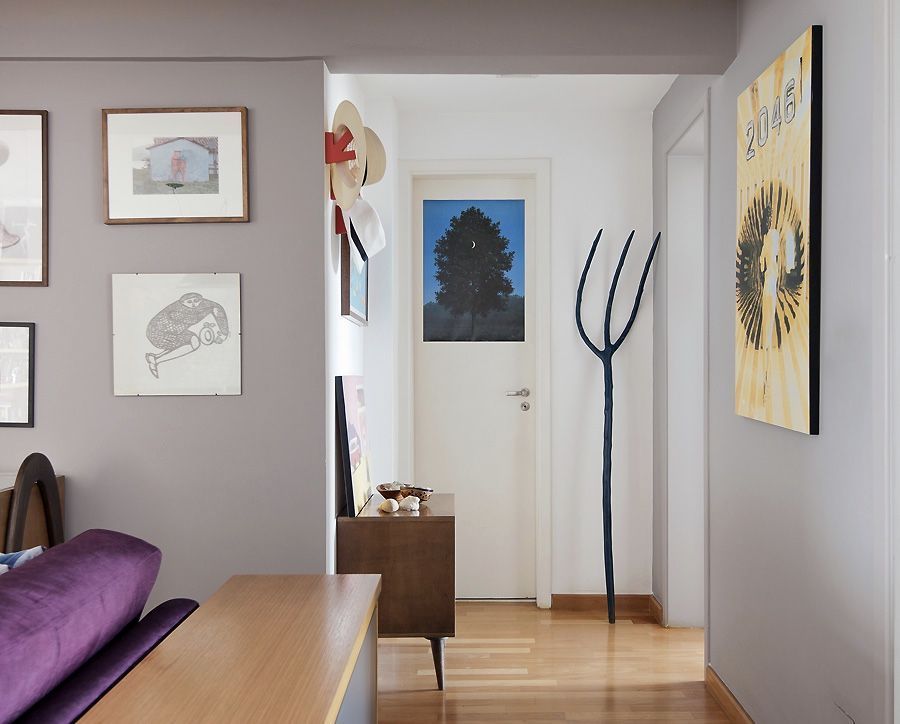
Image 38 – Plaster wall with painting in chalk paint.
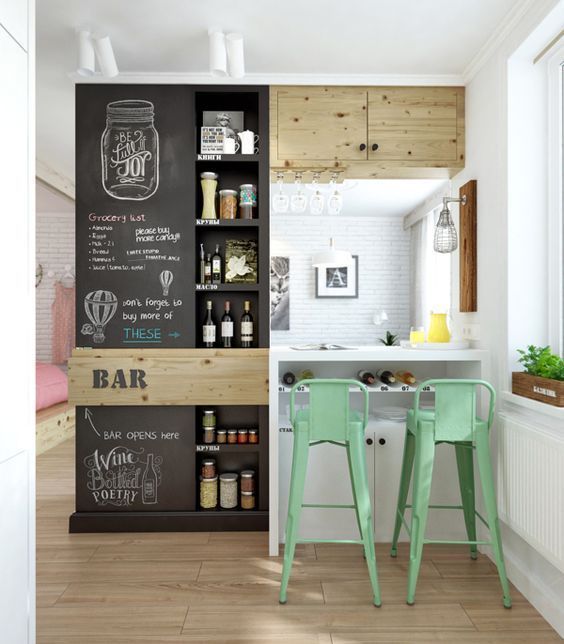
Image 39 – Mix plaster and masonry in the same project.
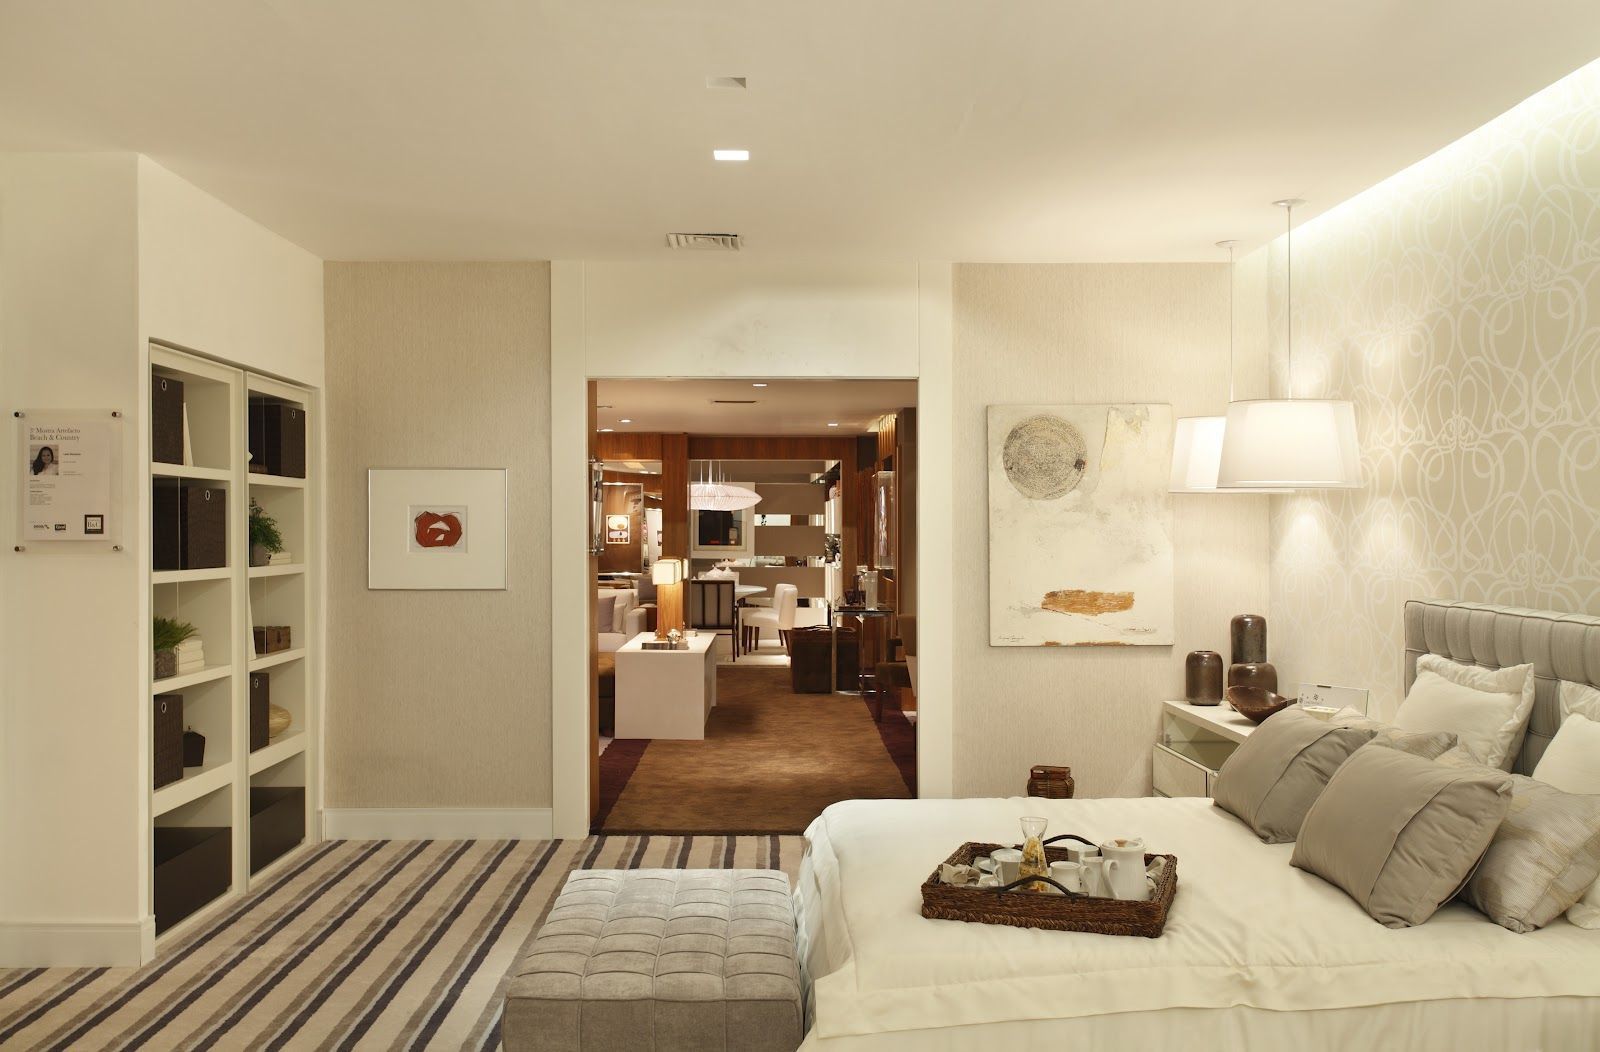
Image 40 – Plaster created a niche to define the kitchen space.
Plaster wall with niches and shelves
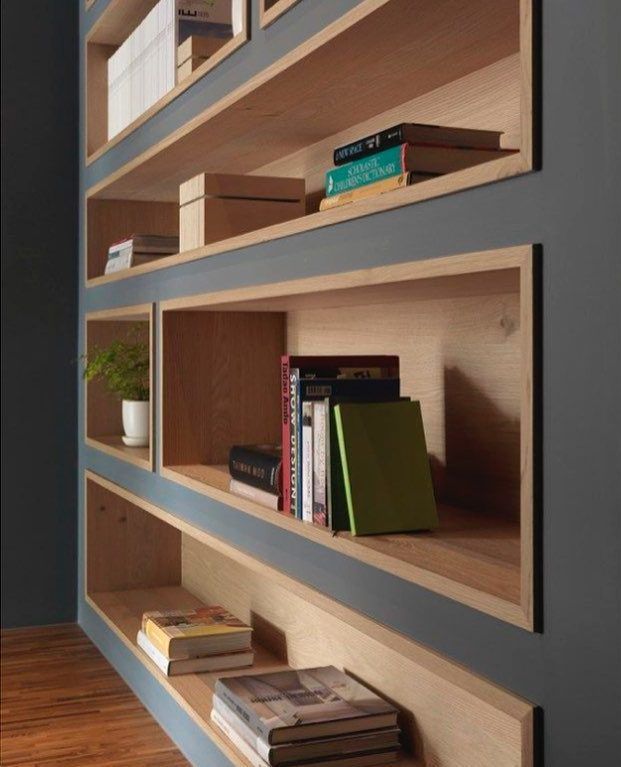
If you dream of a built-in bookcase, an alternative to not tearing walls and compromising the structure of the building is to build a plaster wall designed for the niches, so the weight is distributed and there is no risk for users or buildings. They look great with either the material itself or with wooden niches. The finish you choose according to the project proposal!
Image 41 – In this project, the same wall finish was used for the bookcase.
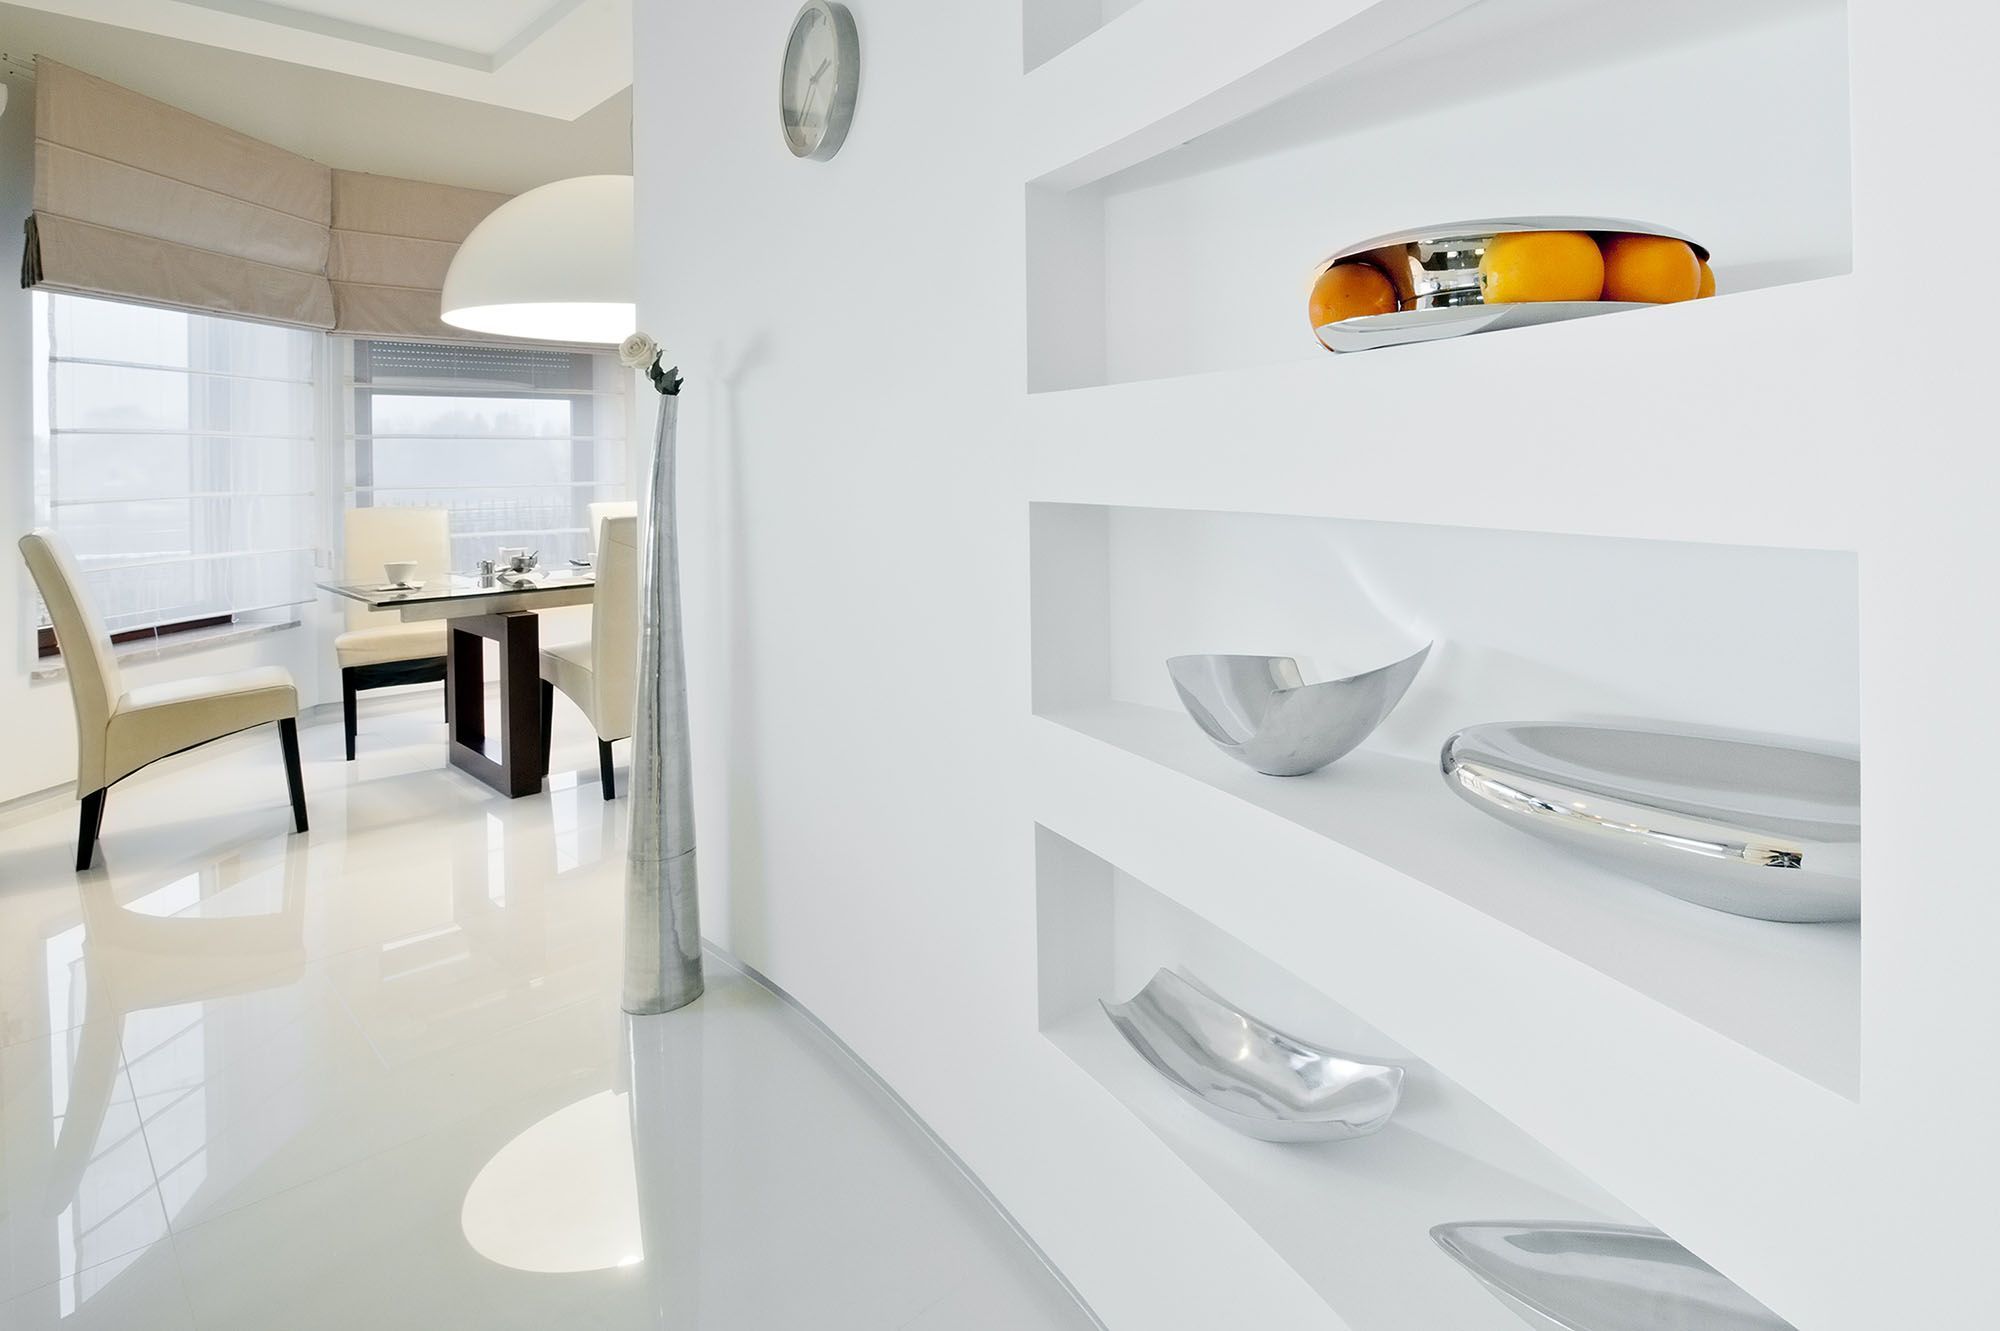
Image 42 – Plaster wall with wooden niches.
3D plaster wall
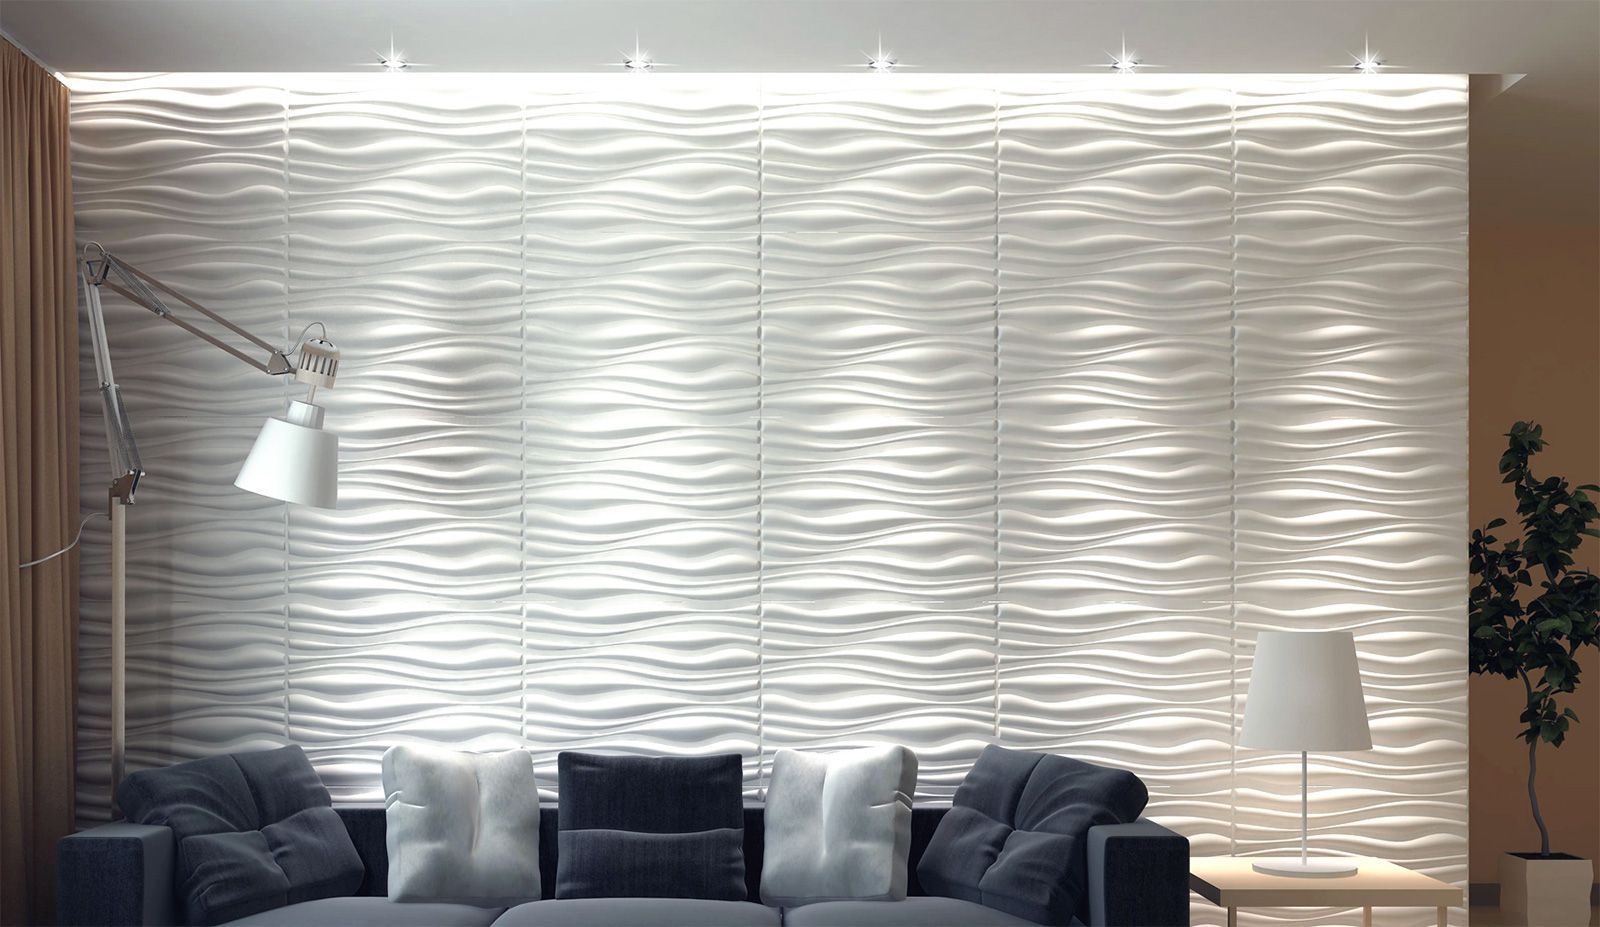
THE 3d plaster wall has a different system, since they are plates embedded in the structure itself forming a panel with drawings of your choice. They provide volume – which brings more movement to the wall – leaving the environment personalized and creative. The effect is incredible and differentiated compared to other coverings.
Image 43 – Room with 3D plaster wall.
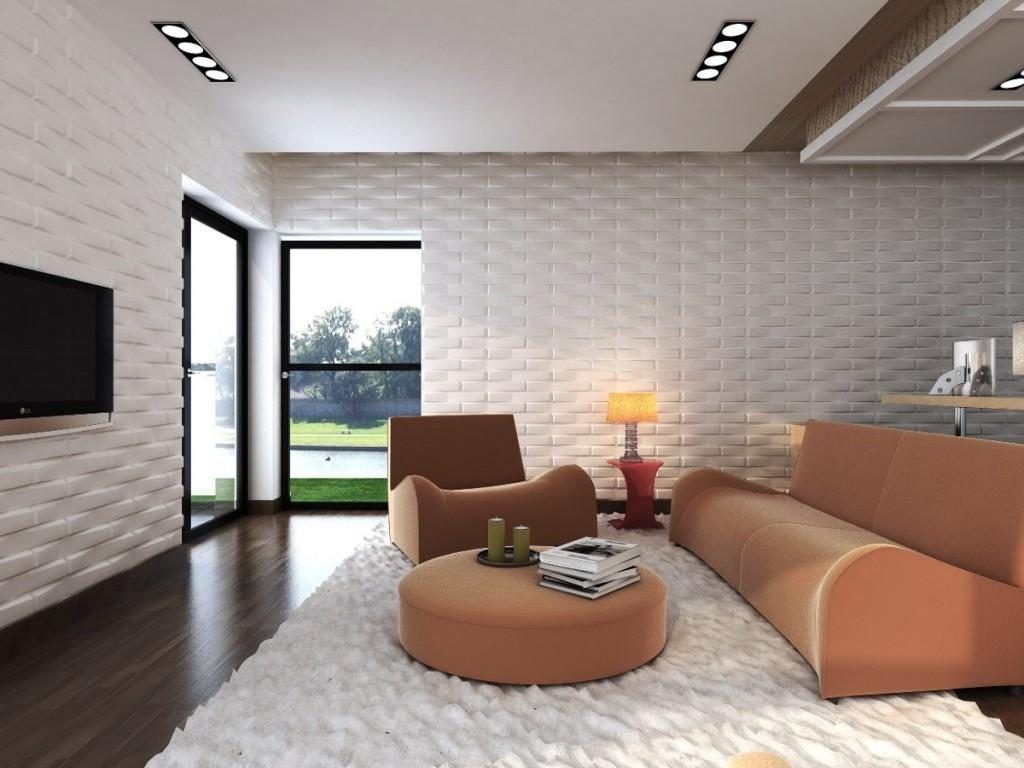
Image 44 – The three-dimensional wall manages to make the environment more modern.
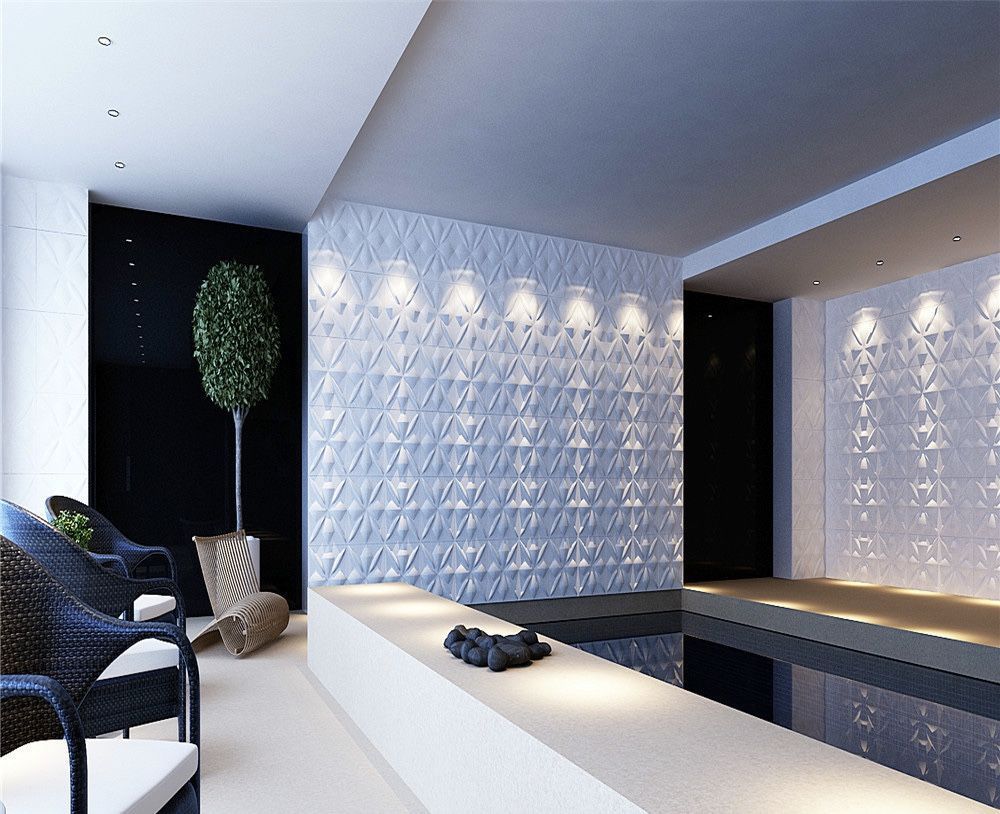
Image 45 – 3D plaster wall with wavy designs.
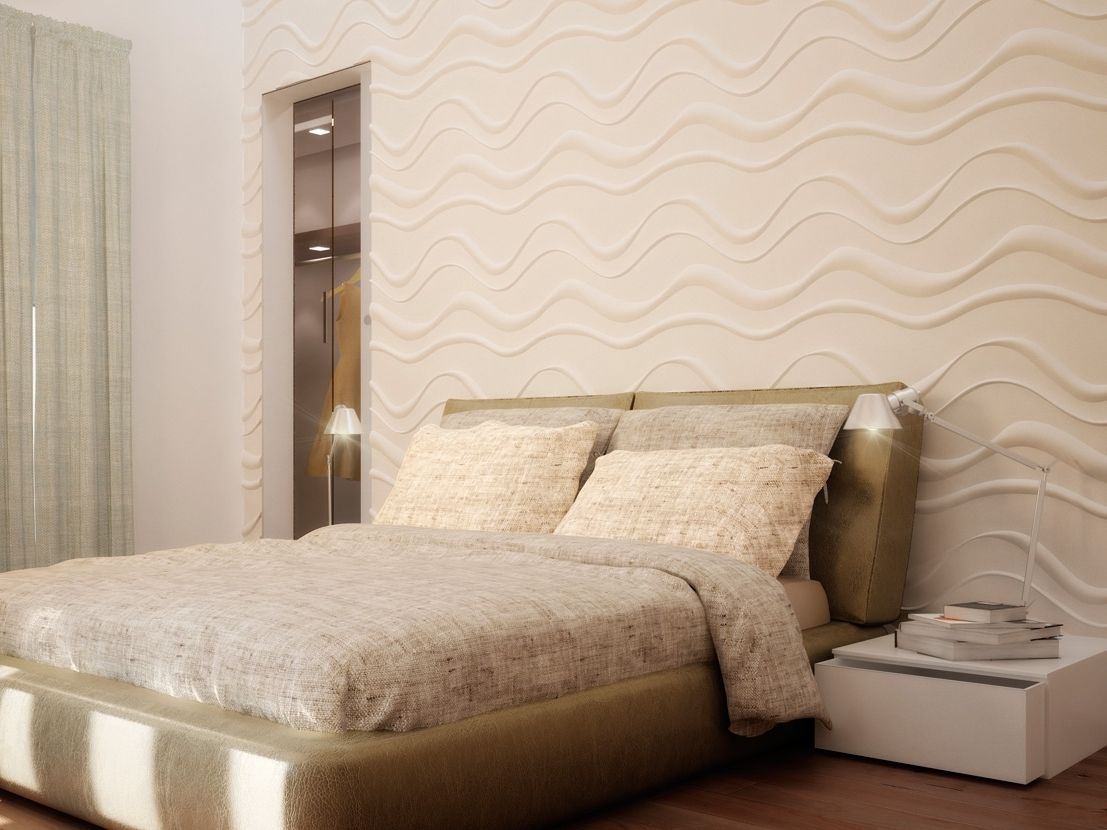
Image 46 – The 3D plaster walls stand out in any environment with neutral decor.
Plaster wall in the room
In the bedroom they play an important role, especially when the room is large and has extensions like closet, workspace, bathroom and rest space. The plaster walls in the room are able to delimit these environments in a simple and integrated way without affecting the layout of the room.
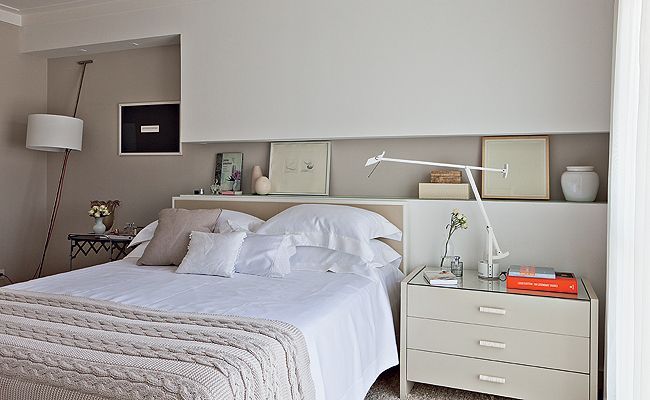
Another application that can be done in the bedroom, if there are no other types of spaces, is to work the plaster on the headboard. It is an economical way that enhances the beauty in the bedroom!
Image 47 – The plasterboard partition received a wallpaper that gave more personality to the room.
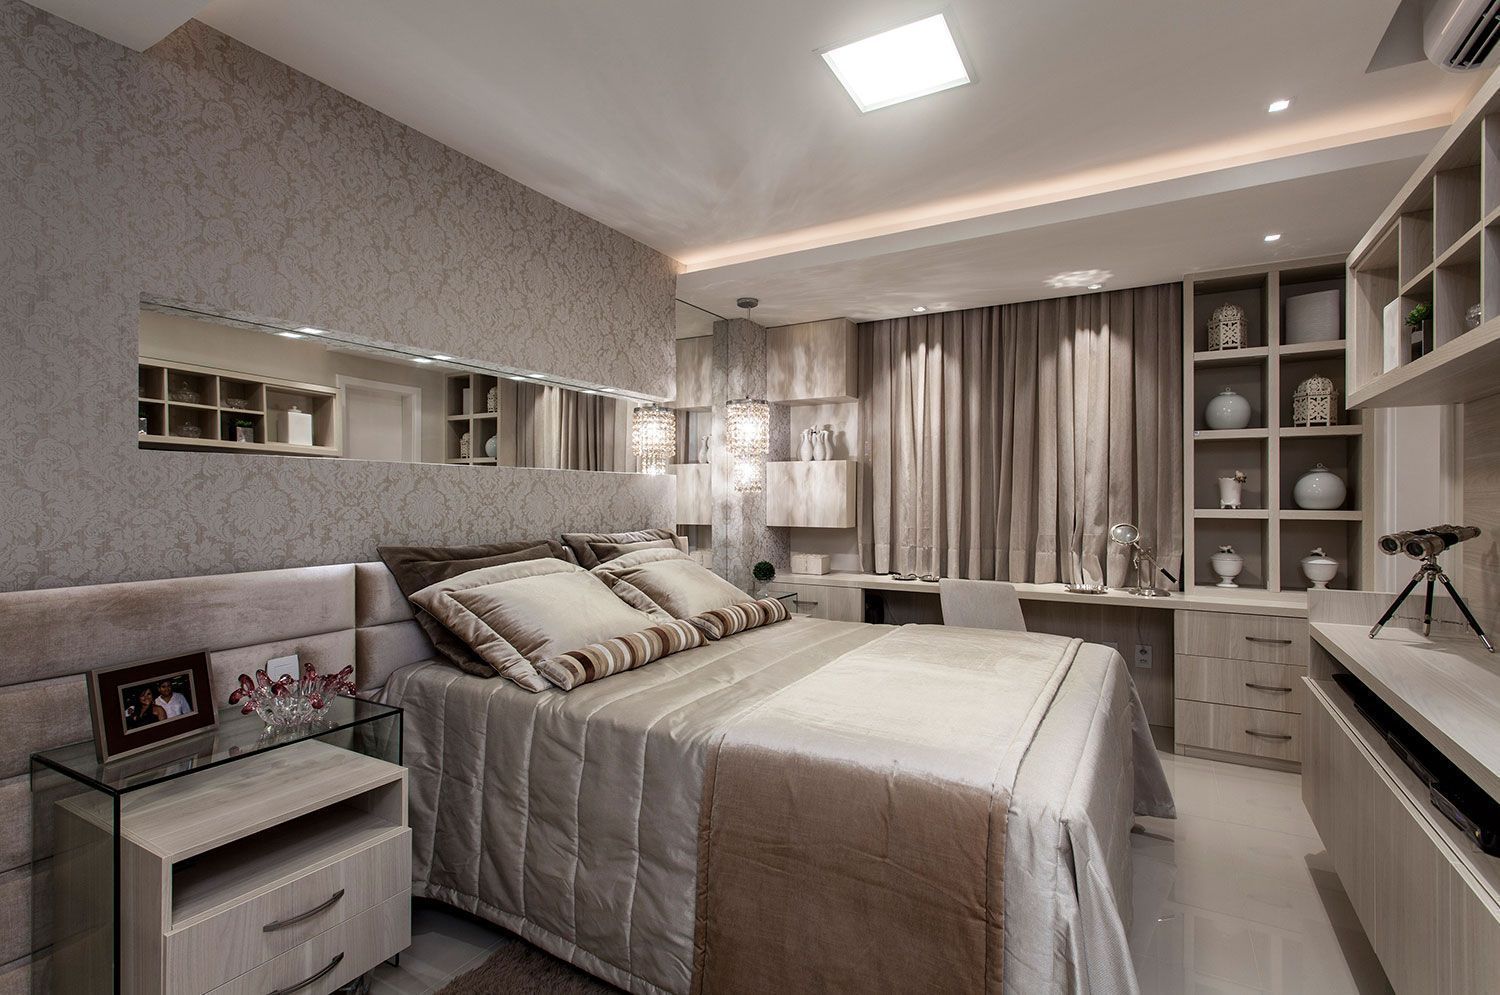
Image 48 – Plaster panel with shelves.
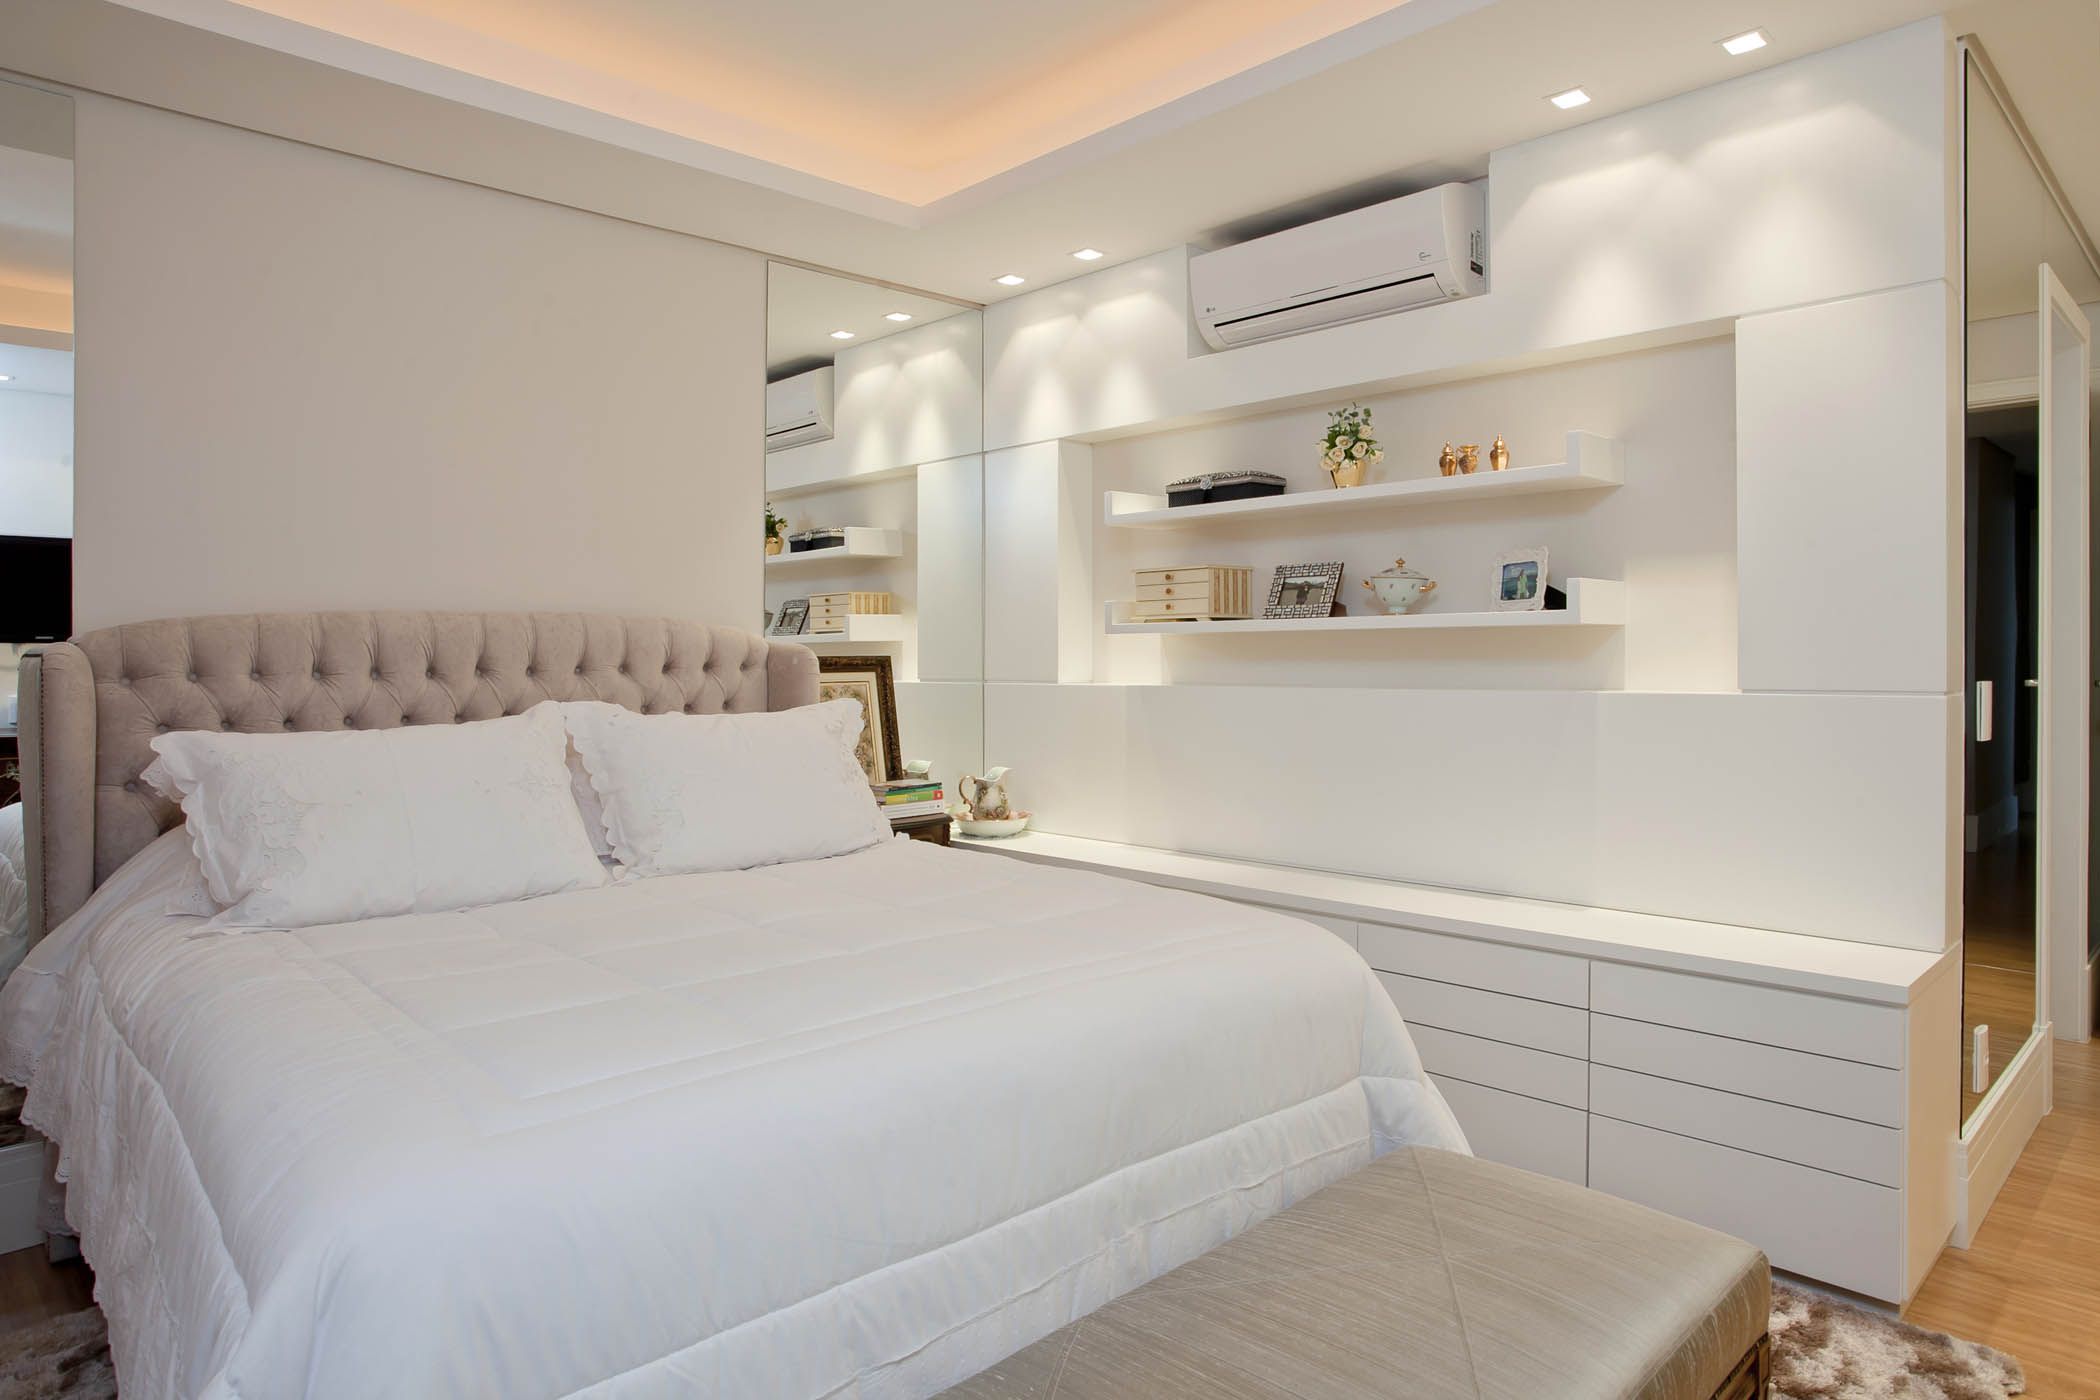
Image 49 – Plaster headboard with niche.
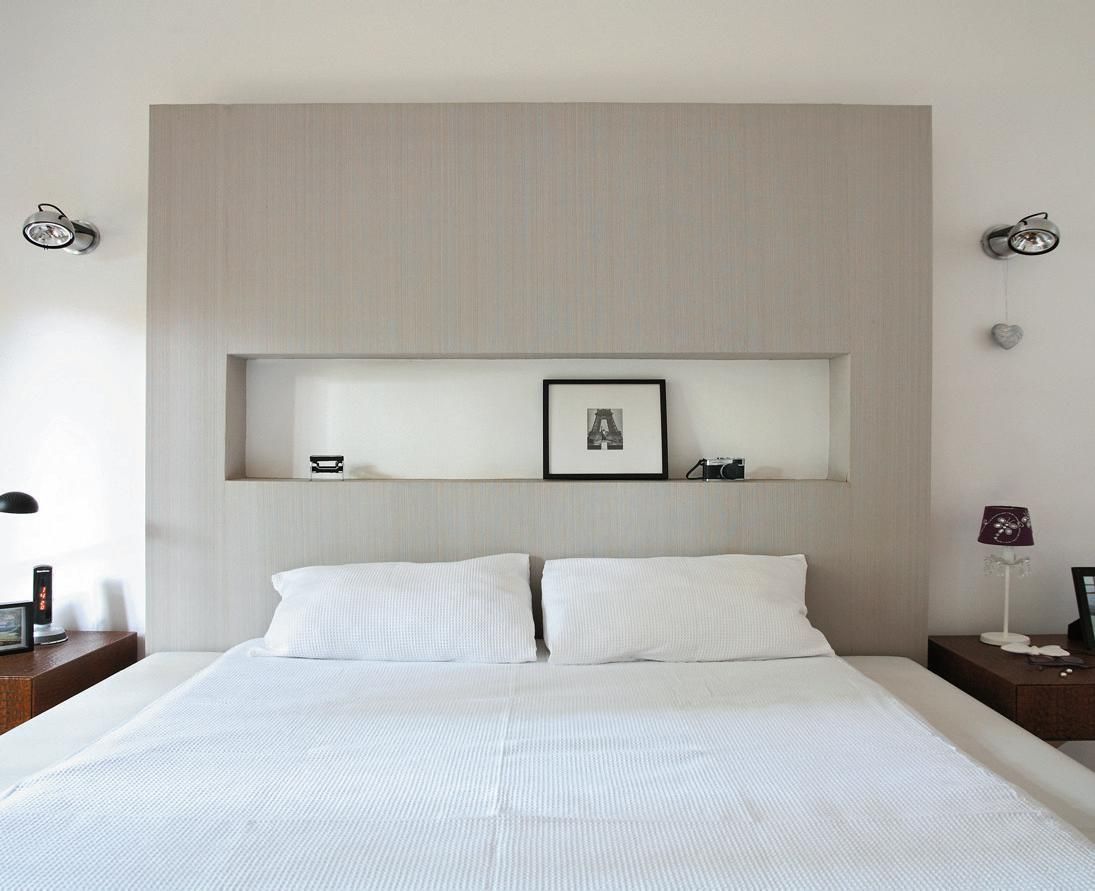
Image 50 – Plaster work offers bold dynamics for the room.
How to Make Plaster Wall Step by Step and Drywall
1. Marking environments
With the help of a measuring tape and a pencil mark the points of the guides on the floor, the wall and the ceiling. Draw the wall thickness according to the previous markings.
2. Assembly of the structure in steel profiles
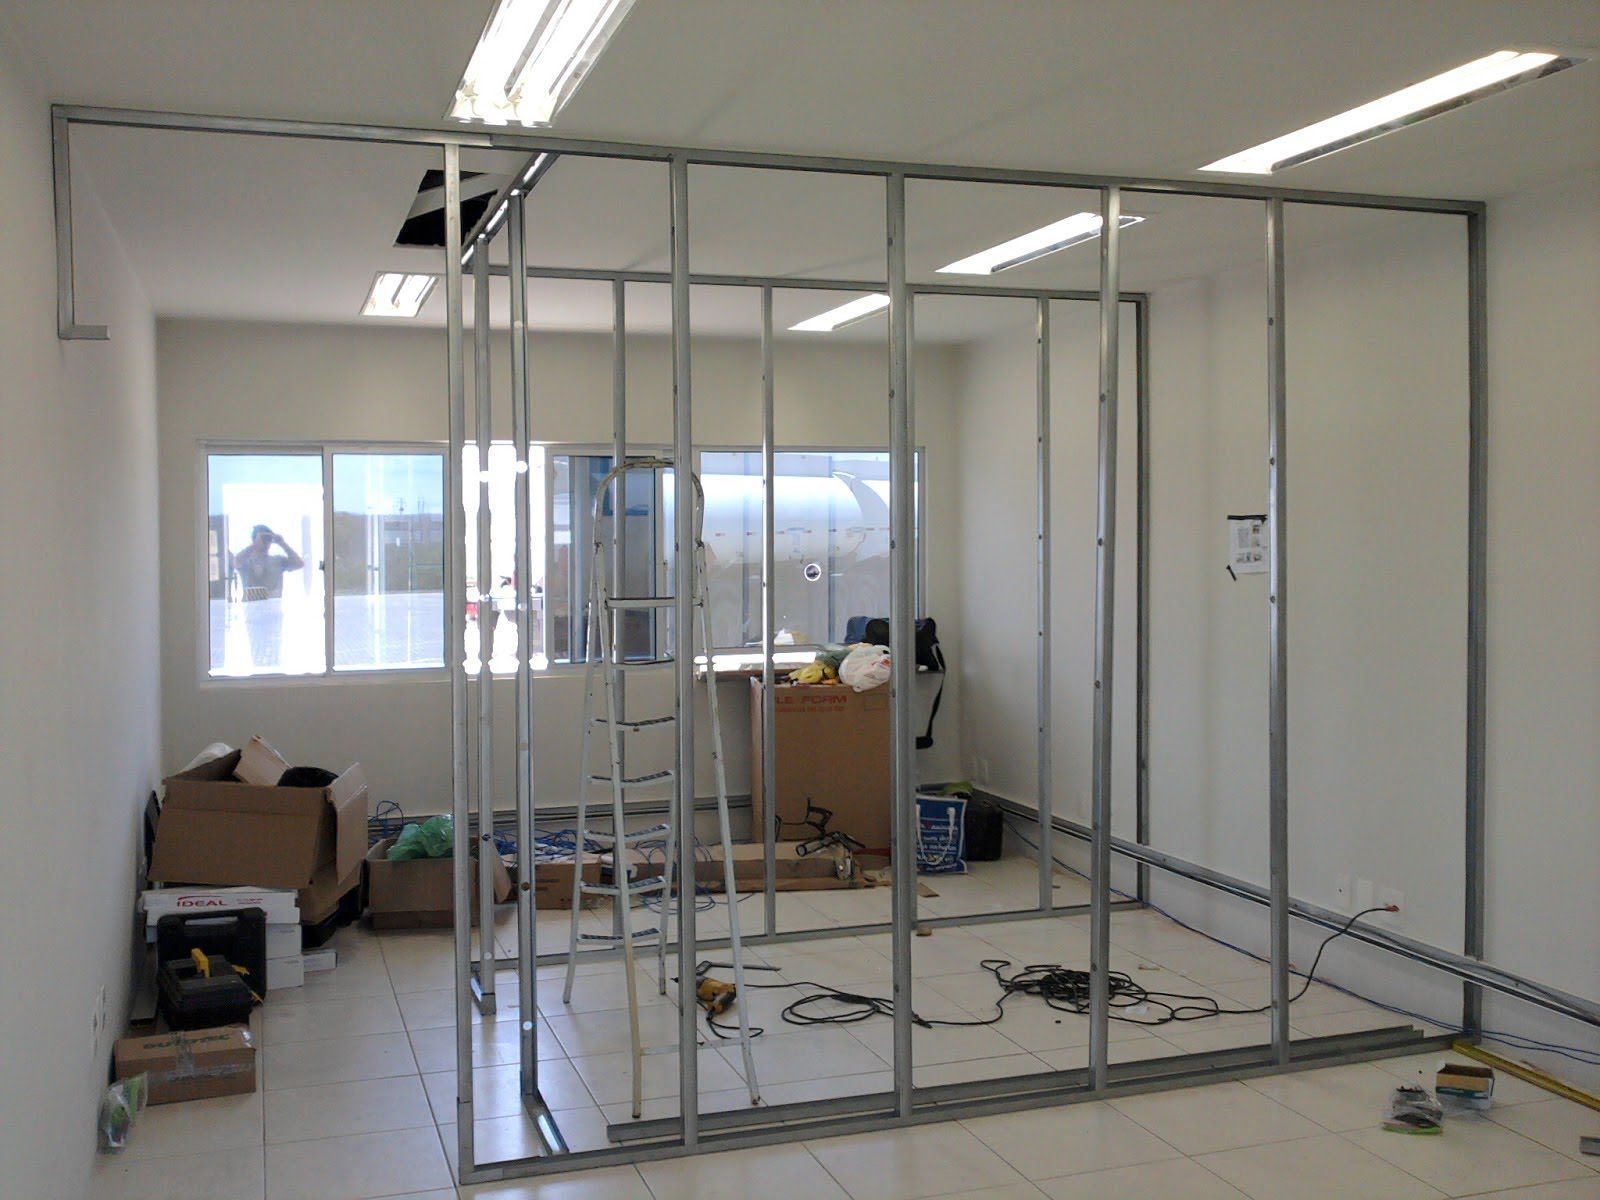
Leave the plate in an upright position and fix it on the riser starting from top to bottom. Tie the other plates together, keeping the joint spacing.
3. Installation of insulation
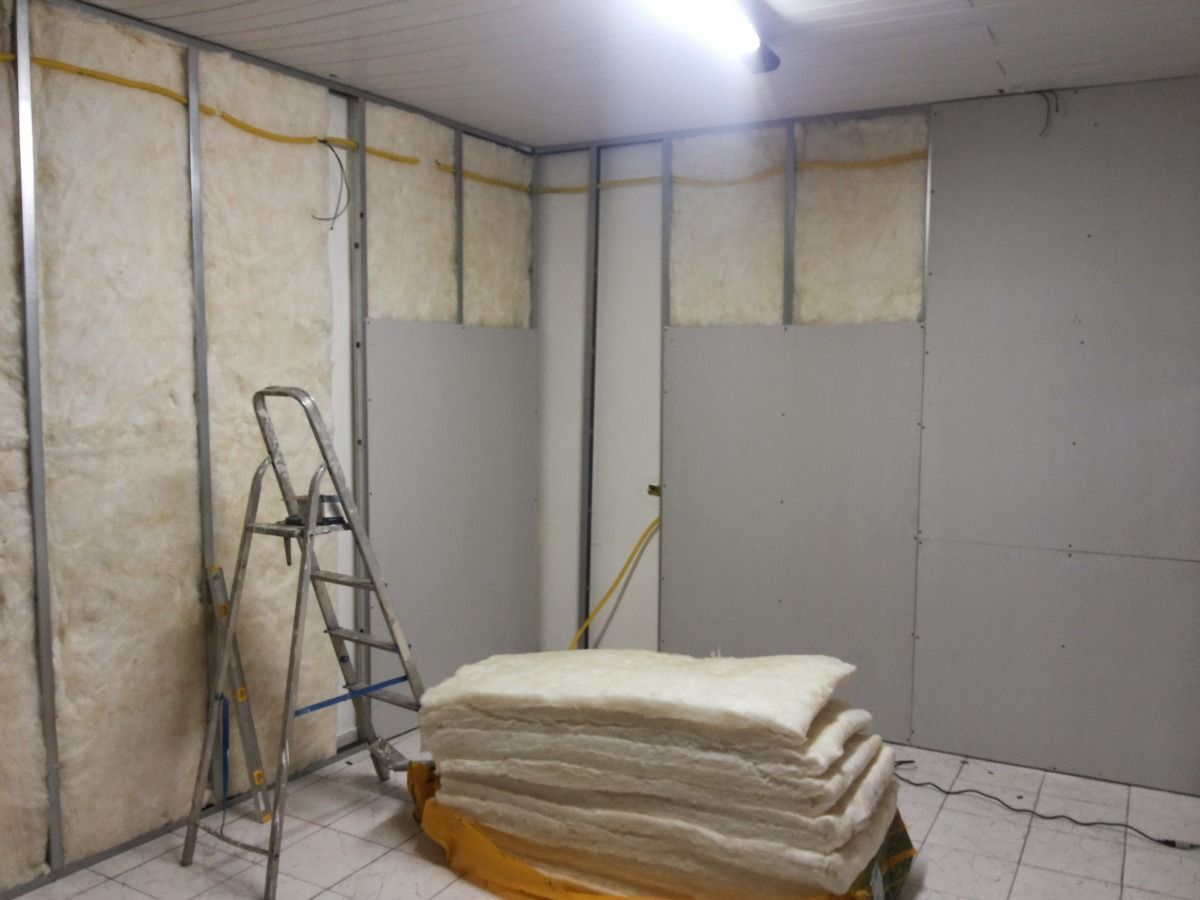
Fix the thermoacoustic insulation plates of your choice and fill them in between the posts.
4. Placing plates and closing the room
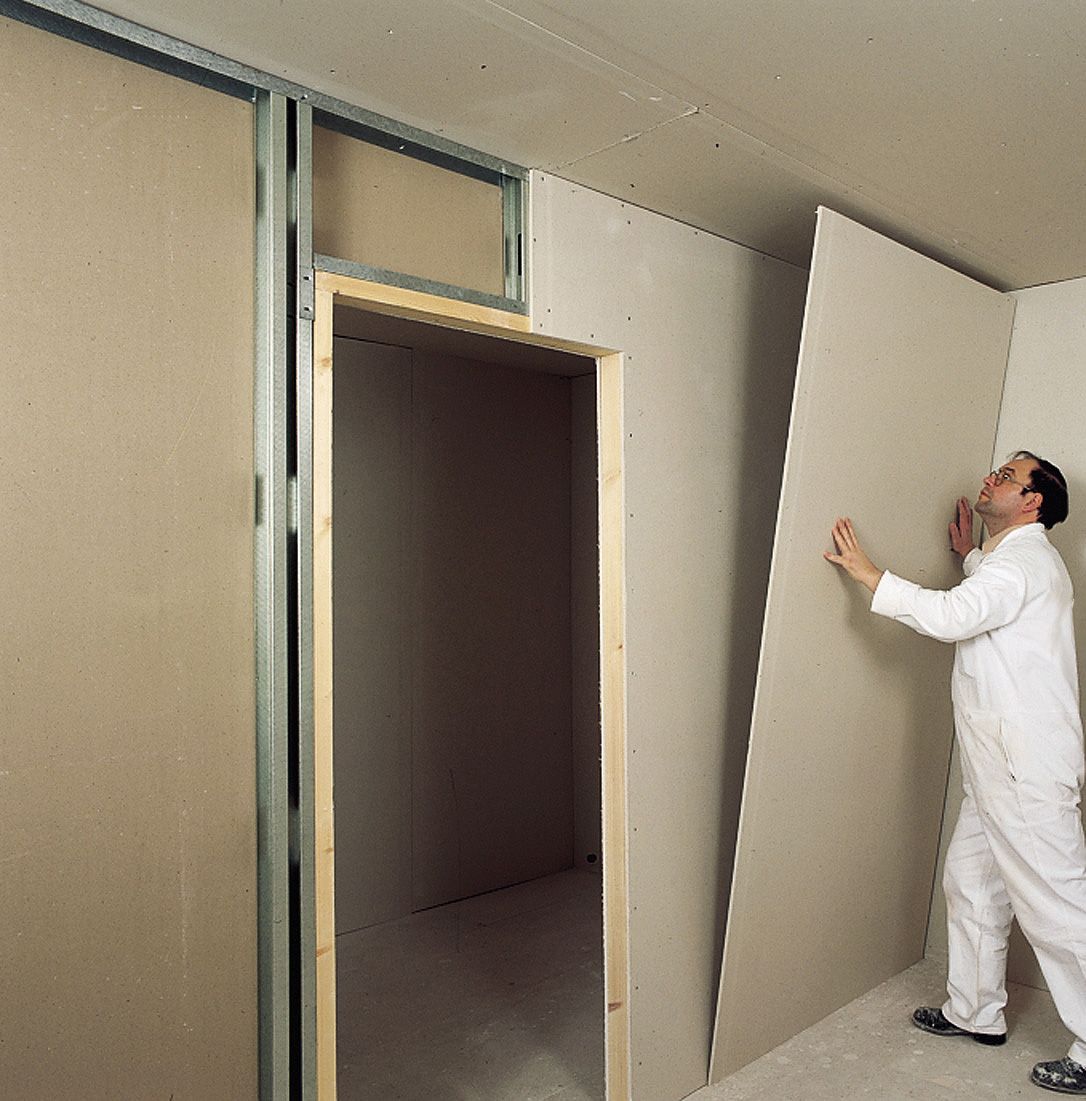
Repeat the installation of the plates on the opposite side, also checking the opposite position of the plate. If on one side the plates were spliced from the bottom up, on that side do the reverse to avoid seams in the same places.
5. Grout
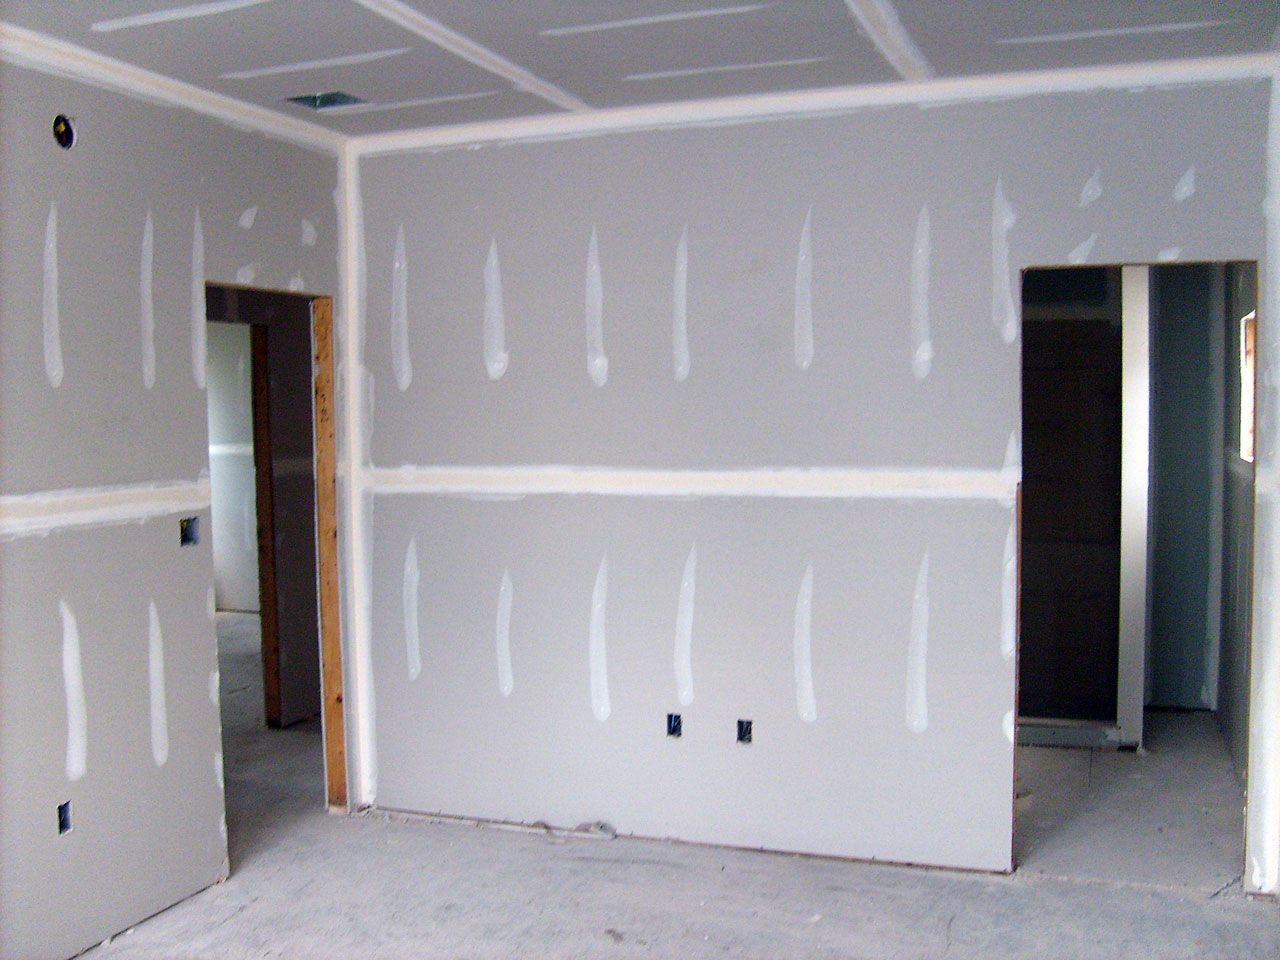
Pass the grouting mass in the seams of the plates and apply microperforated tape.
6. Final finishing
The most fun time! Sand the wall and it will be ready to receive any type of application, be it painting or coating.
Main advantages of drywall and drywall
Among the advantages of a plaster wall, we can point out some:
1. Clean work
It makes no mess, due to its installation method, where even disassembly gains an advantage. Just dismantle the system to discard it!
2. Quick installation
As its structure is ready, its application is agile and fast with the ease of cutting because it is a light material.
3. Space saving
Because it is structured in metal profiles and plasterboard, its thickness is thinner, which represents a gain in space.
4. Thermal comfort
With the filling in rock wool, pet or glass that attenuate the leakage of sound and heat as well.
5. Design flexibility
For those who intend to make an electrical or hydraulic change, only the necessary part is torn to reconstruct the patch in a simple and quick way.
Article revised and updated on: 06/15/2018.


