Crochet has been seen as something that only grandmothers did. Today it is considered crafts and many people want to learn the most diverse points to make crochet rugs and various handcrafted pieces using the material.
The coolest thing of all is that crochet helps to distract and also relieve stress, which can be great for those who need to find an activity to relax a little.
Not to mention that there are several points that can be practiced, working not only with the hands but also encouraging the head to learn more about the technique. There the explanation of why crochet can be recommended for people who are stressed or suffer from anxiety.
If you want to learn how to crochet, but you have no idea where to start, check out these tips that will explain you from the types of needle to the points used in this craft technique:
Types of needles and threads

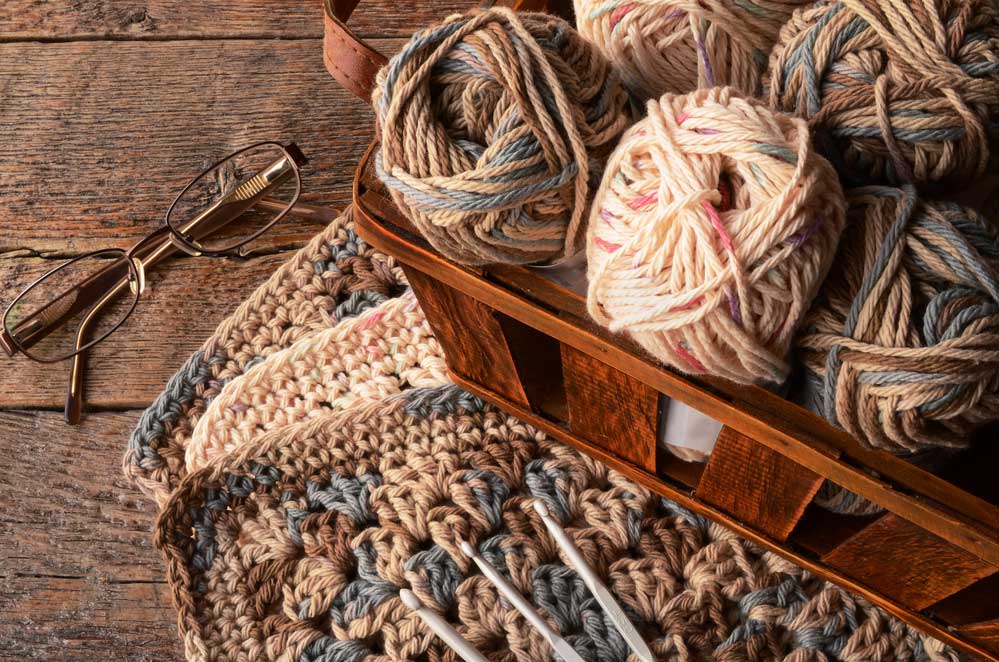
There are several types of needles and threads. And yes, the choice of one is directly related to the other. Depending on the thickness of the thread, a thicker needle will be needed, for thinner threads you can invest in the thinner needles.
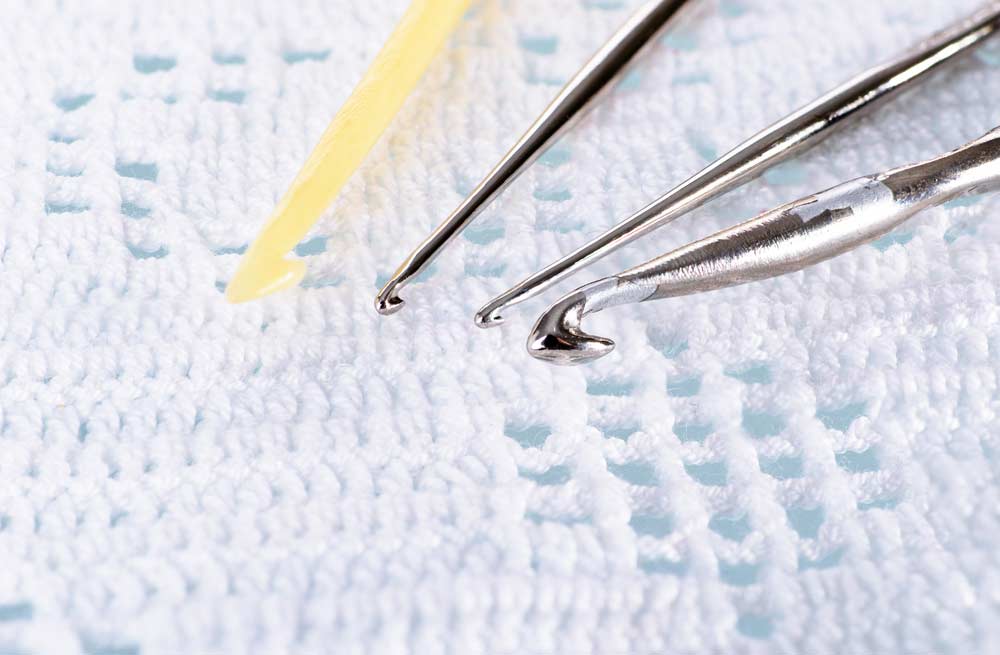
Crochet hooks can be made of wood, plastic, steel, aluminum, colored aluminum and even rubberized handles. The choice of needle style is very much up to the person and is up to you.
The sizes vary from 0.5mm to 10mm and the choice of needle size will depend on the type of craft work you intend to do. Some pieces ask for thicker lines or more open points while others ask for thinner lines.
For those who are starting it is interesting to bet on thinner lines, as they are easier to work with. Then, choose your thread and check on the packaging which needle size is the most suitable.
A nice tip for those who still don't have firmness when making the stitches is to work with a slightly thicker thread and a slightly thinner needle. This way you will make tighter stitches.
Point types and their abbreviations

Crochet can be done with several stitches, but every project always starts with the simplest of them, which is the chain.
Learn now a little more about each type of simple stitch used in this manual work, remembering that, if you are starting in this art, the ideal is to learn the basic points well and then to know the most complex ones:
1. Little chain – corr
They are used in practically all crochet work – it is how you start what you want to do – and they are very easy to do.
Those who are learning can start by making only little chain stitches, until they manage to make them neither too tight nor too loose.
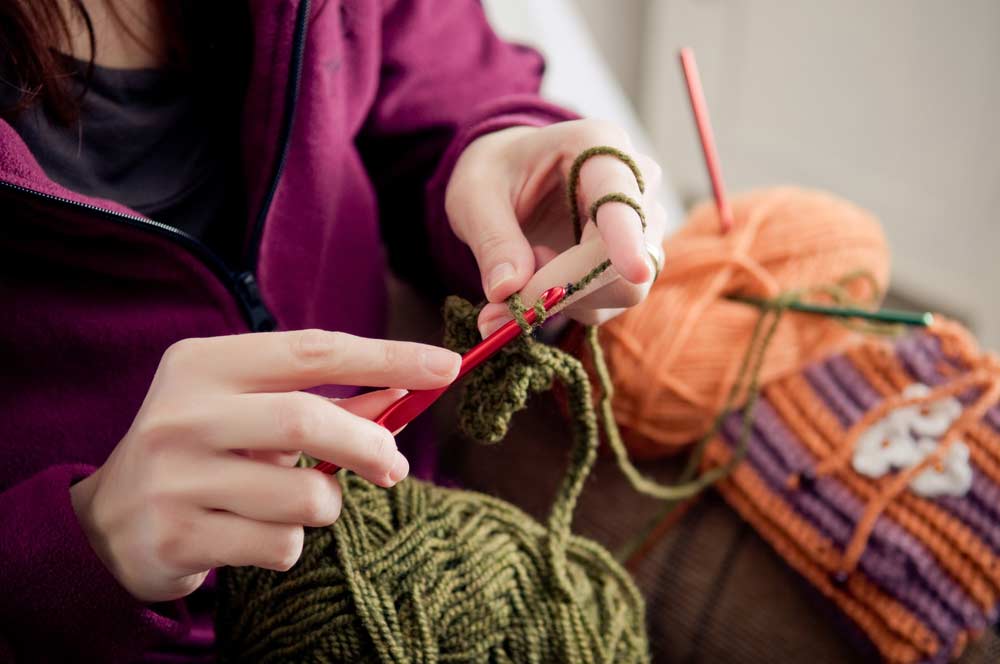
To do this you must start with a moving knot at the tip of the needle. Then thread the needle and pull through the knot. Repeat the step until you have a “chain” in hand. Which justifies the point name.
At that time, also learn to count the amount of points you want to have in your work. For a test, start by doing 10 chain points.
2. Very low point – Pbx
It is used to finish the pieces or to reinforce edges. Much like the chain stitch, with the difference that you should put the needle in a chain and then loop it.
Pull this loop inside the two little chains, the one where you put the needle and the one that was on the needle previously.
It would be a way to connect two pieces made in little chain. When making a second row of “little chains”, the piece then has the very low stitch.
3. Low point – Pb
It is ideal for pieces that need to be firmer, such as crochet rugs. To do this, simply wrap the thread inside the point at the base and not just at the point on the needle.
First make two little chains and then place the needle inside the second box. Wrap the thread around the needle and pull inside the box. Loop the needle again and go through the other two squares, leaving only one stitch on the needle.
4. High point – Pa
Suitable for pieces with a softer fabric. It is a more open point in relation to the low point.
To do this, you must wrap the thread around the needle, count three points, loop, place the needle in the fourth point, pull the thread. You will have three stitches on the needle.
Take the first two, loop and pull the last two.
These are the basic points, most suitable for those who are starting to learn crochet. But there are also other points that require a little more technique such as the candeia point, the secret point, the love point, the hive point, the x point and the zigzag point.
What you will need to crochet

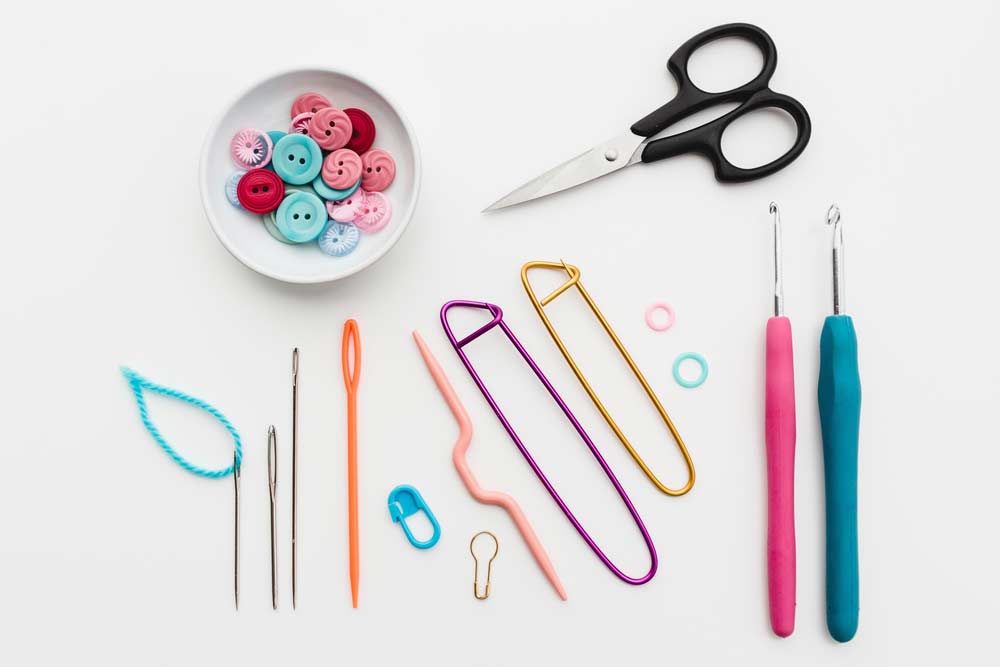
The needle and thread are the least you will need to crochet. But you should also keep other materials close by, such as:
- Scissors, to cut the thread.
- Measuring tape to measure the piece and the size of the initial chain.
Tips for beginners

Discover now the main essential tips for beginners in crochet:
- Before making the piece you want, work on a test piece, so that you get used to the chosen point.
- Prefer slightly larger needles at the beginning, such as 2.5mm and thinner threads. So you can learn well how to make each point.
- If you feel very difficult with the crochet thread, you can test and gain practice with a medium needle and a knitting thread.
- Practice the chain stitch a lot before moving on to the other basic stitches.
- When you feel you have more practice, train the low point and the high point.
- Prefer single color lines while learning, as they are easier to work with.
- In addition to the abbreviations for points, it is interesting to know others such as: sp, which means space; because it means dot; rep, which means repeat; last, last; and Mon, next.
Tutorial and tips for video beginners
To facilitate your understanding, we separate the video from the JNY Crochet channel with a special class for beginners on the topic. Watch below:
(embed) https://www.youtube.com/watch?v=ZQM1GS3uDz8 (/ embed)
Now you know how to crochet! Take thread and needle and get to work!
References and further reading
- How to crochet – Wikihow;
- How to crochet for beginners: step-by-step guide – Mybluprint;


