Ceiling fans are excellent options for dealing with the hottest days of the year. More economical than air conditioning units and more efficient and quieter than other models of fans, having a ceiling fan in the environment makes it cooler and more pleasant. In this post, we brought tips and a step by step how to install ceiling fan. Don’t miss out!
Perfect for hot days, ceiling fans also have the function of an exhaust fan and work as an excellent way to cool and circulate the air in the rooms.
With the increase in the popularity of ceiling fans, many people venture to do the installation without the help of a professional. The process does not have many secrets, but you need to know how to install ceiling fan in the right way to ensure everyone’s safety and the proper functioning of the equipment.
Follow the reading and learn everything you need to know about how to install ceiling fan!
How to install ceiling fan: initial care
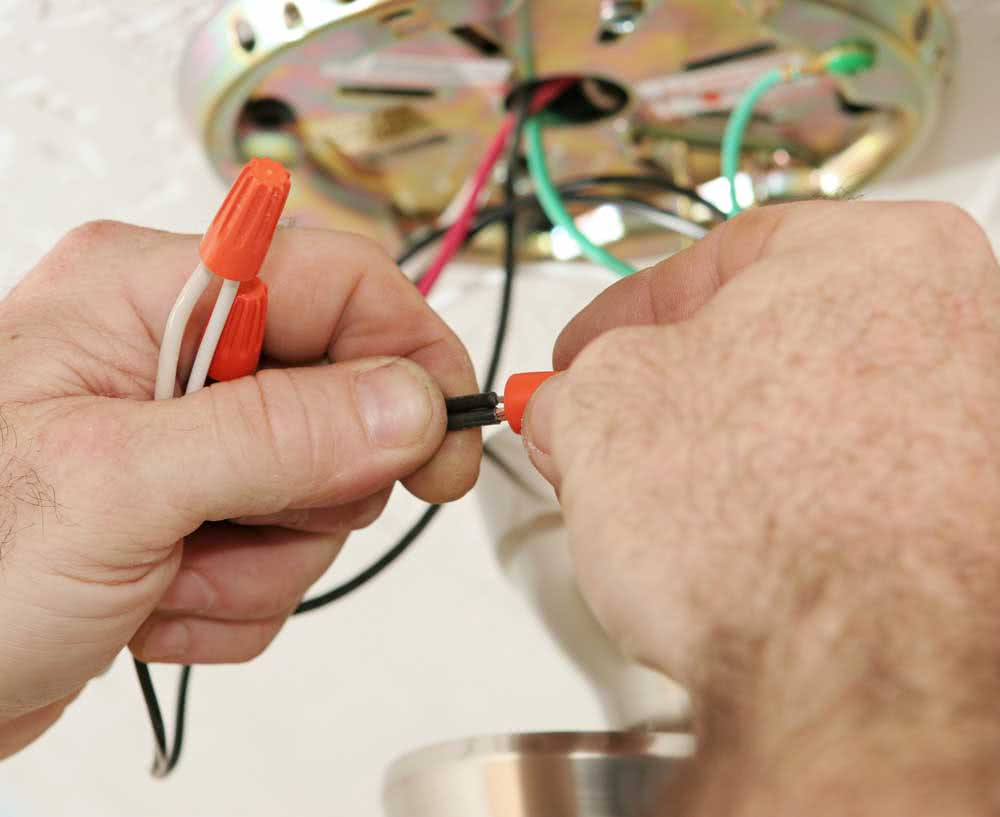
To install any equipment in your home; desk; trade or some other location, you must follow the manufacturer’s instructions. There are a number of models and types of ceiling fans on the market and each of them may have specificities in the installation step by step.
Therefore, it is essential that you choose the ceiling fan model that best suits the environment and that you read the instructions provided by the manufacturer before starting to perform the installation itself.
The installation location of the ceiling fan must be at least 2.3 meters high and the ceiling structure must support at least 25 kg. For fixing fans on wooden or plaster ceilings, you must take some special precautions, as you need to ensure that the structure will support the weight of the appliance. There are auxiliary supports and parts idealized for this type of installation, so if your roof is made of any of these materials, stay tuned to this detail!
Necessary materials
After reading the instruction manual and defining the place where the fan will be fixed, separate the necessary materials to start. In general, to install a ceiling fan at home you will need:
- Ceiling fan;
- Enough wires to make the electrical connection;
- Staircase;
- Measuring tape;
- Drilling machine;
- Screws;
- Bushings;
- Screwdriver;
- Philips key;
- Pliers;
- Insulating tape;
- Threads;
- Multimeter (not required);
- Lamp (when the fan has a lighting input).
An important tip is to always use quality materials for installation, so you guarantee greater safety for everyone.
1. Turn off the power switch
The second step in installing your ceiling fan is to turn off the general power of the house directly on the power box. It is essential that you take this care to avoid accidents with shocks and short circuits that can occur, if the power is not turned off.
Next, you will identify the three wires: neutral, earth and phase. Generally, the color of the ground wire is green, but this color differentiation is not always correct. Therefore, it is safer for you to use a multimeter or lamp to test and correctly identify each of the wires.
2. Prepare the wiring
Before you start, check that the site wiring is in good condition to avoid any problems.
The installation of the ceiling fan is done next to the fixed wiring. For connections that are biphasic, it is necessary to use a bipolar circuit breaker or some other way to ensure that the fan is turned off.
To do the installation, you will need 5 wires: one ground wire, two wires for the motor and two other wires for the lamp. If you do not have any of these wires installed, use the cable gland to pass an extra wire from the wall to the place where the installation is being carried out.
How to install ceiling fan step by step
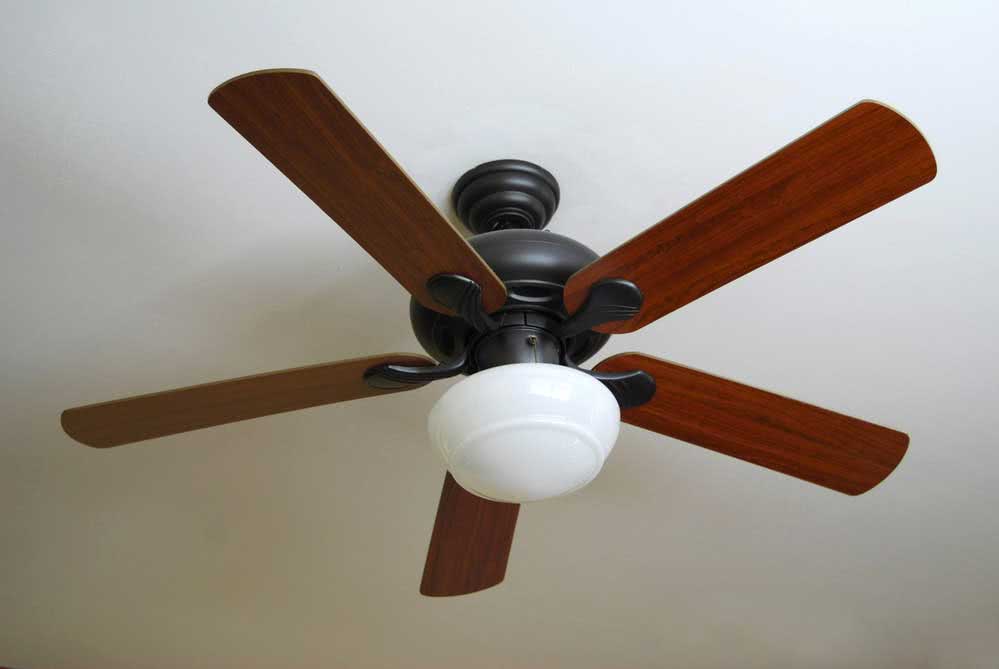
Now that you have prepared everything and have all the necessary materials to install your ceiling fan, follow the reading to see a simple step by step how to install ceiling fan with safety.
1. Assemble the fan
Use the manufacturer’s instruction manual to assemble your ceiling fan parts. It is important that you do this on the floor or at a table, never on top of the stairs! Avoid accidents.
Assemble all the parts and leave the lamps and breakable parts to put at the end, when the fan has already installed on the ceiling. To avoid breakage, avoid holding your ceiling fan by the wires, as you may damage the device. Use the installation kit provided and follow the instructions.
2. Pass the wires
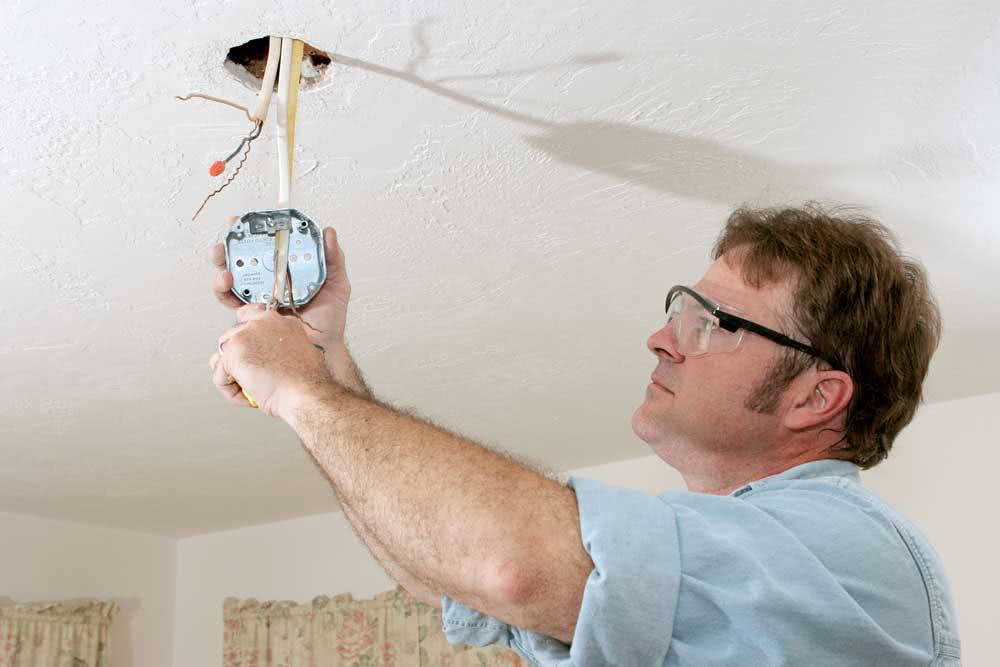
You will now pass the connecting wires. Start by passing the lamp wire through the stainless steel tube called nipple, then run the fan and chandelier wires inside the stem so that they exit to the outside of the base.
3. Fit the rod
In this step you will attach the fan rod to the motor. Position the rod with the largest opening facing the wires, then fit the fixing pin and secure it securely.
Then, with the chandelier and fan wires passed through the stem, place the safety pin.
4. Attach the fan to the ceiling
Using a drill, drill holes in the ceiling where the fan holder fits. Use a pencil to mark and ensure proper placement of the holes. Then, fit the appropriate bushings and then secure the bracket with the correct size screws.
When the support is firmly attached, secure the fan ensuring that there is a small gap to allow movement of the fan when it is on.
5. Connect the wires to the ceiling
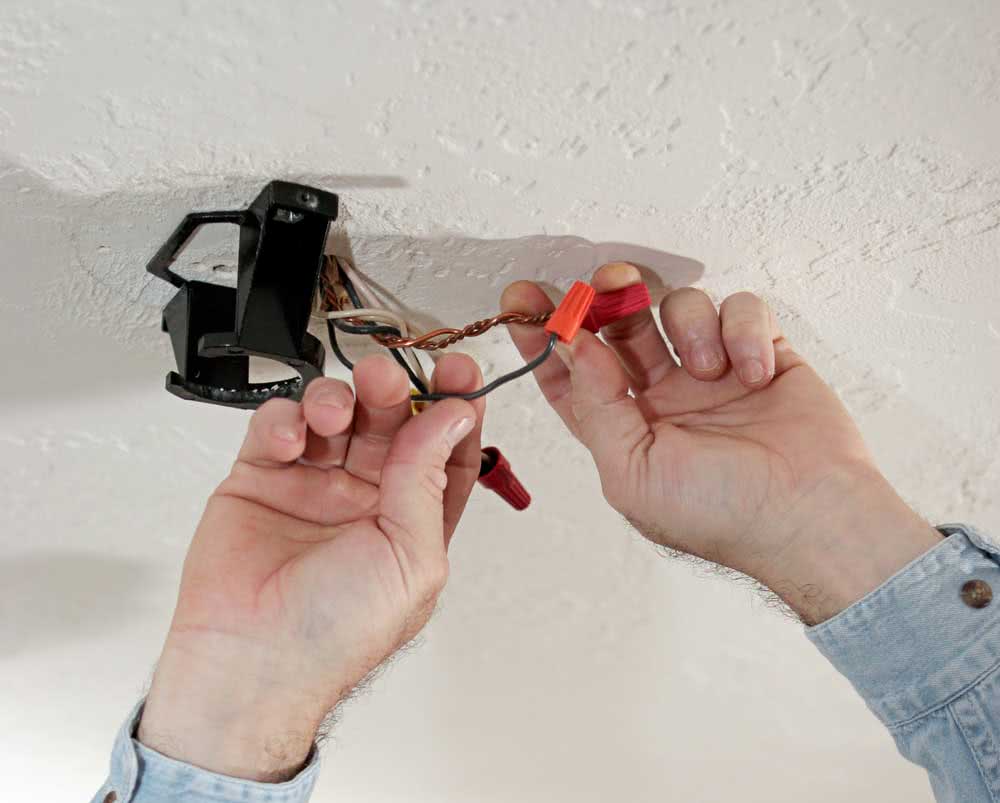
Connect the chandelier phase wire (usually black) and the motor phase wire (usually red) to the mains phase wire (also red). Then, connect the lamp return wires (black color) to the control switch return (also black). Finally, connect the exhaust wire to the motor ventilation wire to the fan capacitor.
Finally, wrap all wires with electrical tape.
6. Connect the wires to the control switch
First, replace the switch with the control key that came with the ceiling fan. Then connect the key wires to the lamp return (black wire). Then connect the two wires of the control switch to the white wires of the motor and the power wire (in red) to the mains.
Insulate the remaining black wire using electrical tape and take the opportunity to cover the connections as well.
7. Finish the assembly
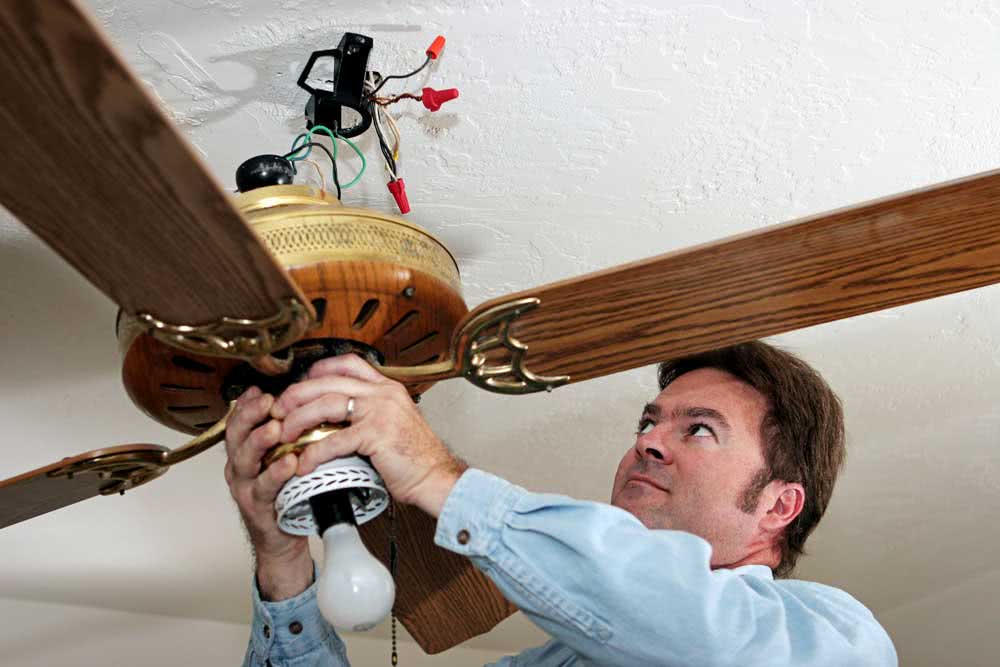
After fixing your ceiling fan and connecting all the wires, place the lamp and chandelier to finish.
It is important that you check that the rods are aligned in relation to the ceiling. To do this, use a measuring tape and measure between them and the ceiling, ensuring that they are the same. If you notice any differences, move the rod through the base of the engine until it is in a proper position.
Before descending the ladder, check the screws and safety pins to see if they are all securely attached.
Finally, turn on the main power switch again and test the fan function.
Did you like this detailed step by step of how to install ceiling fan? Comment your doubts and suggestions!


