
If you look at her makeup or, better, at the mess she is in, and feel like crying, calm down because there is a solution! Today we are going to show you that it is possible to organize all your makeup in a very simple and easy way, even if you have little space for it.
Do not believe? So join us in this post and check out all the tips we've set aside for you to learn once and for all how to organize makeup.
Why organize makeup?
First of all let's clarify some obvious reasons for you to keep your makeup always organized:
To have more time
With organized makeup it is much easier to find everything you need and this, of course, saves you time. That is, you finish your production more quickly and we will agree that this is wonderful, after all, nobody needs to leave home late because they did not find that lipstick the color of their mouth.
For everything to be clean
Organized makeup is synonymous with cleanliness. It is much easier to clean brushes and other accessories when you can see everything you have. That way, your makeup will always be flawless.
To rock the looks
Imagine the scene: Saturday night, you going to party and wanting to rock the look. But in the middle of this story, behold, the eyeliner and that shadow of effect Wow! What to do then? Organize everything!
With organized makeup your looks come out winning. First because you will be able to find everything you need and, second, you will have more makeup options, since nothing will be lost or hidden. You use everything you have and it is much more beautiful!
To save a buck
How many times have you bought a lipstick and, when you got home, noticed that you already had one just like it? This happens when there is no organization with make.
So, if you are tired of spending money on makeup and accessories you already have the solution is to organize everything.
How to organize makeup: first steps
Start with cleaning
The first step to keeping your make 100% organized is to start the cleaning operation. Start by cleaning the brushes, sponges and other accessories. Then check the product packaging. There is always a bit of base running down the sides or shade coloring the bottles.
Keep everything clean. You can even count on the help of wipes for this. They are great for the role.
Detach
Still within this cleaning process comes the detachment stage. Get rid of makeup that has expired, the products that are already hard and dry and those packaging that has nothing else in it and you keep it just because you think it's cute.
All of this only serves to occupy space and hinder the organization. Not to mention that you keep thinking that you have a certain product and when you go to see you have nothing.
Please also donate those makeups that are in good condition, but that you just don't use anymore. Whether because it changed style or because it no longer matches your looks.
Select, separate and group
After cleaning and letting go of the make, skip to the next step which is to select, separate and group.
The first tip here is to select the makeup that you use most on a daily basis, such as foundation, concealer, powder, eyelash mask, lipstick and eyeshadows. These are the makeups that should be within reach and quickly viewed.
Leave that neon shade and that blue lipstick in a separate case, okay?
After selecting the day-to-day makes of the occasional make-up, start making the separation. This step consists of separating the make-up by group: skin, eyes and lips.
In the first group (skin) should be foundations, powders, corrective, primer and other products of the kind that serve to prepare and treat the skin.
In the second group (eyes) place mascara, eyeliner, eyeliner, eye shadow and eyebrow pencil.
In the third group (lips), leave only lipsticks, gloss, lip balms and mouth pencils.
It is still worth creating a fourth group for accessories and other important items in the universe of makeup, as is the case of makeup removers, cotton swabs, cotton, wipes, false eyelashes, tweezers, scissors, sharpener, among others.
You will see the difference in the organization soon after completing these steps, but the process does not end here, there is more, come and see.
Tips for organizing makeup the right way
There is no point in leaving everything separate and organized if you do not pay attention to some important details, which even interfere with the quality and useful life of the product. So check out the following tips:
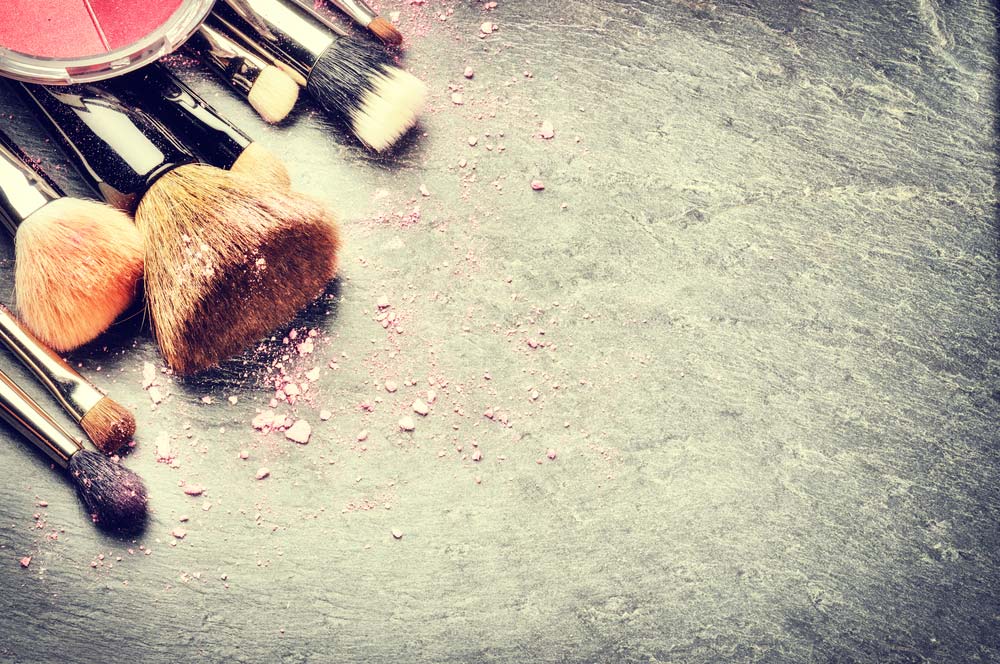
Brushes
Brushes need to be stored with the stems facing up. There's no freshness in that, okay? This detail is important to preserve the bristles of the brushes, in addition to leaving them "breathing" after use, especially since some products moisten the bristles and, if they do not dry properly, they can create fungi and bacteria.
Lipsticks
The best way to organize lipsticks is by color. Create sets of similar colors or shades. If you want everything even more organized, turn them upside down so that the color name tag appears.
Skin care products
Bases, primers and concealers must be kept upright. This avoids product leakage and waste, besides, of course, that booger among the packaging.
The ideal is to have a space only for these products, so that they are preserved for a longer time.
Shadows
As well as lipsticks it is interesting to organize the shades by colors, leaving the most used ones always at hand.
Another tip is to separate the shadows by type of finish. The matte ones are on one side, while the sparkling and creamy ones occupy the other.
Makeup organizers: types and which to use
Acrylic partitions
Acrylic dividers are at the top of the preference of those who want to fix the mess of makeup. And no less! These organizers are very practical and efficient, since it is possible to organize all types of makeup in specific compartments, ranging from brushes to lipsticks and eyeshadows.
Another advantage of this type of organizer is that it is cheap and easy to find. Just take a walk in the housewares stores to go out with one in your hands.
Acrylic dividers are also surprising for their versatility in sizes and shapes. They are for both those who have little makeup and those who have a lot to keep. You just need to choose the right model for your needs.
In fact, a good tip before looking for your organizer is to photograph all the makeup groups you need to keep, so you don't get lost among so many options.
Baskets
Baskets are another simple and practical way to organize your makeup. Just put everything on it.
This type of organizer is super valid when the intention is to leave the makeup exposed on some counter or table, as a dressing table, for example.
However, if you have a lot of makeup, the basket may not be the best option.
Trays
The trays, as well as the baskets, can be used to organize the makeup, in addition to leaving them exposed in the environment, integrating with the decoration.
Look for a tray model that matches the decor of the space and arrange the makeup and accessories on it.
Necessaire
A makeup bag is not exclusive to bags and suitcases. They can be used to organize everyday makeup at home. But be careful: put only what you use daily in the bag, otherwise the risk of everything becoming a mess again is huge.
Another tip is to opt for small models of nécessaire, so you don't fall into the temptation of wanting to keep everything in one place.
Suitcase
Makeup fans are most likely also passionate about briefcases. They are a consumer dream! The suitcases organize the makeup of the most diverse types like nobody else and still have a great advantage: they can be easily transported from one place to another.
This, in fact, is the reason why professional makeup artists do not unglue their suitcases.
But even if you don't work as a makeup artist, you can bet on suitcases to organize your make up. Choose the one that best fits your products and be happy!
Drawers
Who has a closet, dressing table or even a dresser can take advantage of drawers to organize makeup. With the help of specific dividers for drawers (which you can buy ready-made or make at home), your makeup is kept tidy and super organized.
MDF
Nowadays there are on the market makeup organizers made in MDF, very cheap and that you can customize as you want.
MDF organizers are also very versatile. There are large models, with several compartments and even drawers, as well as smaller ones, ideal for those with little makeup.
There is only one problem here: MDF detests moisture and, therefore, this type of organizer should be kept in dry and airy places. That is, no MDF organizers in the bathroom.
DIYs and recyclables
Did you know that you can make makeup organizers out of materials that would go to waste? Yes, it is possible! Glass jars, cardboard boxes and leftover PVC pipes can become excellent organizers.
In addition to not having to spend a dime, you still give that moral to the sustainability of the planet. In the end, everyone wins.
Now that you know how to organize makeup, what do you think about starting your makeup today?


