
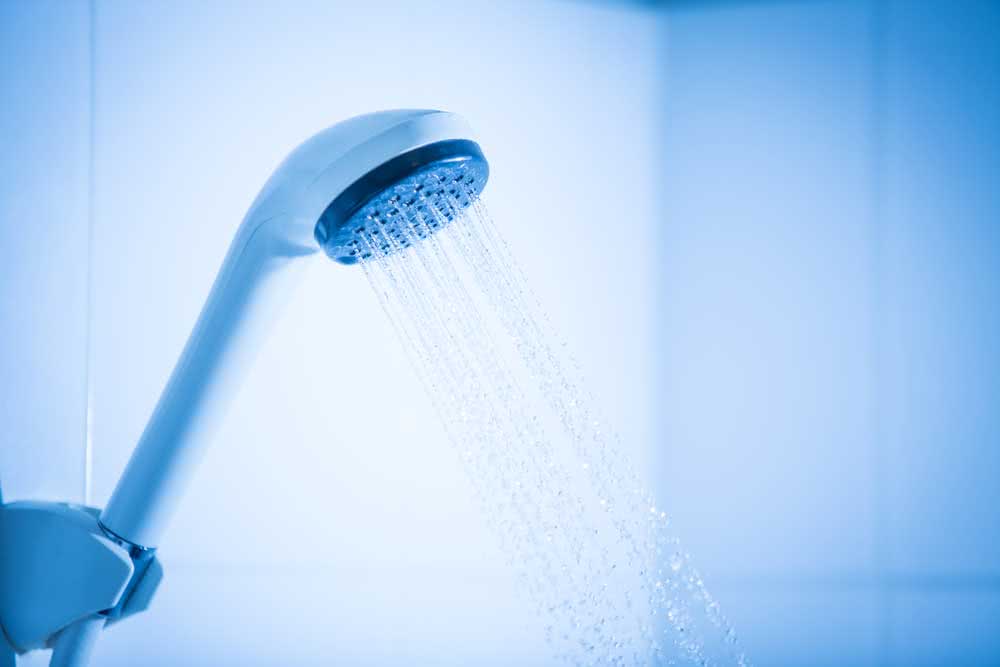
The shower is over, but the shower is still there… dripping water. This is a very common scene and luckily it can be resolved simply.
But before getting your hands dirty, it’s important to understand what’s behind this dripping shower, even when it’s turned off, since for each cause there is a different solution. Check out the following tips:
Dripping shower: what can it be?
In addition to the annoying noise of water drops hitting the floor, the dripping shower can also result in an increase in the water bill, as over the hours and days these small drops can result in up to 50 liters of water running down, literally, down the drain. Not to mention the environmental problem, since water is an increasingly valuable resource.
Check out the main reasons for the dripping shower:
shower
Who would have thought, but the problem with the dripping shower could be in the showerhead. This is very common in electric showers and the reason is simple: the water accumulated in the shower makes pressure on the equipment causing it to leak and drip.
The solution, however, is quick and easy. Just open the shower head and wait for the accumulated water to drain completely.
And always remember to close the showerhead before closing the water valve to prevent this from happening again.
shower assembly error
Has your shower recently undergone repair or maintenance? So it could be that the problem is in the assembly of the equipment. If it has been poorly fitted, the drip may be coming from there.
The solution here is also very simple. You just need to open the shower and make the correct fit of the pieces, also take the opportunity to drain excess water. Then just snap it back into place.
Sealing ring
Another cause of the dripping shower is the sealing ring. Over time and frequency of use, this ring wears out, allowing water to pass through the equipment, causing leakage.
To solve this problem you just have to change the gasket. This piece is easily found in construction stores at very affordable prices. To have no doubts when buying the piece, the tip is to remove the shower ring and take it with you to the store.
Record
Shower registration may be another cause behind drips. With time of use, the valve sealing thread ends up being worn, preventing the shower from closing properly.
So it’s worth doing this check as well. If you confirm the problem, the solution is to change the part. Just that!
Leakage in the pipes
Finally, a dripping shower can be the result of a leak in the pipes and pipes. This, unfortunately, can be a situation where you need to rely on the help of a plumber, especially if the problem is with the internal piping, which runs inside the walls.
To confirm this possibility, investigate the other reasons first. If none of them indicate the problem, then most likely you will have to call a professional.
How to fix a dripping shower
As you can see, it’s not hard to fix a dripping shower. But it is important to have some basic tools and take certain precautions to ensure their safety and proper maintenance. See the tips:
- Close the shower valve and put it in cold position or off mode. Then turn off the main power switch to prevent electrical shock and damage to equipment.
- Provide the necessary tools for the repair. In general, it is important to have a screwdriver, a spanner, a small sharp knife to help with cleaning, and a soft, dry cloth.
- Start by removing the shower from the wall. Drain off excess water and open the appliance. Check the gasket. If replacement is necessary, provide a new part, replace it, taking care to fit it correctly. Assemble everything and reinstall the shower in place.
- While you have the shower open and disassembled, take the opportunity to clean it, especially the holes through which the water passes. With use, these holes are likely to end up impregnating dirt, making it difficult for water to escape.
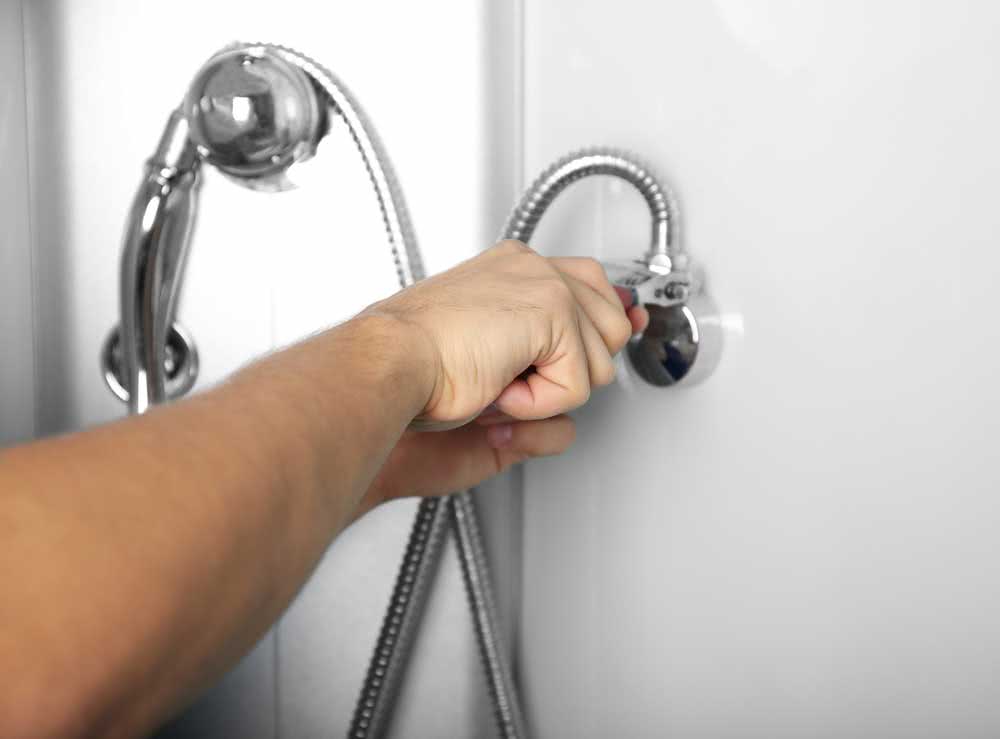
- But if inside the shower everything is ok, then you need to examine the registry. To do this, remove it from the wall with the help of a spanner.
- Note the state of the rubber ring that is located on the registration stem. If you notice any signs of wear, replace the part. Remembering to take it with you so there is no doubt about size and model.
- With the new gasket in hand, you must now arrange the replacement by simply replacing one with the other. Reassemble the registry and see if the issue is resolved.
- If the shower is still dripping, you can check that the problem is not with the thread of the valve. This part also suffers wear with time of use. If you notice that the part is damaged, then the solution is to change the entire register.
Did you see? Fixing a dripping shower is no biggie. Now just go there and finish the dripping pan once and for all.


